How to Embed a Form in WordPress
 With the Gravity Forms WordPress form plugin, you can quickly and easily create and embed a form in WordPress. Whether you want to build a contact form, a payment form, a quiz or survey, or some other type of data capture workflow, Gravity Forms has the all tools you need for your next project.
In this how-to post, we’ll go over some basic getting started points for creating forms and walk you through the different options for embedding a form in your WordPress website. Let’s get started…
Create a Form With Gravity Forms
Let’s start at the top: before you can embed a form in WordPress, you have to create it.
So what kind of forms you can build with our plugin? The short answer: any type of form!
Here are just a few examples:
- Simple and advanced contact forms
- Payment forms for products or services
- Event booking forms
- Content submission forms
- Quizzes and surveys
- Application forms
- and much much more!
Thanks to our template library, you can easily find a form template you need, import it into your website, and then edit it to meet your needs. So let’s take a look at how the process works…
Start With A Form Template
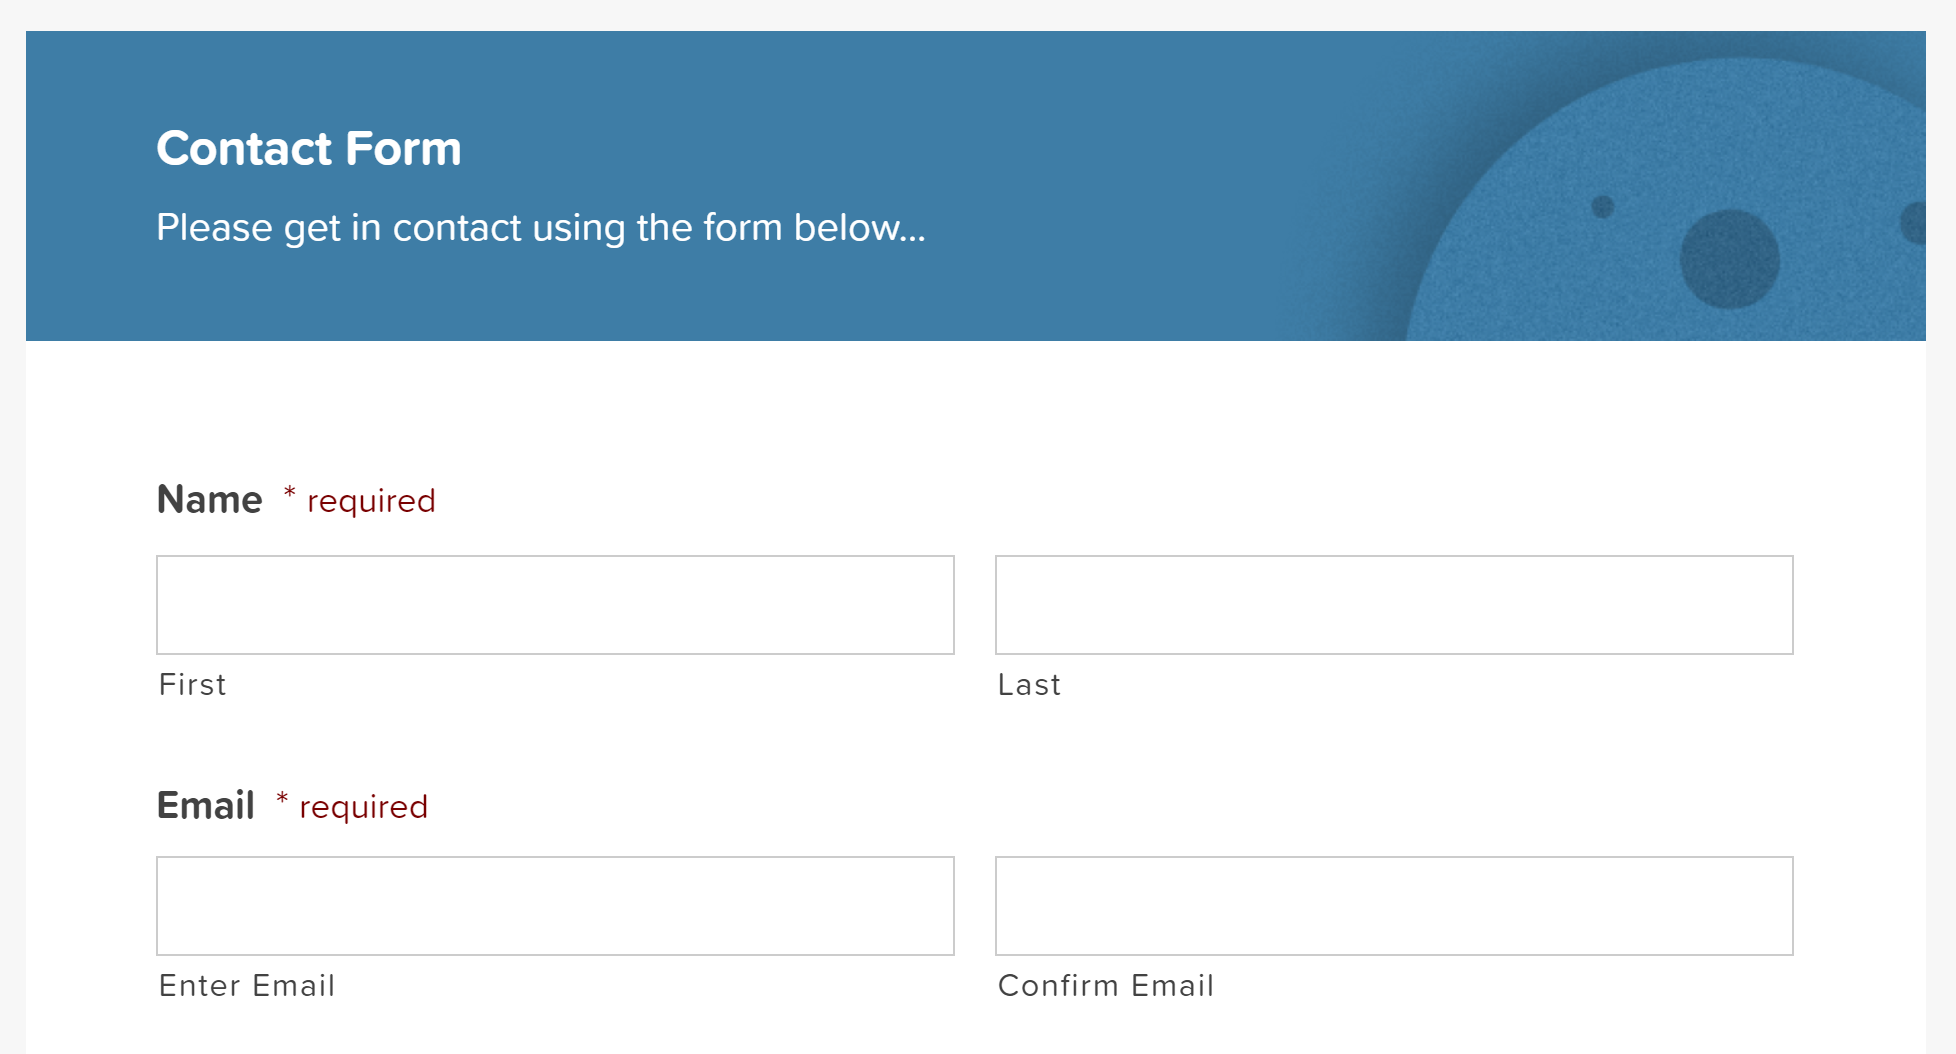
The easiest way to get started with Gravity Forms is to use one of the premade form templates from our template library. Simply choose a form you need and click the Get This Form Template button.
The template will download in JSON format. You can then go to your WordPress dashboard and click on Forms > Import/Export > Import Forms. Locate the form template and press Import.
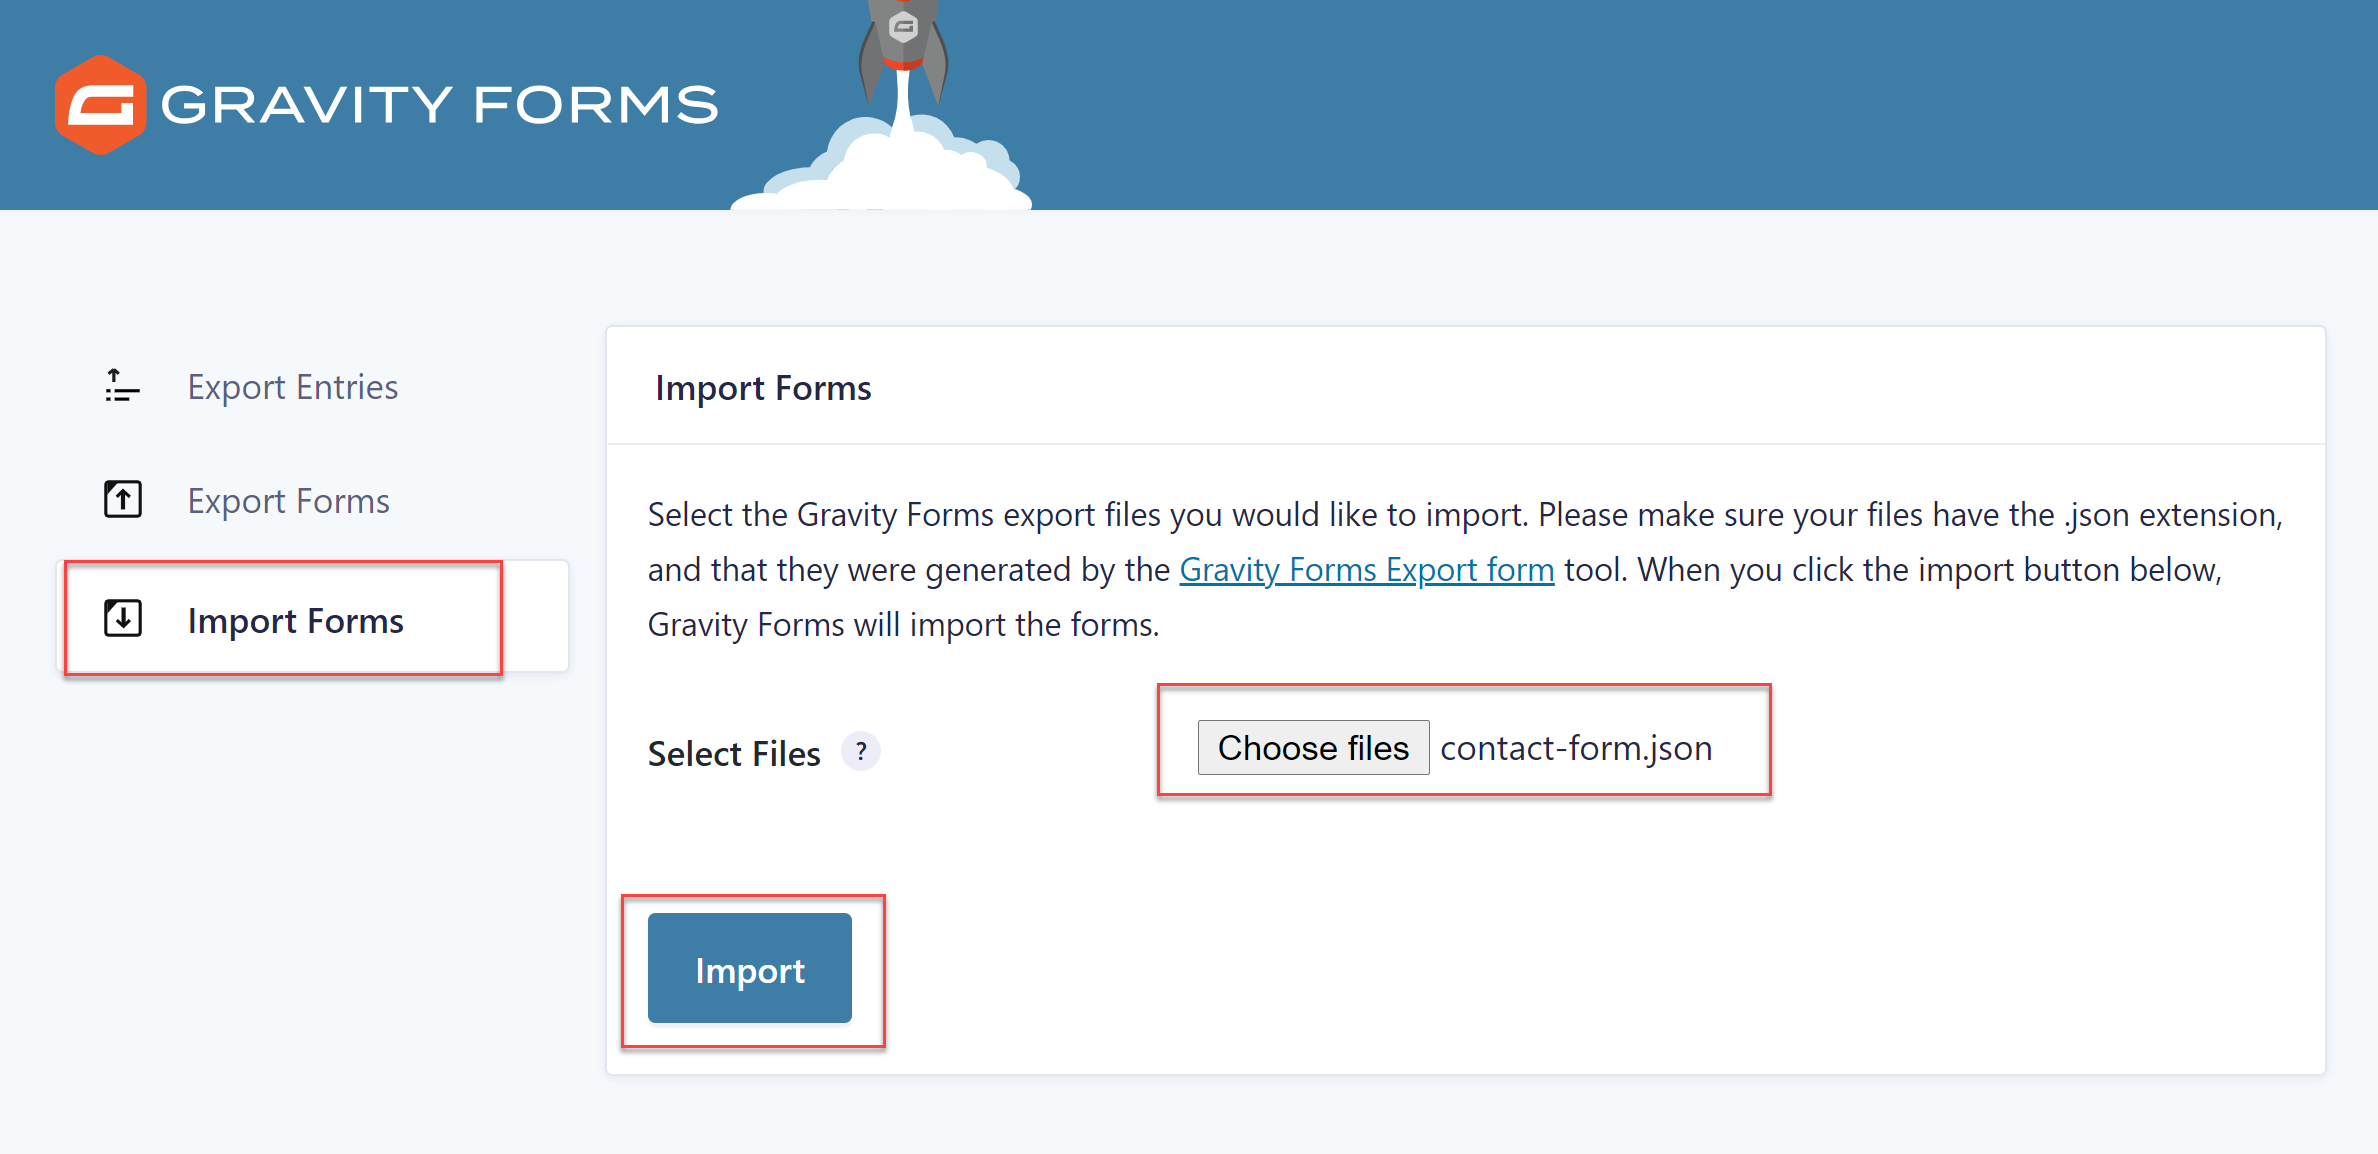
This will import the form onto your site and you can then proceed with the next step of editing and customizing the form.
Edit The Form
Once you’ve imported the form template, you can edit it to suit your requirements. You can add more fields, remove those that you don’t need, and customize any field settings. When you’re done, simply Update the form to save the changes.
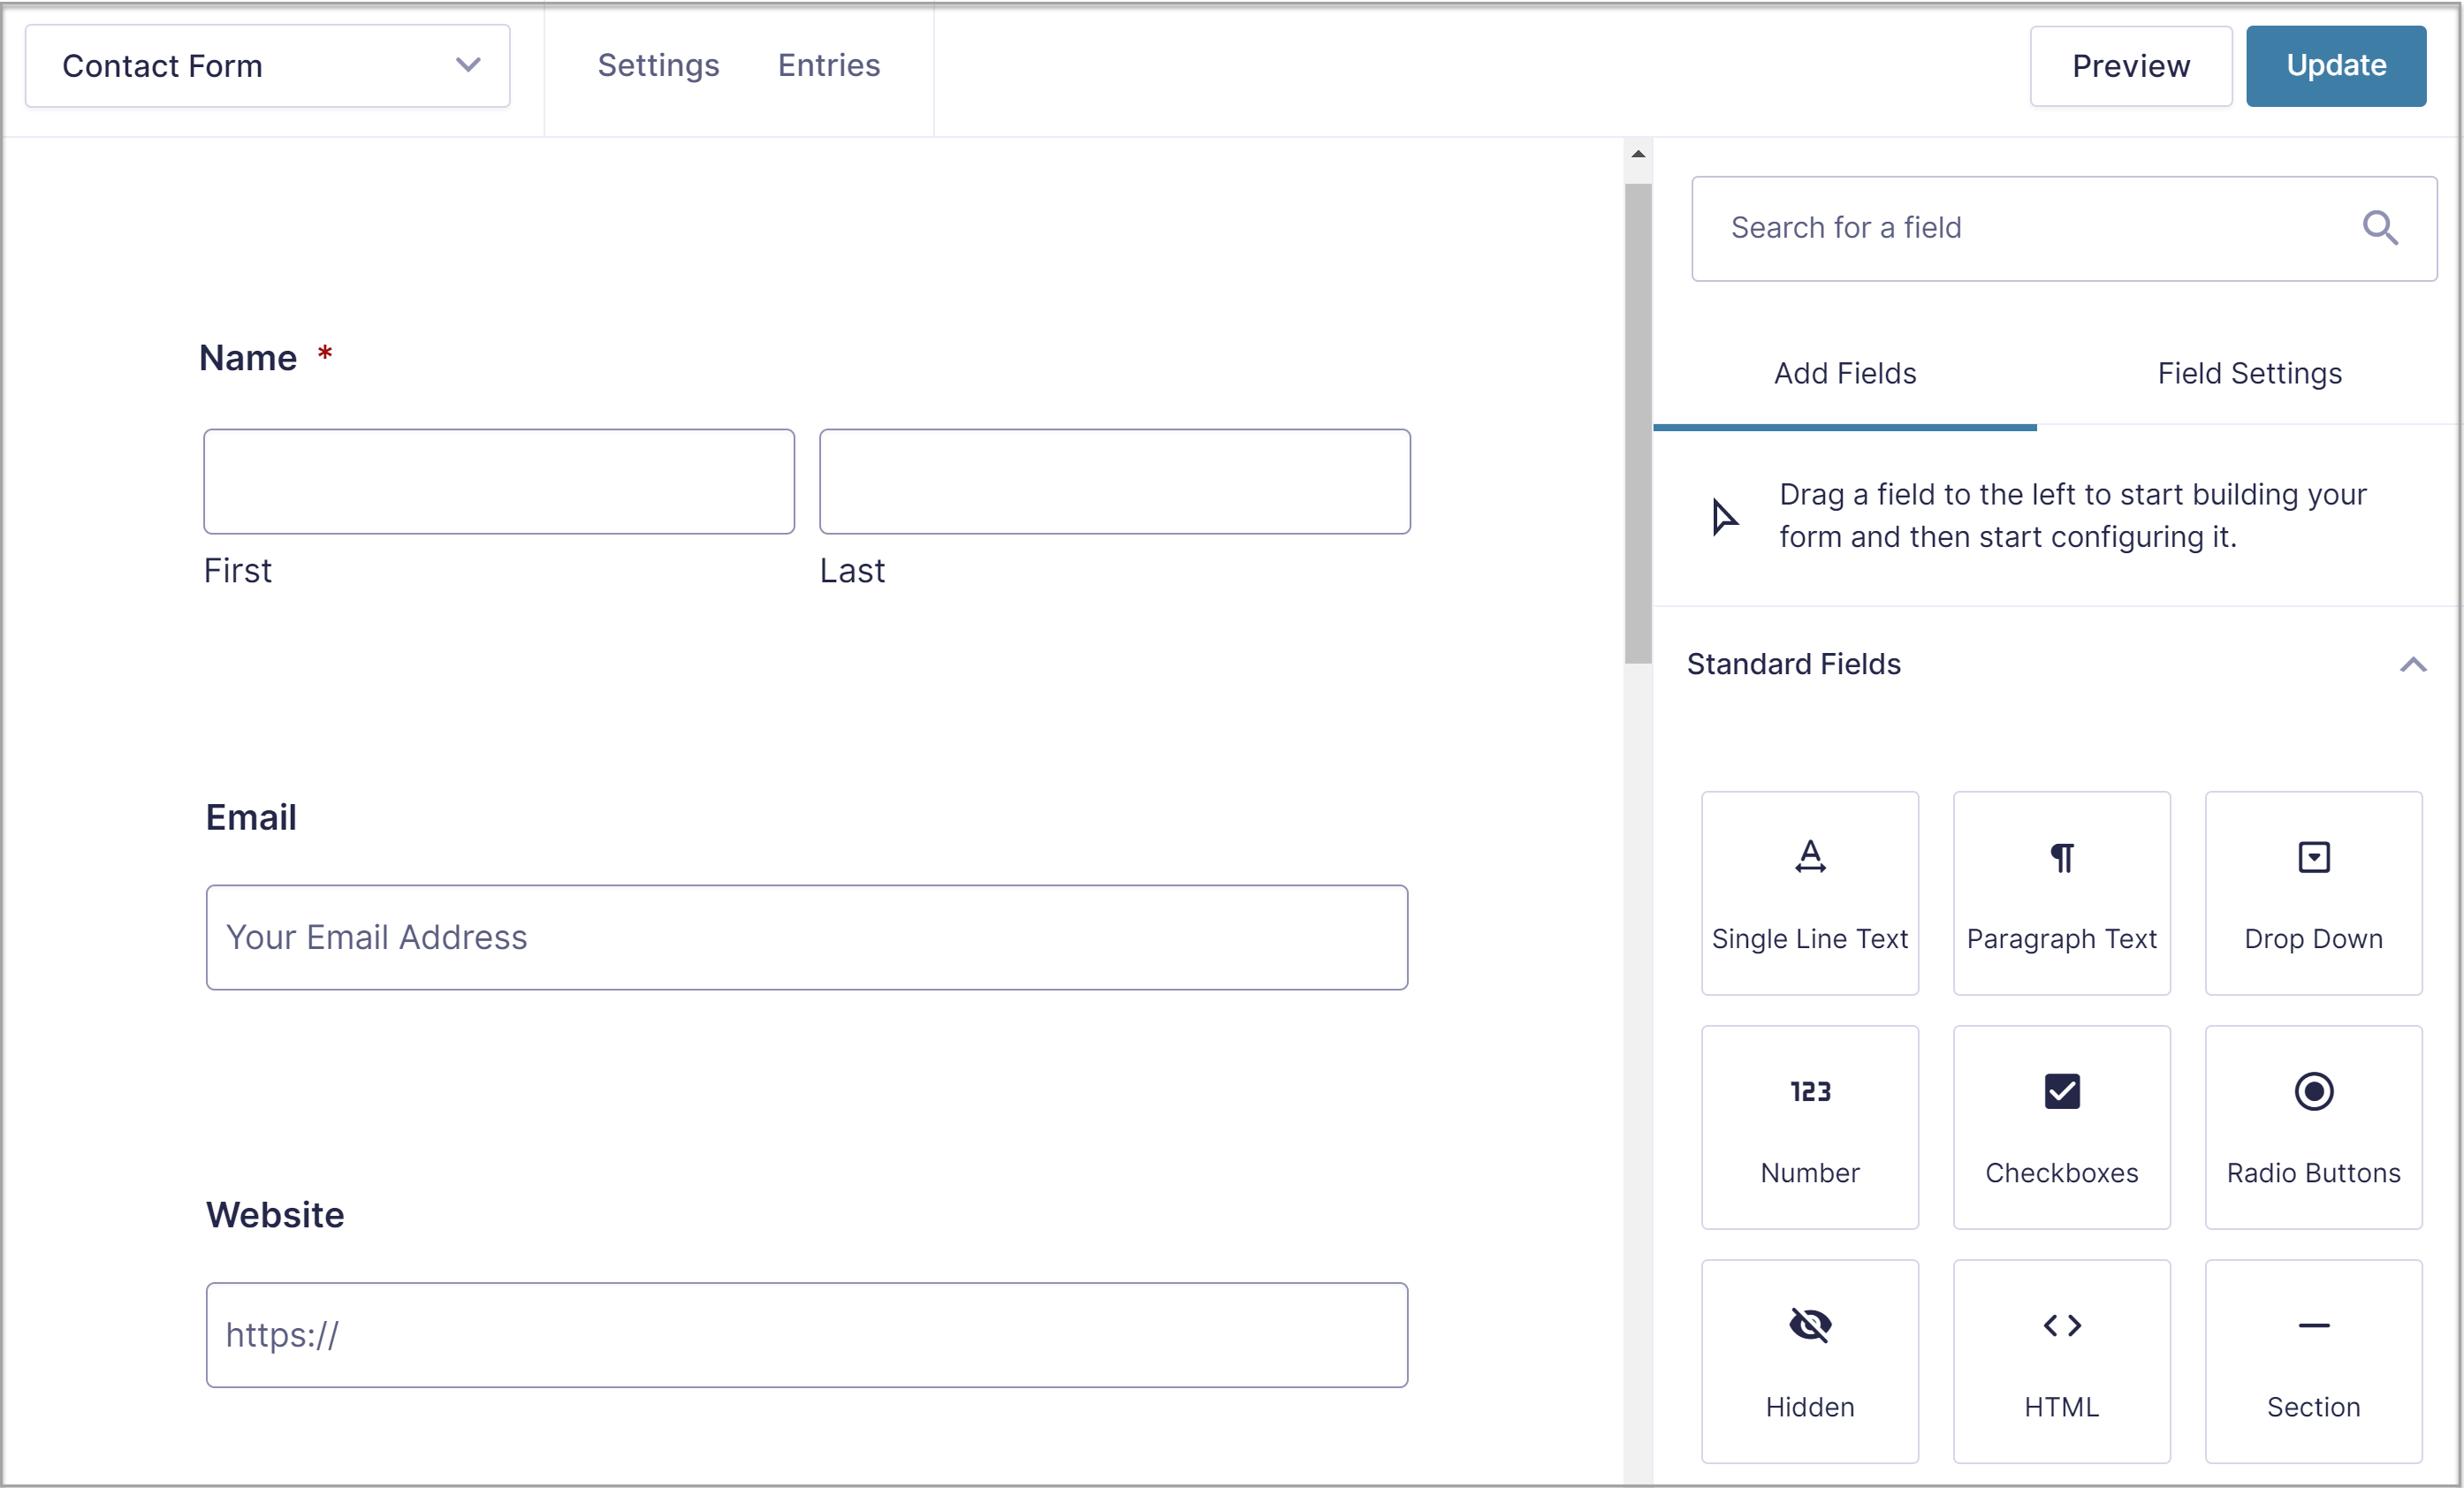
For more information on how to get started with your first form, check out this article – How to Create a Form in WordPress.
Install And Configure Any Necessary Add-Ons
Lastly, consider installing an add-on or two to make your forms even smarter. For example, you could install an email marketing Add-On such as Mailchimp or HubSpot.
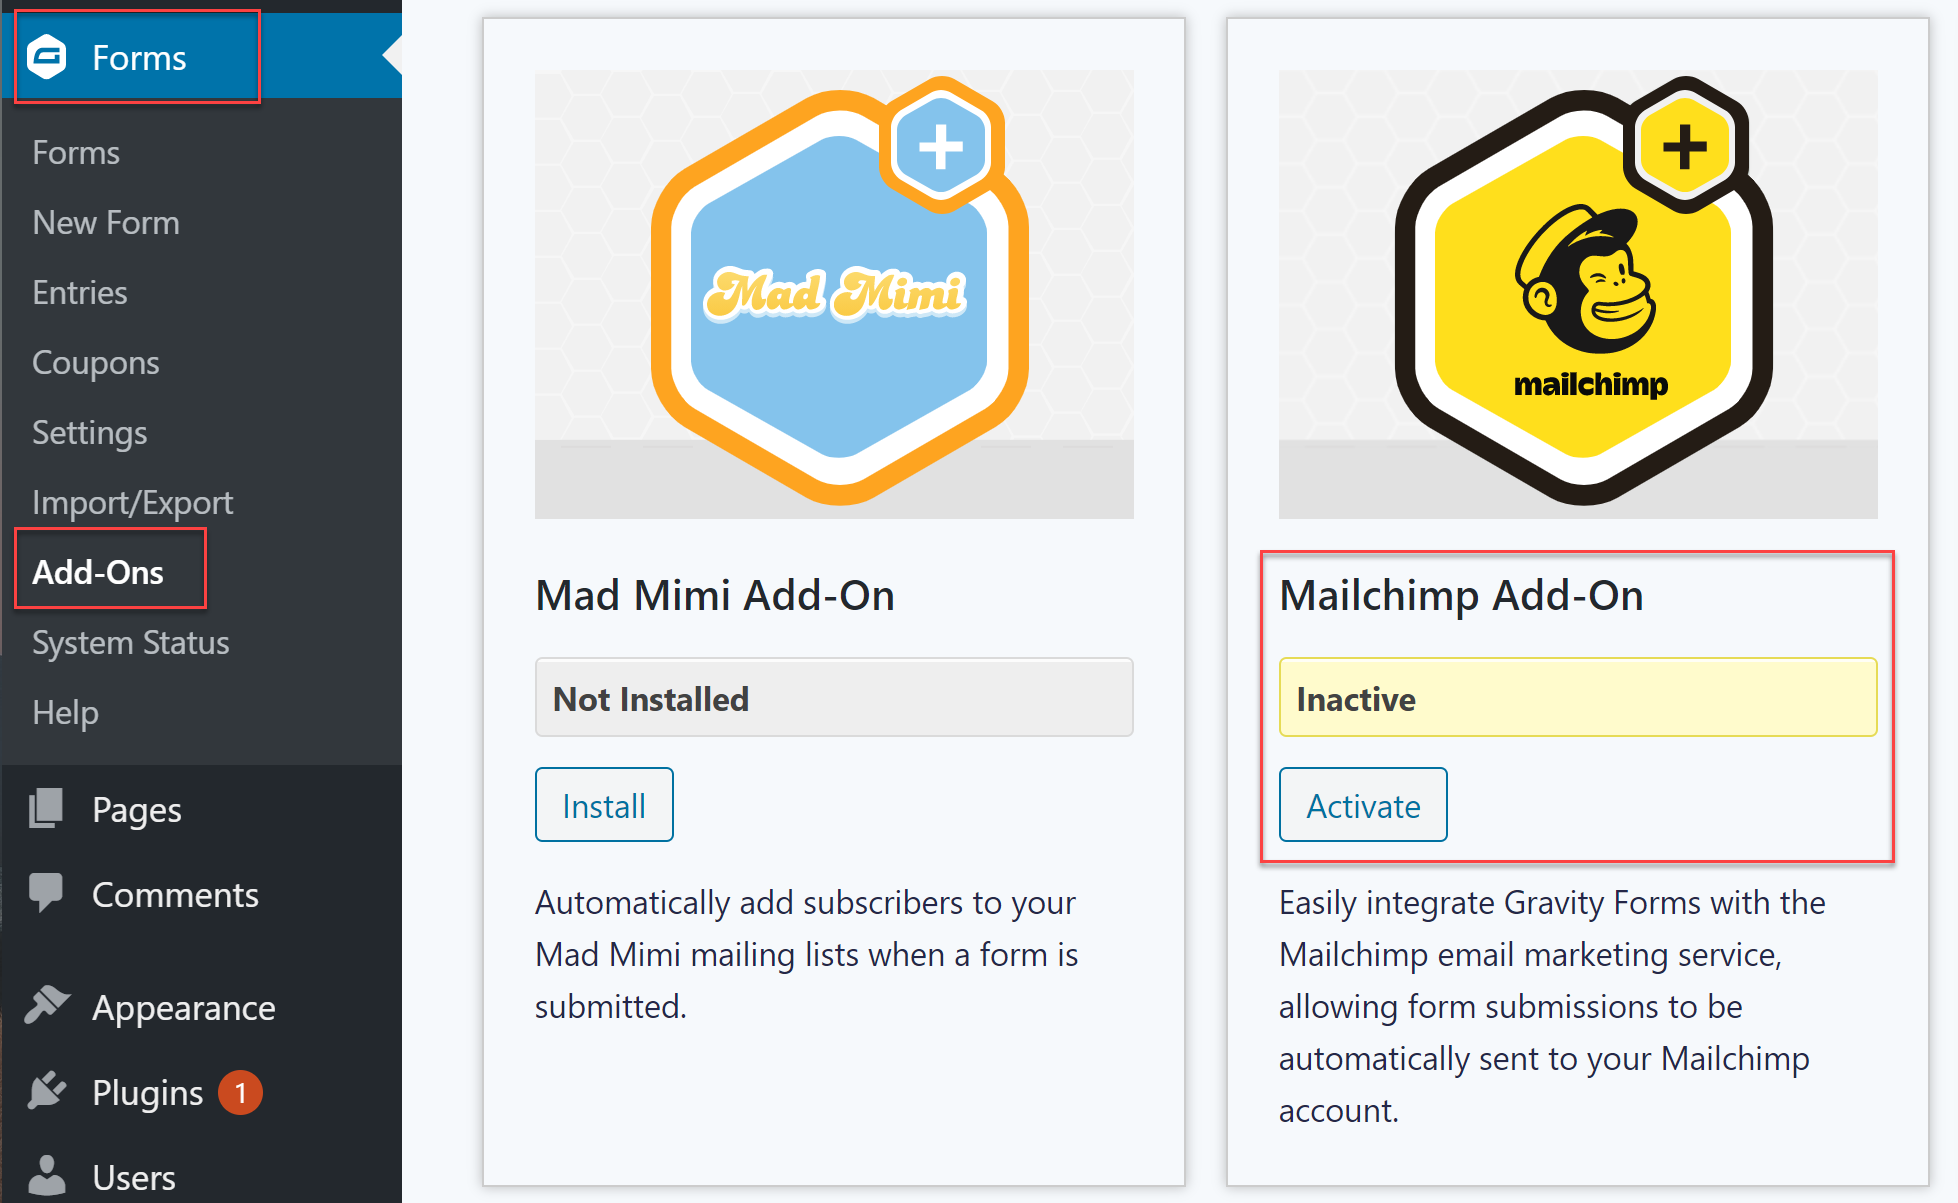
Or, you could install the Zapier Add-On to automate admin tasks related to form submissions and sync your forms with thousands of other applications.
If you need more information on how to get started with Gravity Forms, we have a tutorial that walks you through all of the necessary steps.
How To Embed A Form In WordPress
Now that you know how to get started with Gravity Forms, let’s find out how to embed a form in your WordPress website. There are several methods for doing this and we’ll go over each one below.
Embed a Form Using the 2.6 Embed Form Flyout
If you’ve updated to Gravity Forms 2.6, then you can now embed a form into a page or a post directly from the form editor using the new Embed Form flyout. Watch the video or read on to find out how to do so…
The Embed Form flyout utilizes the WordPress Block editor, and gives you the option of selecting to display the form on a new or existing page or post, or a custom post type (with the use of filters). To get started with the Embed Form flyout, within the form editor simply click on Embed, which you will find in the top right corner of the screen.
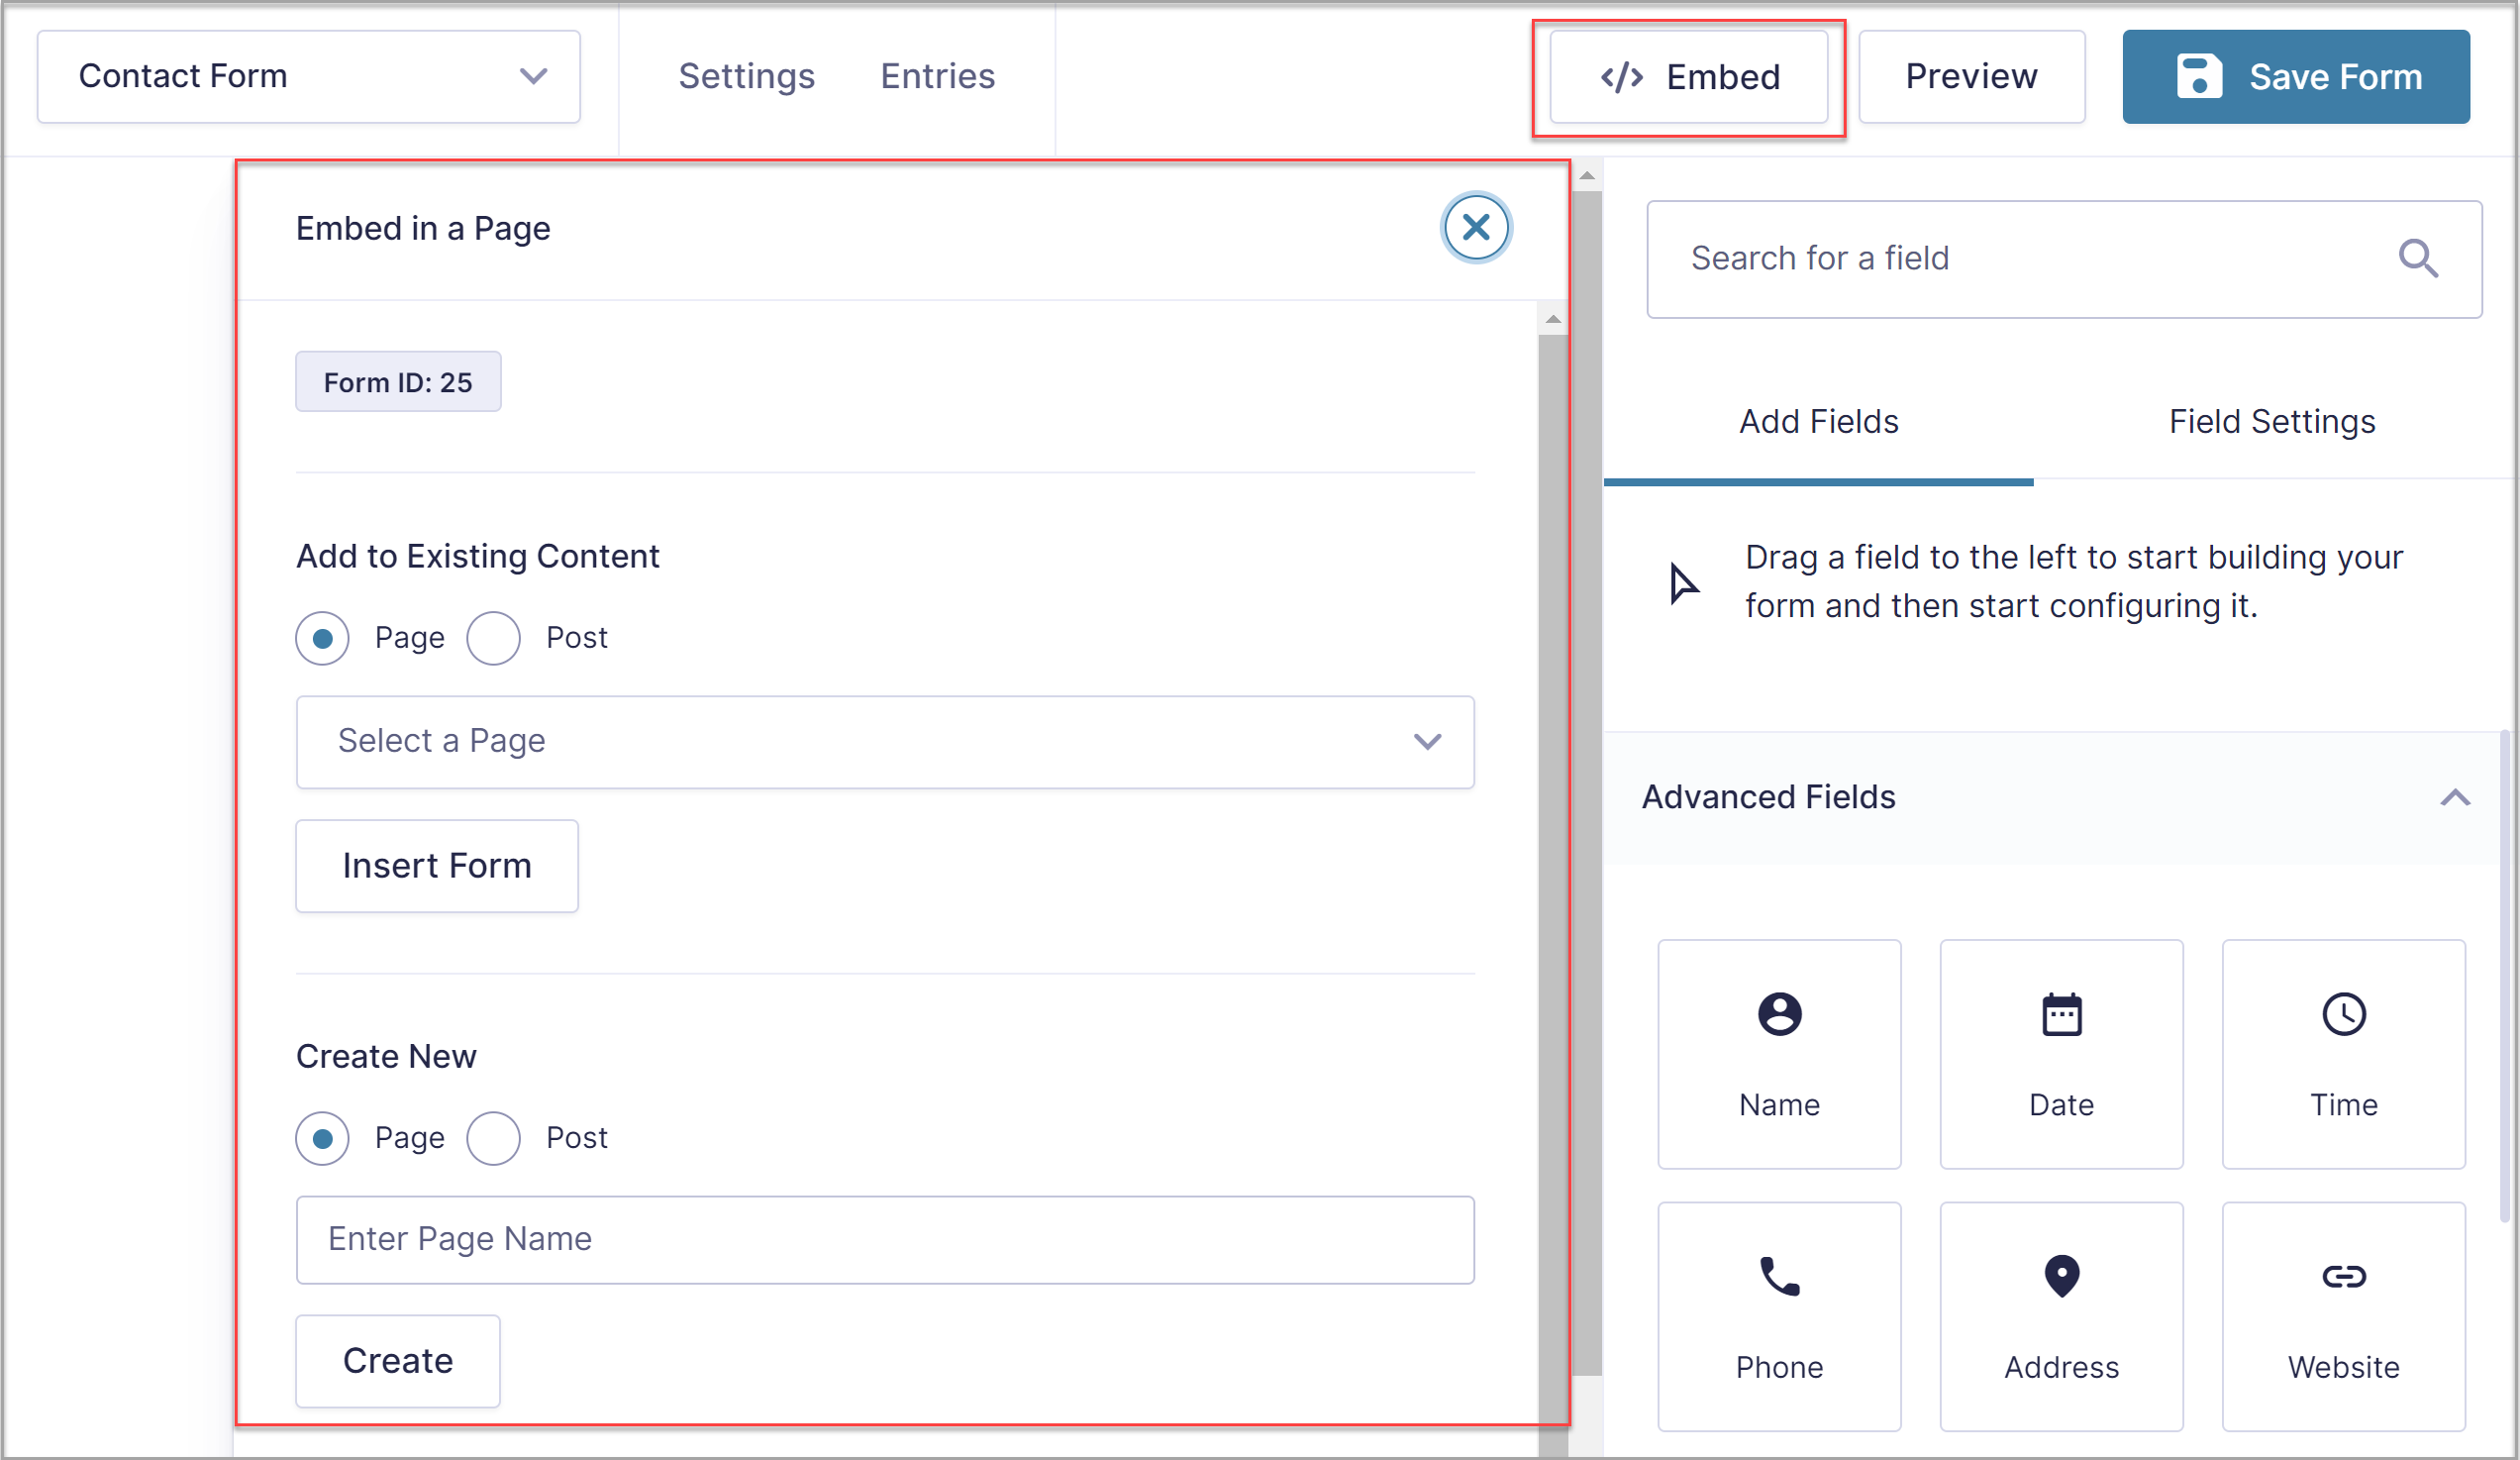
Then, within the Embed Form flyout select the page or post where you would like to add your form. Alternatively, you can choose to create a new page or post. Now select Insert Form (or Create) and the WordPress editor will automatically open your new or existing page or post.
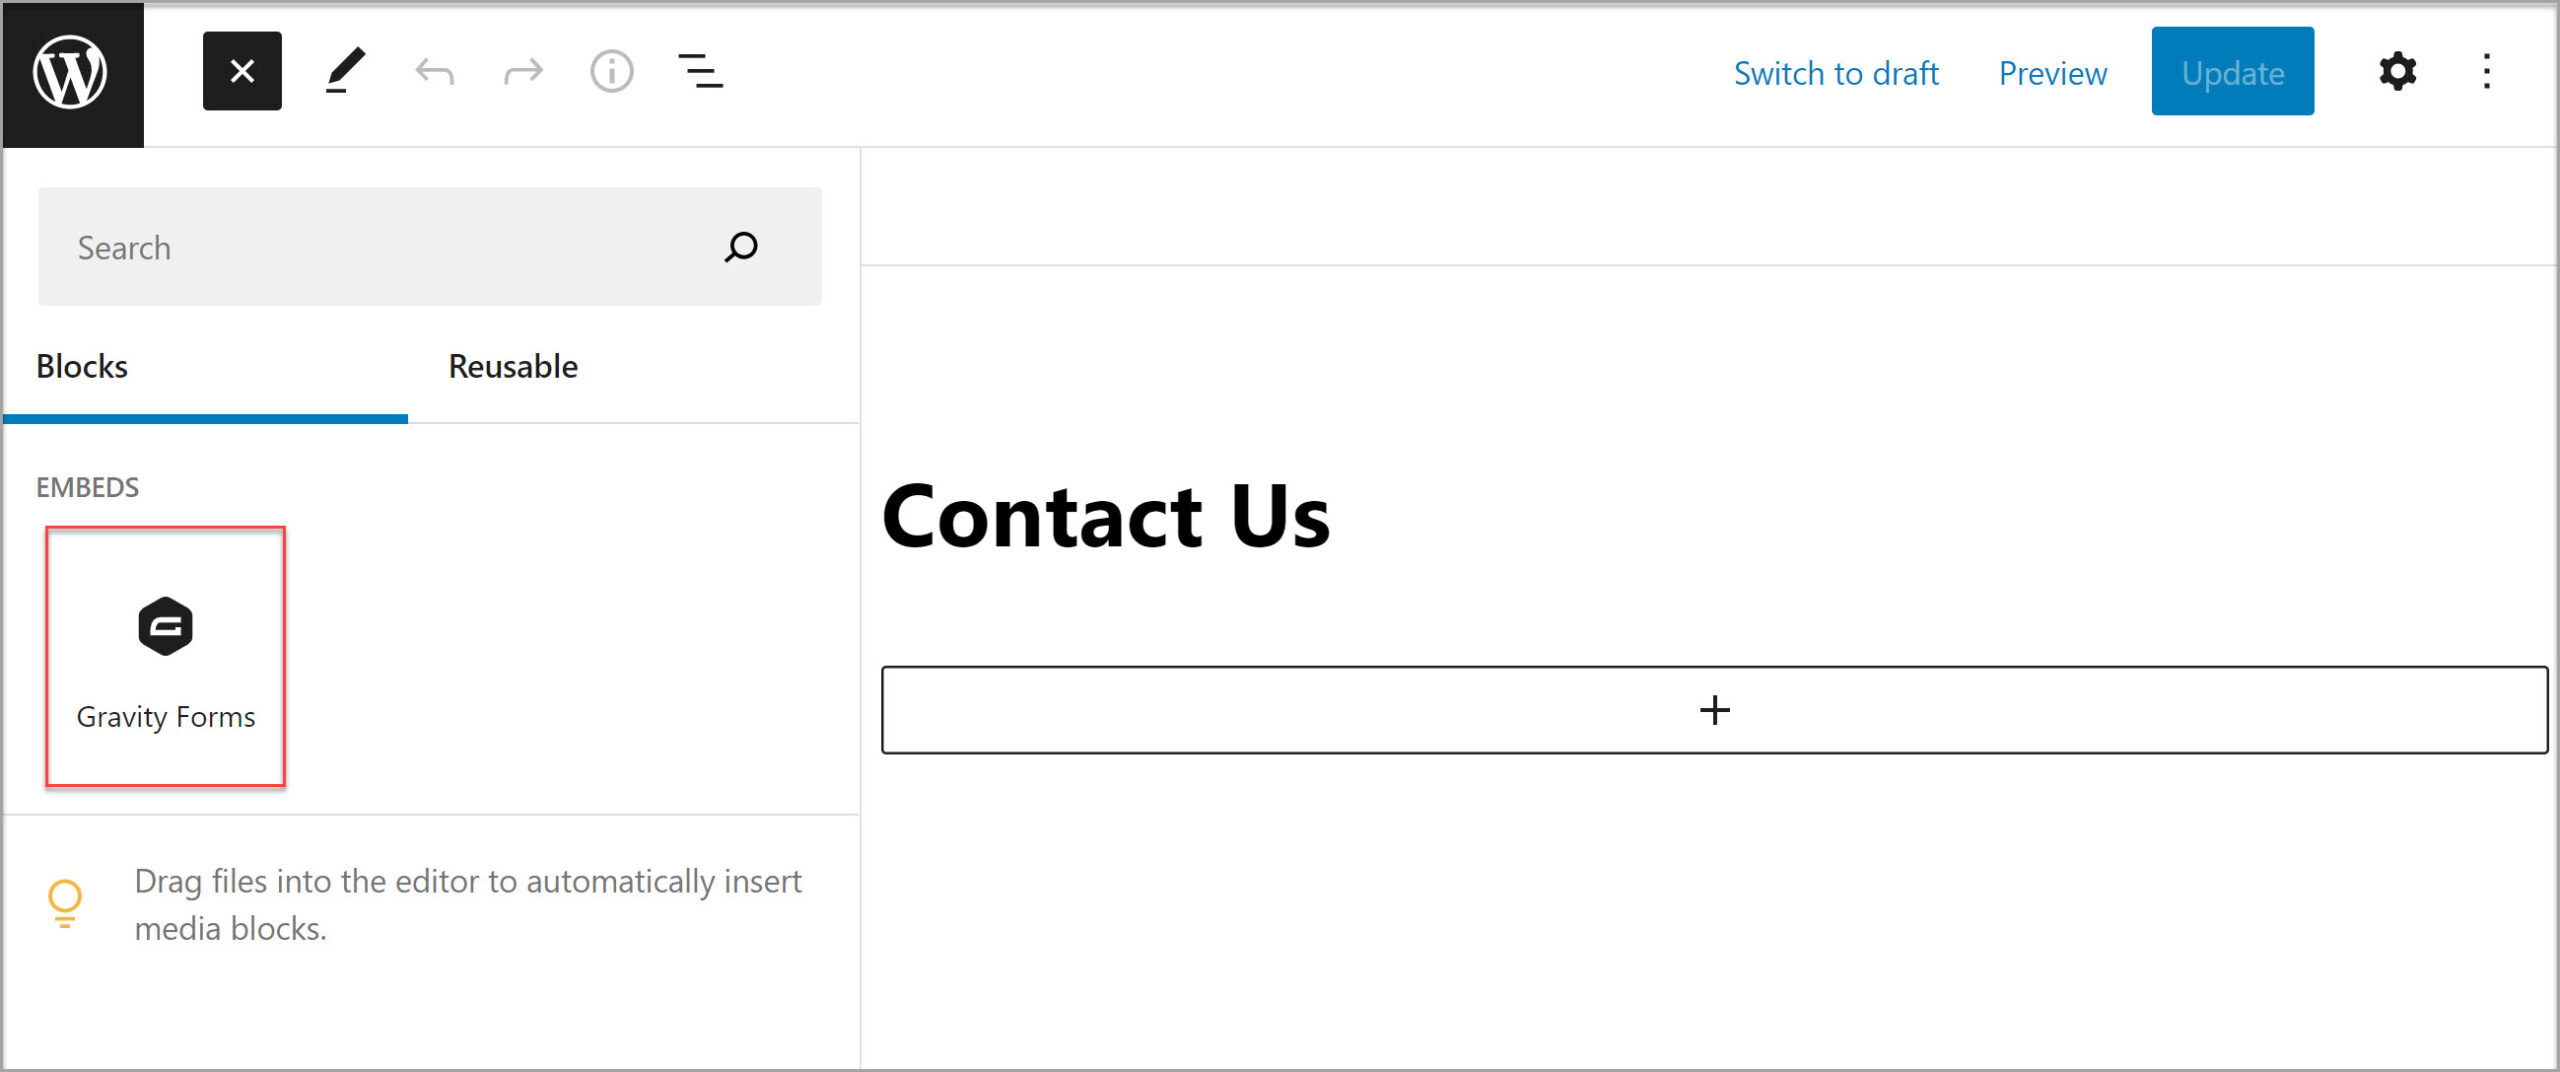
If you have chosen to embed your form in an existing page or post, you will find the Gravity Forms block highlighted under Embeds. Drag and drop the block, positioning it within the existing content where you deem appropriate.
If you have chosen to create a new page or post, you will find the form automatically embedded within the Block editor.
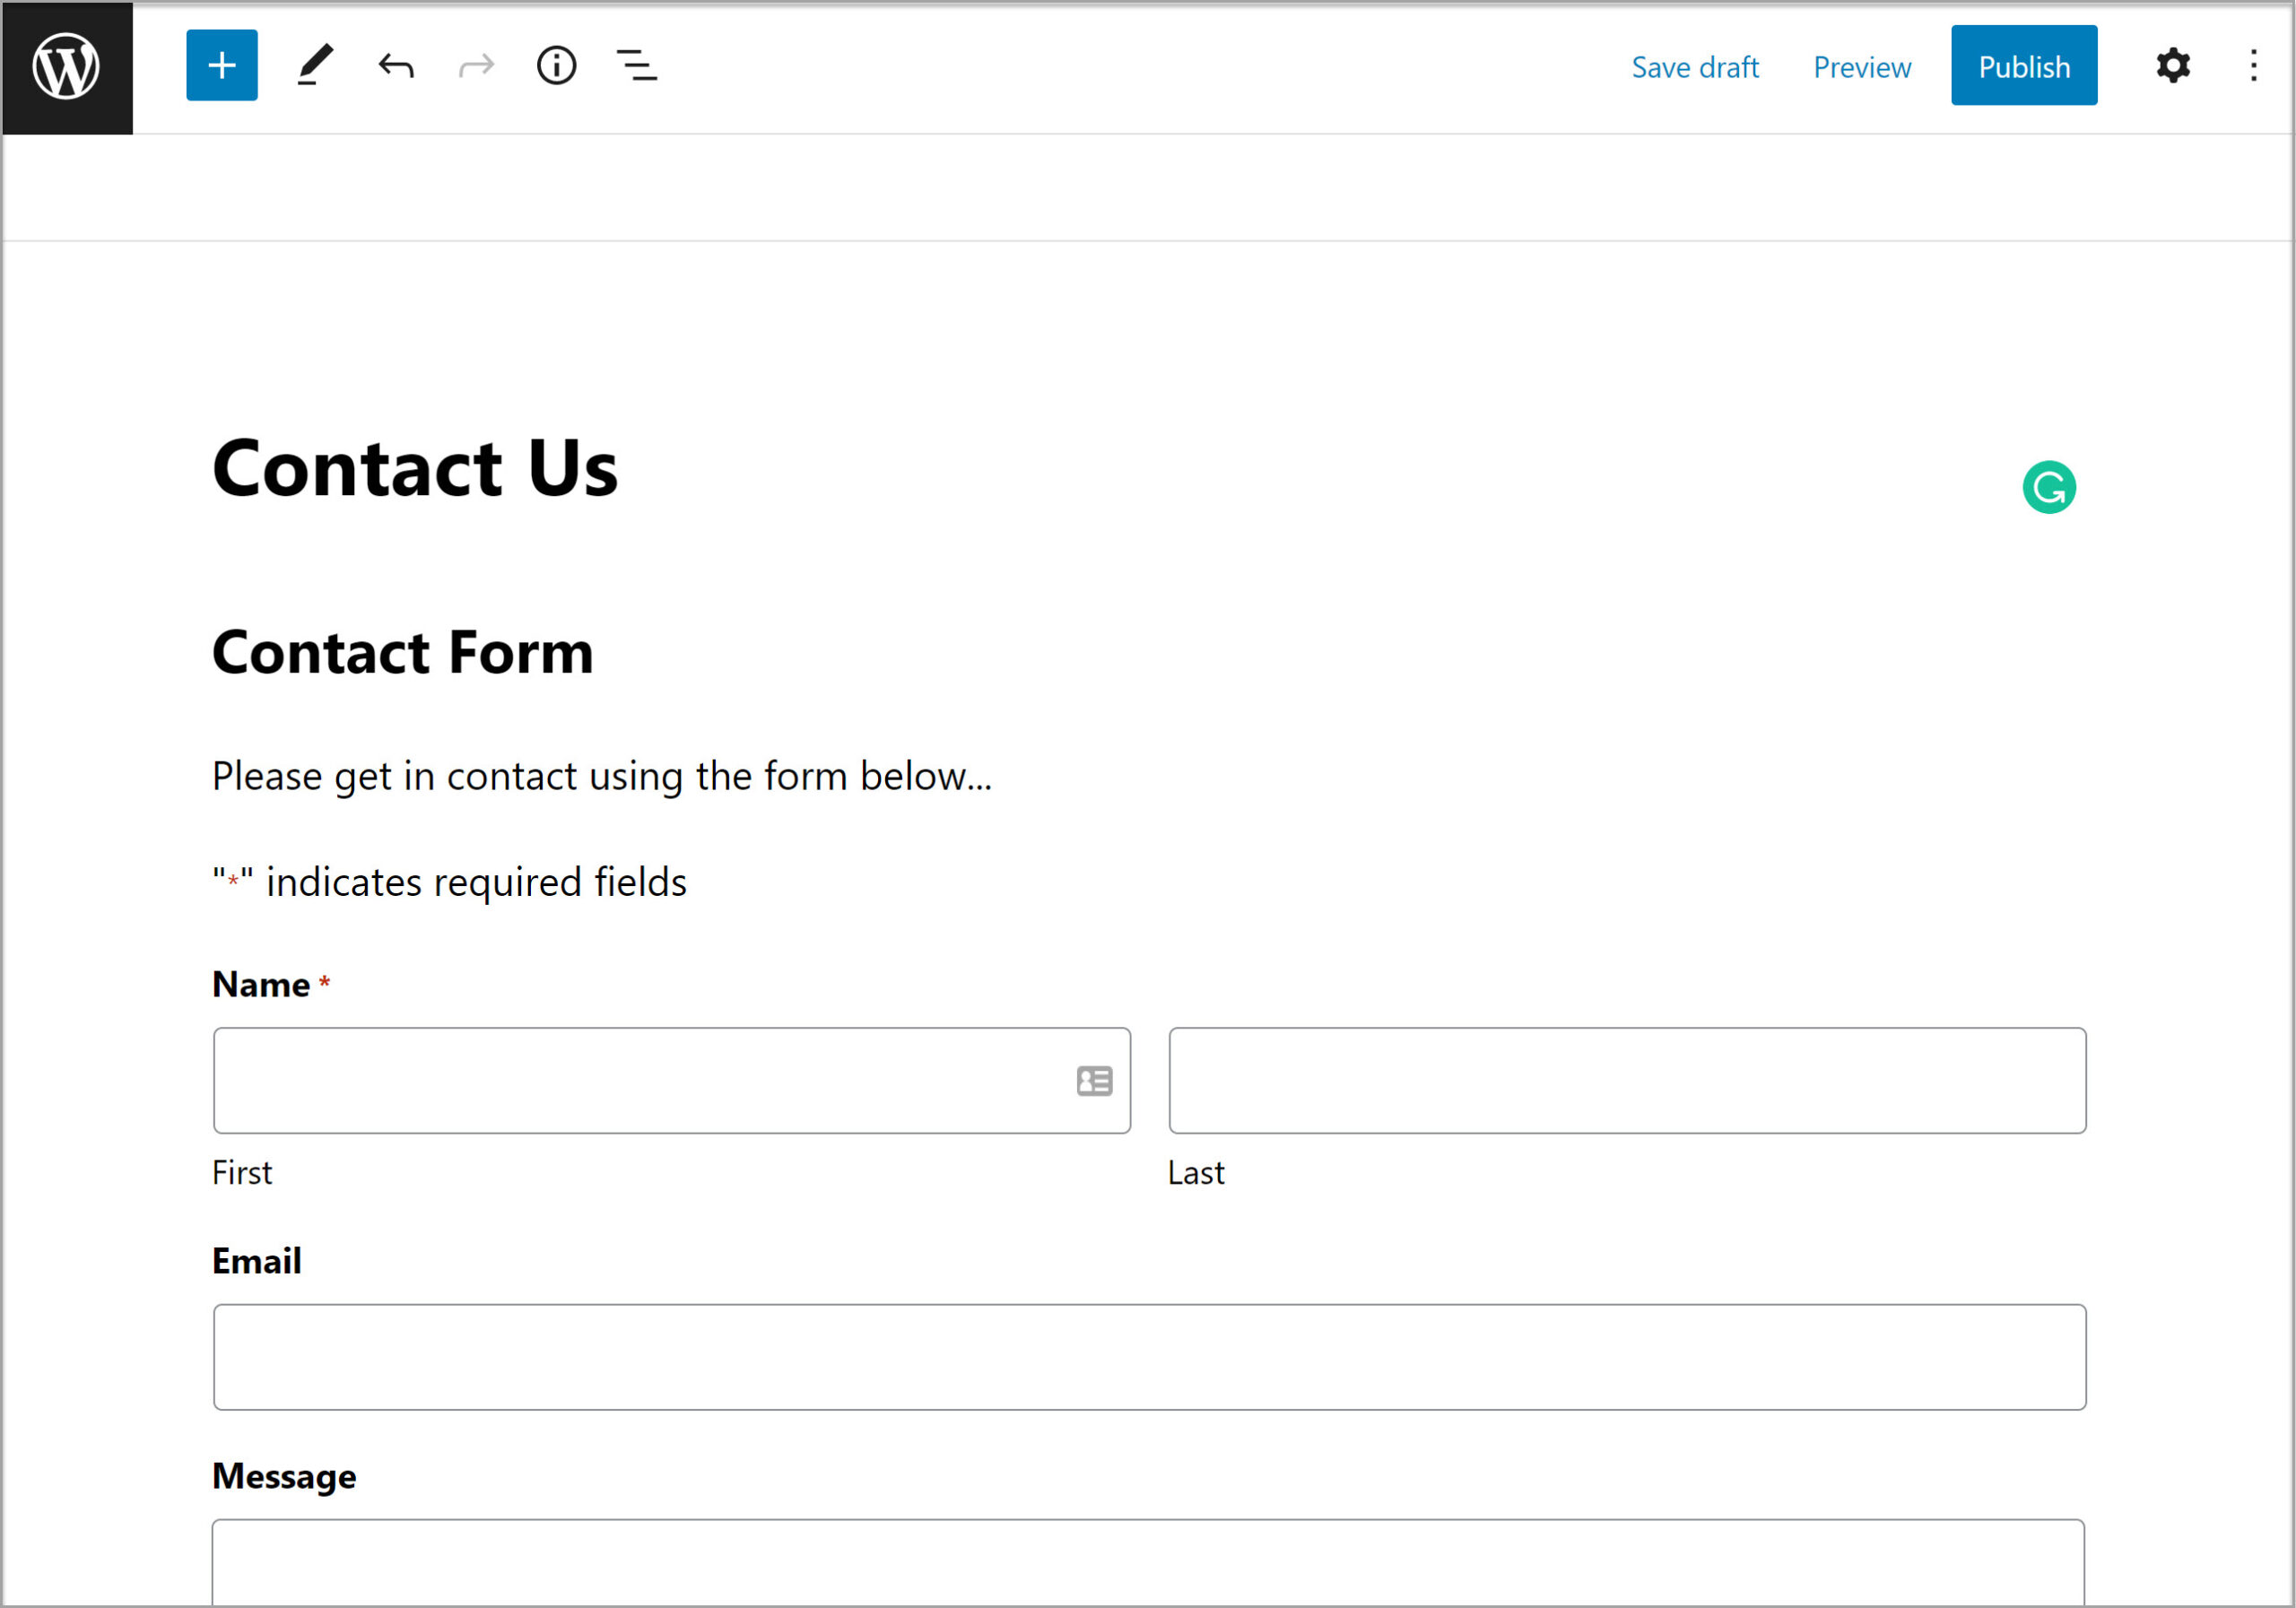
If needed, you can use the Block Options to control how the form appears on your site. A few options include:
- Toggling the title of the form on or off
- Toggling the description of the form on or off
- Embedding the form on the front-end using AJAX, so confirmations and changes between form pages can happen without page reloads
When you’re done going through these options, save your changes and then view your page to see the form in action. For more information on the Form Embed flyout, check out the Gravity Forms Documentation.
Embed A Form Within The Block Editor
Of course, you can also embed a form directly within the Block editor, without needing to use the Embed Form flyout. This is useful if are already editing a page or post and simply want to add an existing form.
Again, watch this video or read on to learn more…
To embed a form within a page or a post, click the Plus sign in the Block editor and search for Gravity Forms. Under Embeds, click on Form. This will insert the Gravity Forms block.
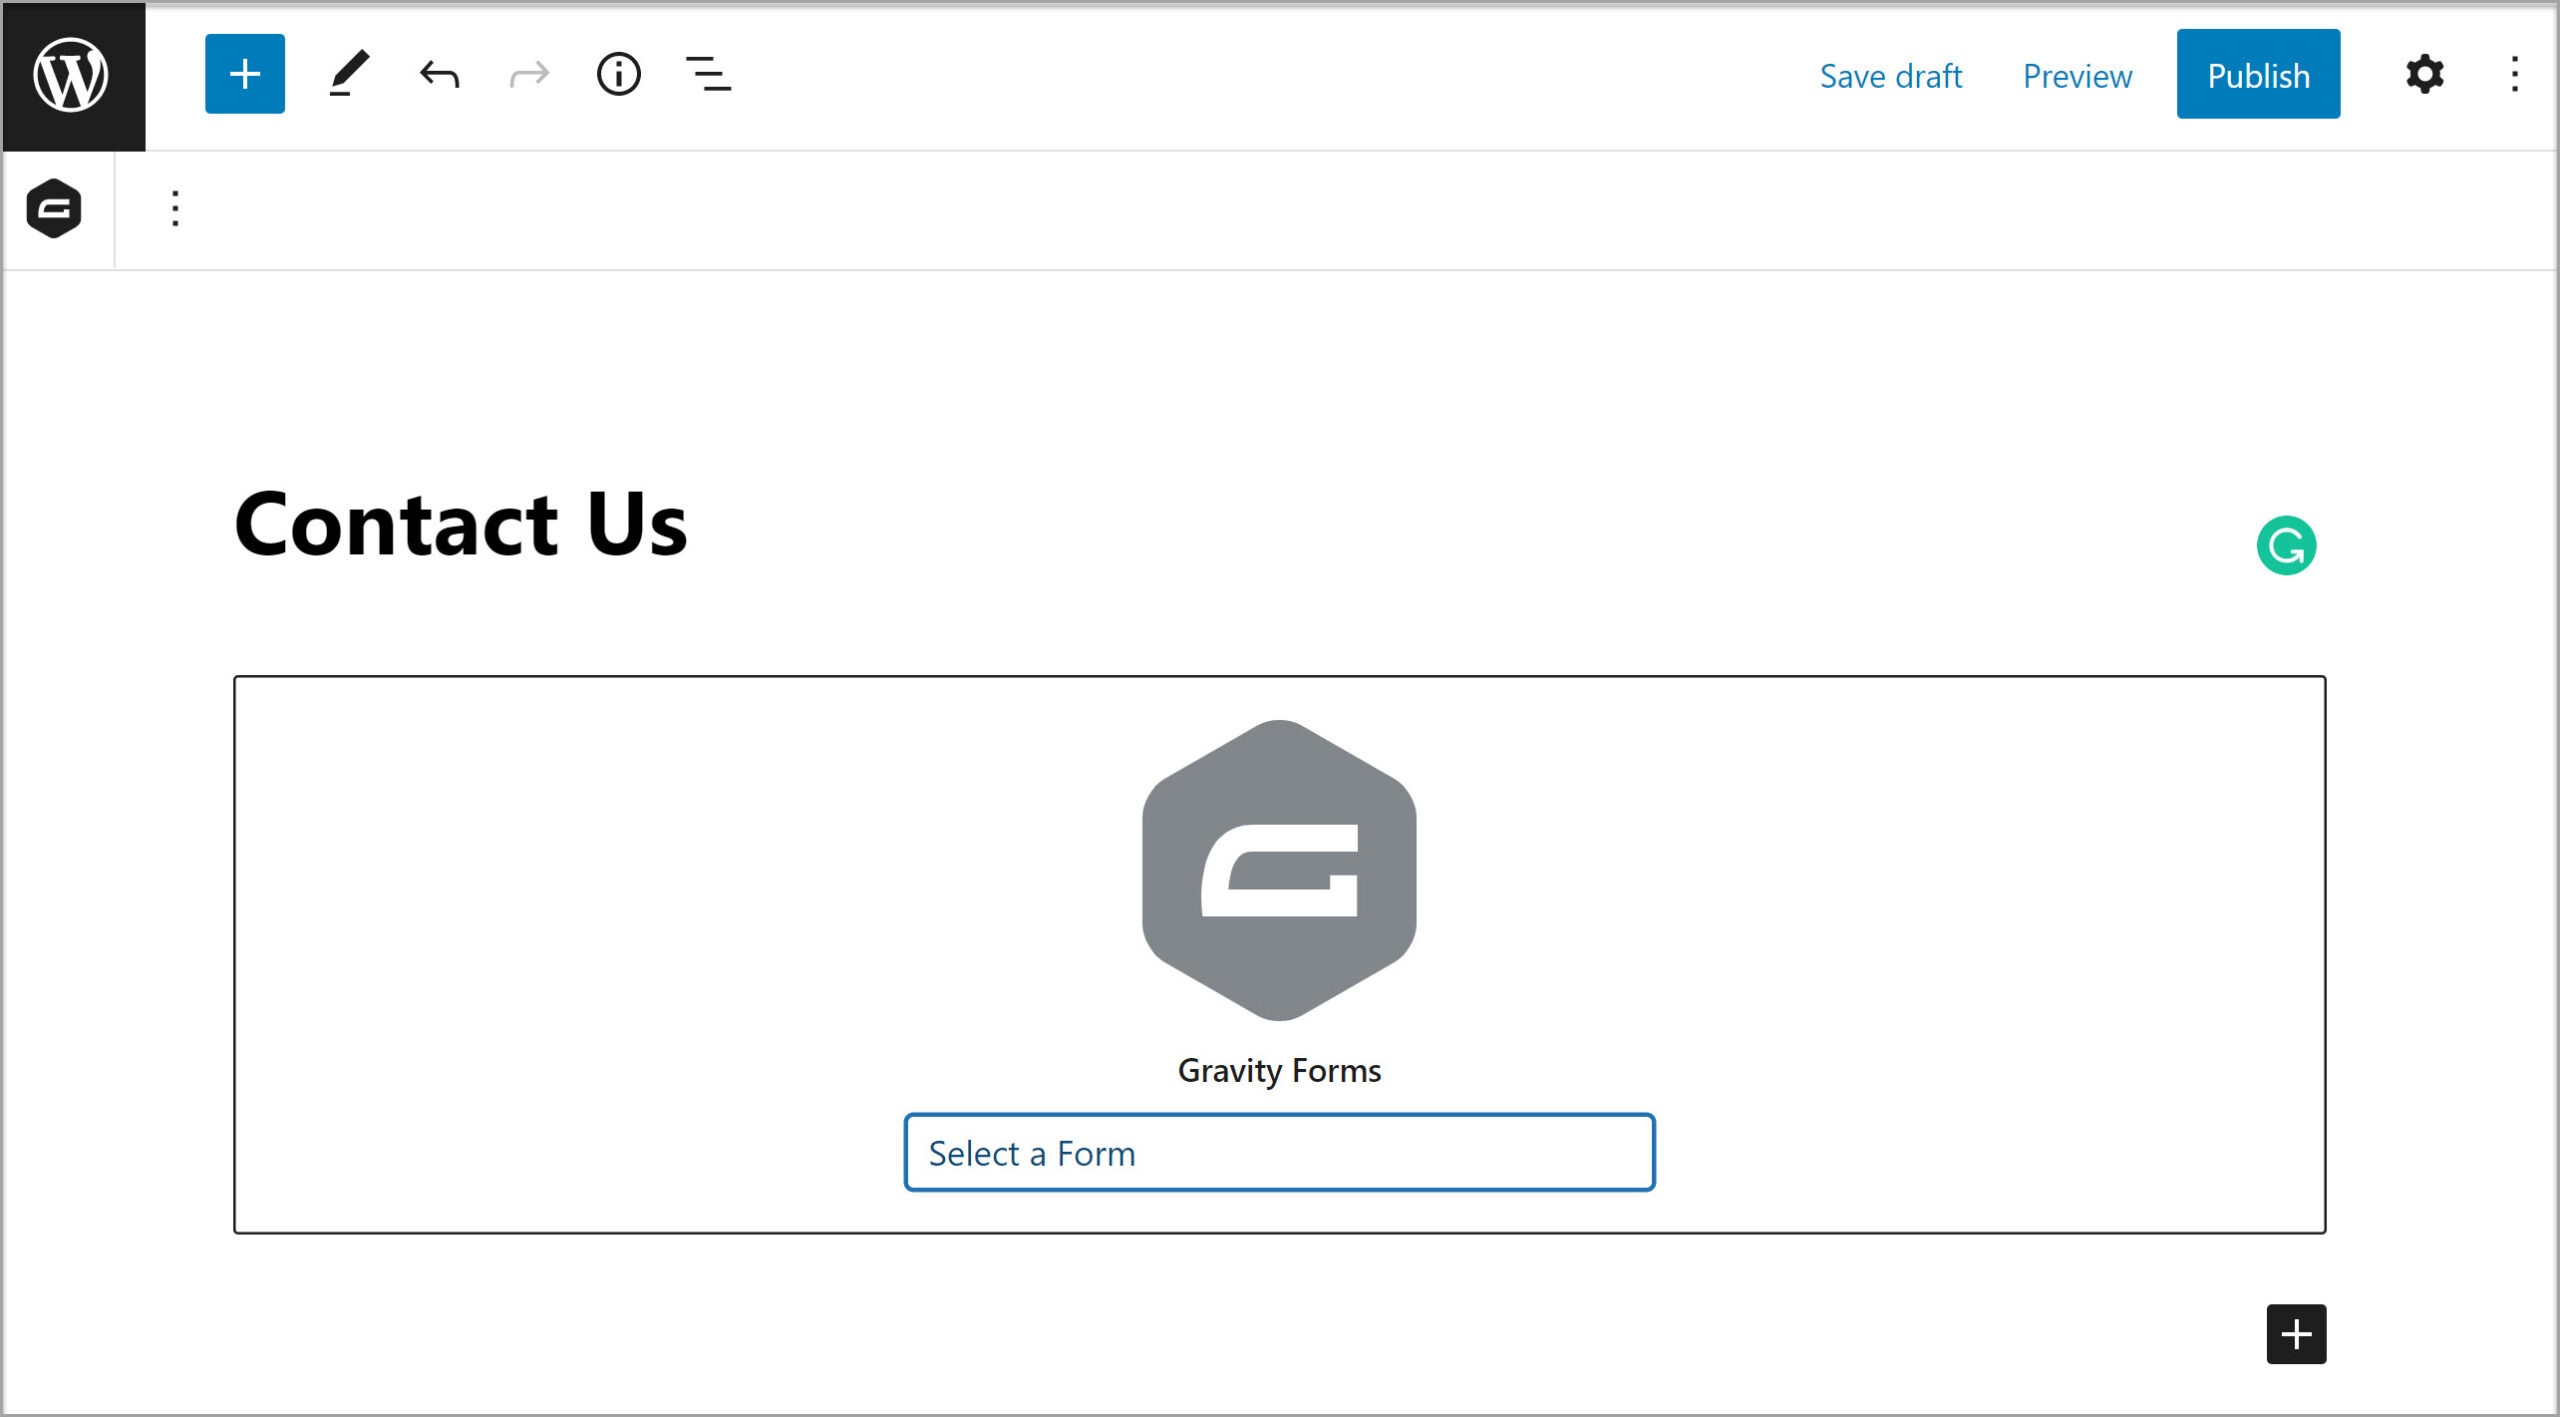
Then, select the correct form from the drop-down menu. This will insert that form onto the page. Customize the block options as required and then publish the page.
For more information on embedding a form directly into the Block editor, check out this article – The Gravity Forms Gutenberg Block.
