Tutorials -
 By Carl Hancock
Published September 10, 2009
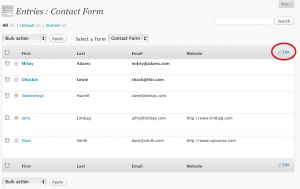
One of the cool features of the Entry List that a lot of people haven’t yet put to use is the handy column customizer. When dealing with forms with many columns, Gravity Forms provides you with the flexibility to pick and choose which fields are used on the Entry List page.

To access the Entry List customization window, simply click on the “Edit” link that appears on the right side of the Entry List table. Clicking on the “Edit” link will activate the customizer window.

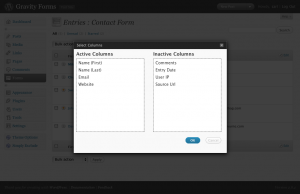
The customizer is simple to use. On the left panel are the active columns, and on the right panel are the inactive columns. Simply drag and drop to activate or inactive columns. You may reorder the active columns by dragging and dropping them in the order you would like them to appear. When done, click the “OK” button.

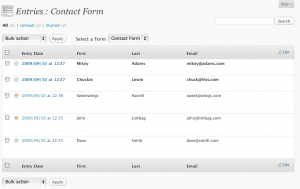
You should not see only the columns you would like to see on the Entry List page. These settings will be saved on a form by form basis. Please remember that you have limited horizontal screen space and displaying too many fields on the Entry List page may result in unwanted text wrapping.
 By Carl Hancock
Published September 10, 2009


