Starter Guide: How to Create an Event Registration Form with Gravity Forms
 Whether you are planning an in-person or online event, hosting a big meetup is a complex and time-consuming process. There are a million things to do and never enough time to do them.
It’s important to automate as much of the event planning process as possible. This includes registration. So using an event registration form is a key way to take some work off your plate by automating the way guests sign up.
In this article, we discuss how to use the Gravity Forms Event Registration form template to set up event registrations on your WordPress website. We run through how to import and customize the form template as well as integrate it with a payment Add-On so you can charge participants a fee for registering.
Ready to get started?…
What Should You Consider When Creating an Event Registration Form?
Getting your event registration form ‘right’ will go a long way to ensuring your event runs smoothly. Streamlining the sign up process, collecting the information you need, and automating payments for the event are all points to consider.
Let’s discuss these in more detail…
What Information Do you Want to Collect?
Your event registration form provides a great opportunity to collect any specific information you might need from your attendees. This information may help you to understand more about your participants, better plan your event, or give feedback, which can help inform how you market events in the future.
Think carefully about what data will most help your business, and then plan your questions accordingly. For example, if you want to collect information to help you plan the event you might ask…
- Why are you attending our event?
- What do you hope to learn or accomplish?
- Where did you hear about our event?
The information collated from questions like these will help you to build an event experience that is personalized to your attendees.
How Can You Further Automate Pre-Event Processes?
By automating pre-event tasks and processes via your event registration from, you will save your business time and resources, as well as create a user-friendly experience for your attendees.
Using Gravity Forms, you can easily integrate your form with applications and external services that will enable you to automate a number of these tasks. These include…
- Accepting Registration Fees on Your Website – A variety of Gravity Forms payment Add-Ons are available with both the Pro and Elite licenses. These include Square, Stripe, PayPal, Authorize.net, Mollie, and more. Once you have connected your form with one of these payment processors, you can easily accept registration fees for your event via your WordPress website.
- Engaging With Your Attendees After Registration – Gravity Forms also integrates with a wide assortment of email marketing and CRM Add-Ons. By connecting your registration form with a marketing Add-On, you can keep in contact with your attendees after they have signed up, creating hype around your event and providing them with any necessary information. All Gravity Form licenses give you access to the marketing Add-Ons, which include Mailchimp, HubSpot, ActiveCampaign, AWeber, GetResponse, Campaign Monitor, Constant Contact, and more.
- Register Attendees to Your WordPress Website – As part of the registration process, you may want to register users on your WordPress website so they can access private content only available to registered participants. With the Gravity Forms User Registration Add-On, currently available with the Gravity Forms Elite license, you can configure your registration form so that a new account on your website is created each time a new participant submits a form. You can also specify to do so only after a payment is approved.
- Further Automations – Gravity Forms boasts a wide assortment of official integrations, but if you want to connect to a third-party service that isn’t offered in one of our plans, then our Zapier Add-On might be able to help. Zapier is available with our Pro and Elite licenses and enables you to connect Gravity Forms with over 2000 applications, further extending the reach of your forms. For more information on Zapier, have a read of this article.
Of course, integrating your form with payment and marketing Add-Ons are optional requirements, but recommended for anyone looking to streamline their workflows and provide a professional sign up process for their event participants.
Now let’s find out how to set up an event registration form on your site…
Step 1: Import the Event Registration Form Template
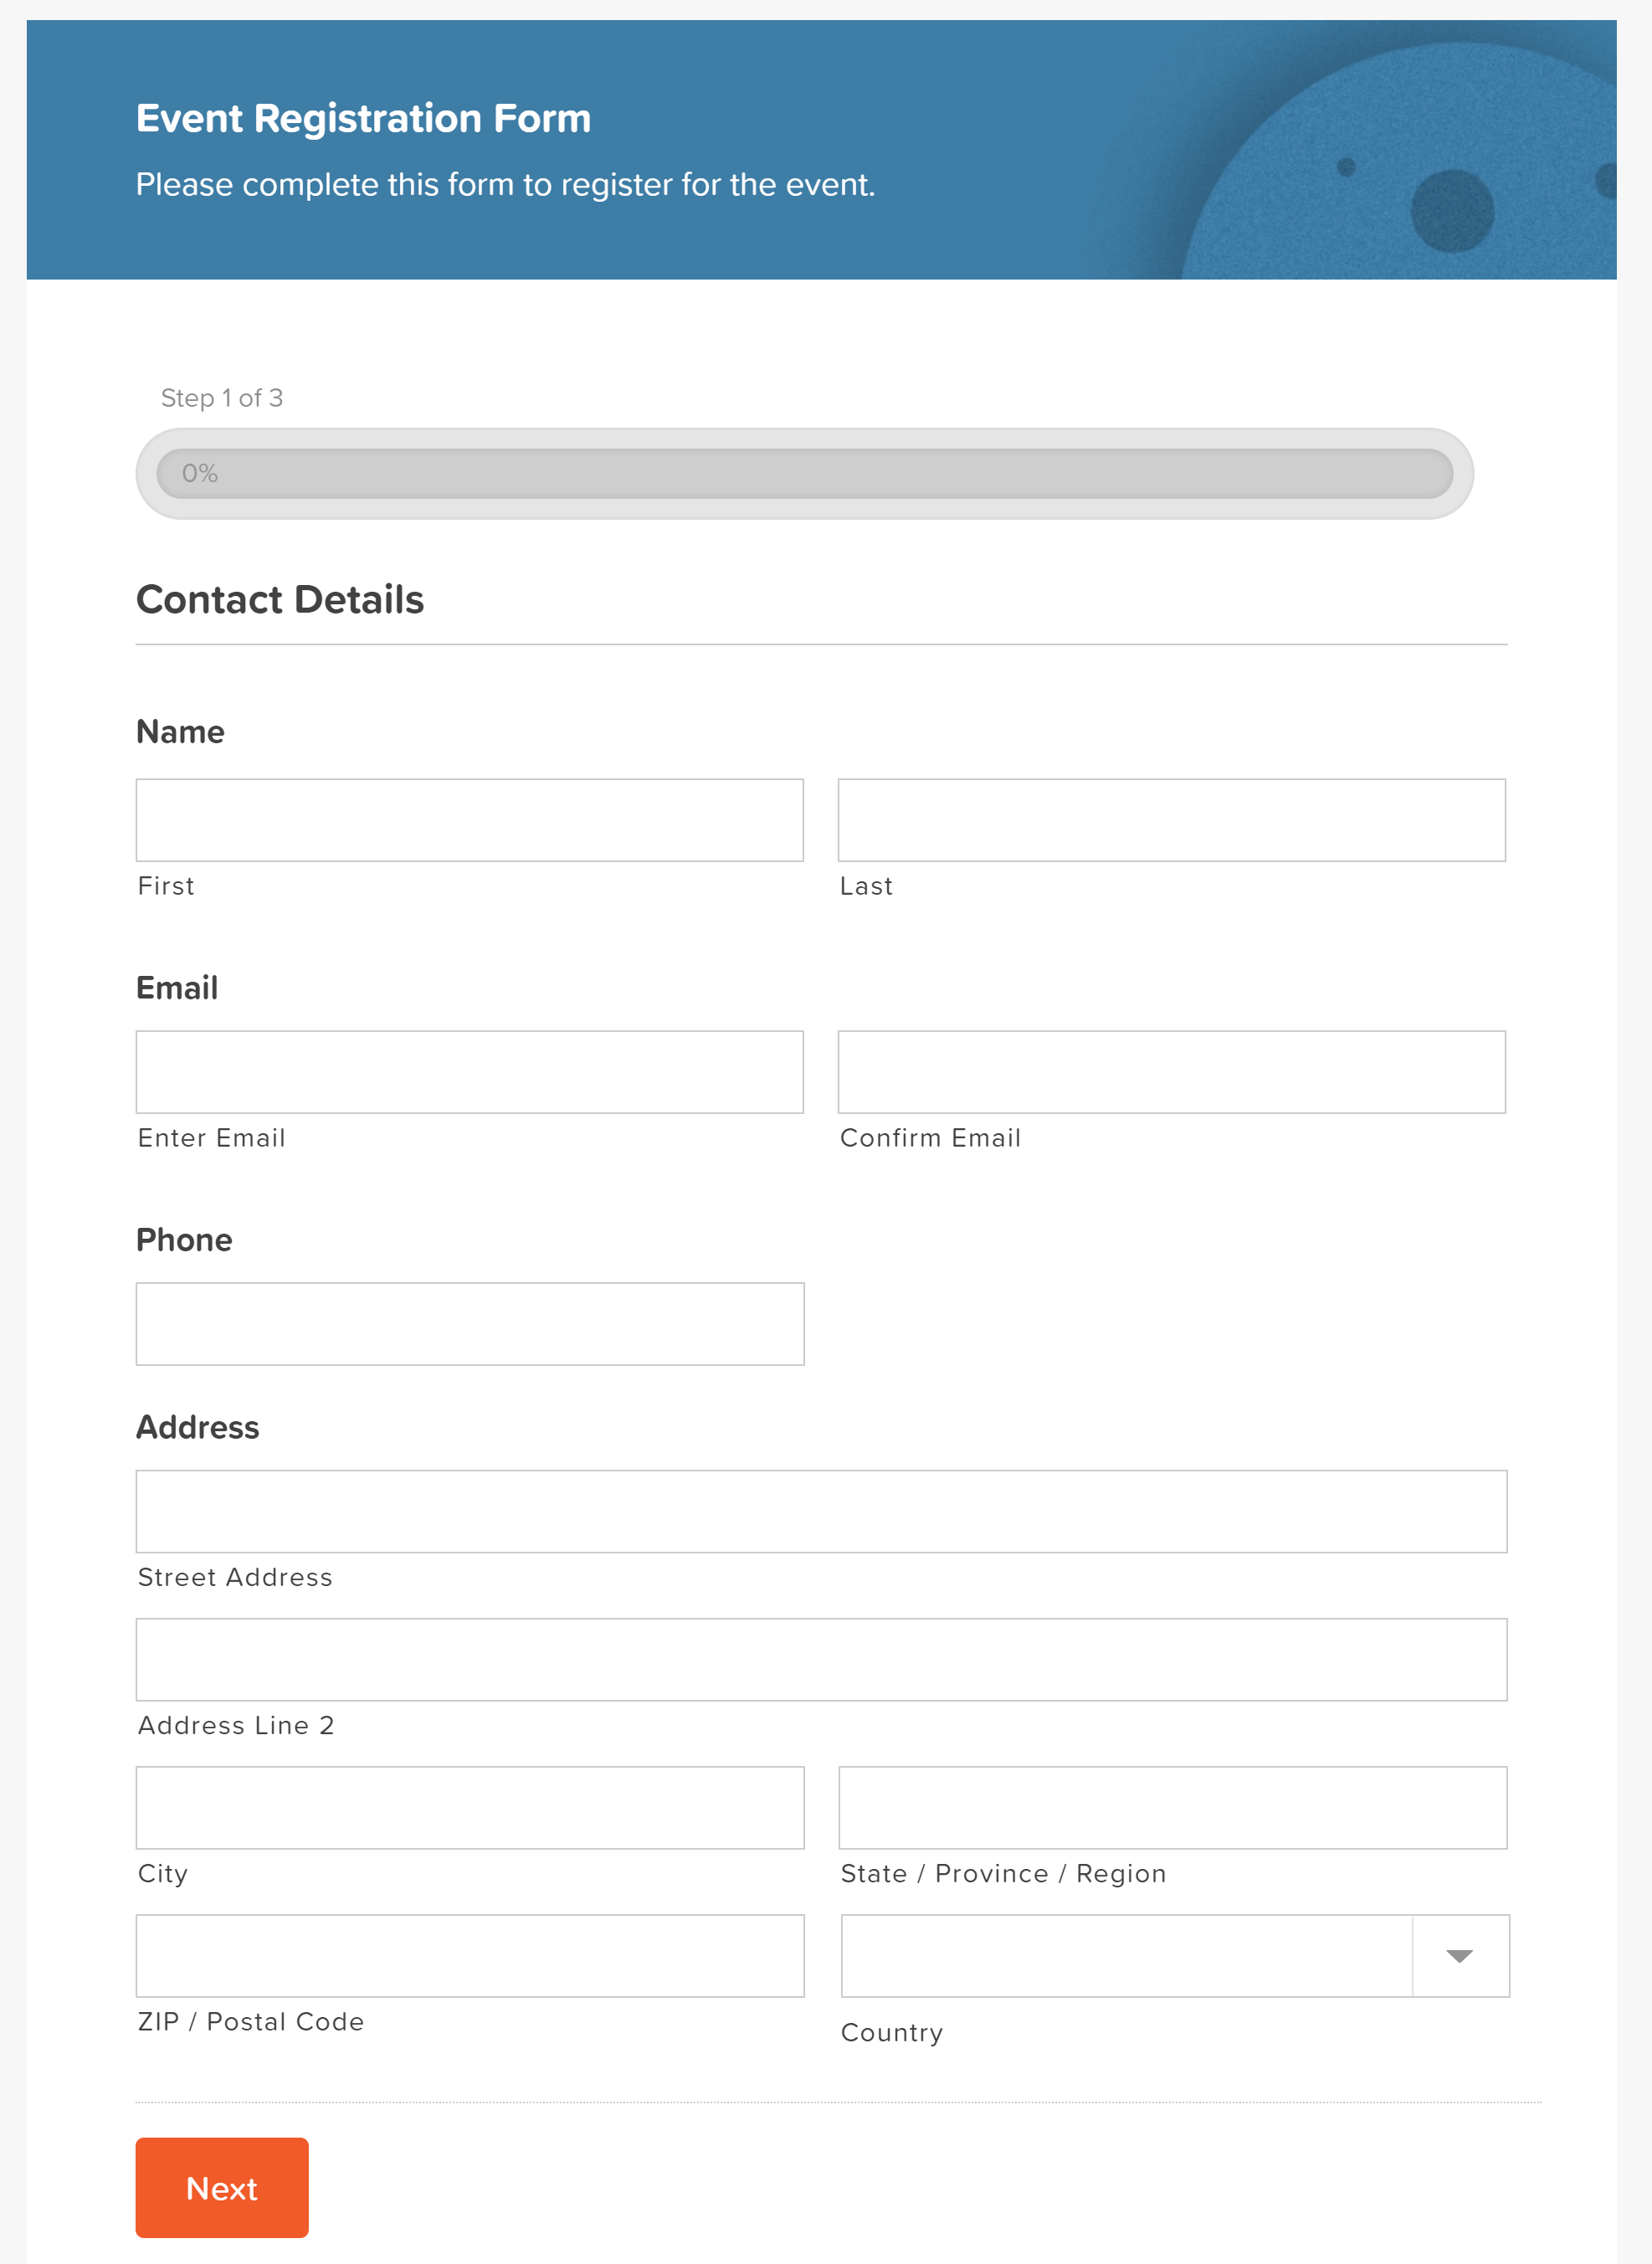 The template library is packed full of free templates that can be easily imported to your site. One of these templates is the Event Registration form template.
As with all the Gravity Forms templates, the event registration template is fully customizable, enabling you to tailor the form to your specific event. Easily add, delete, or edit form fields, alter field settings, and write relevant text, to ensure your form engages with your users.
To import this template to your site, simply click on the Get this Form Template button at the bottom of the page – the form will then download to your computer as a .JSON file.
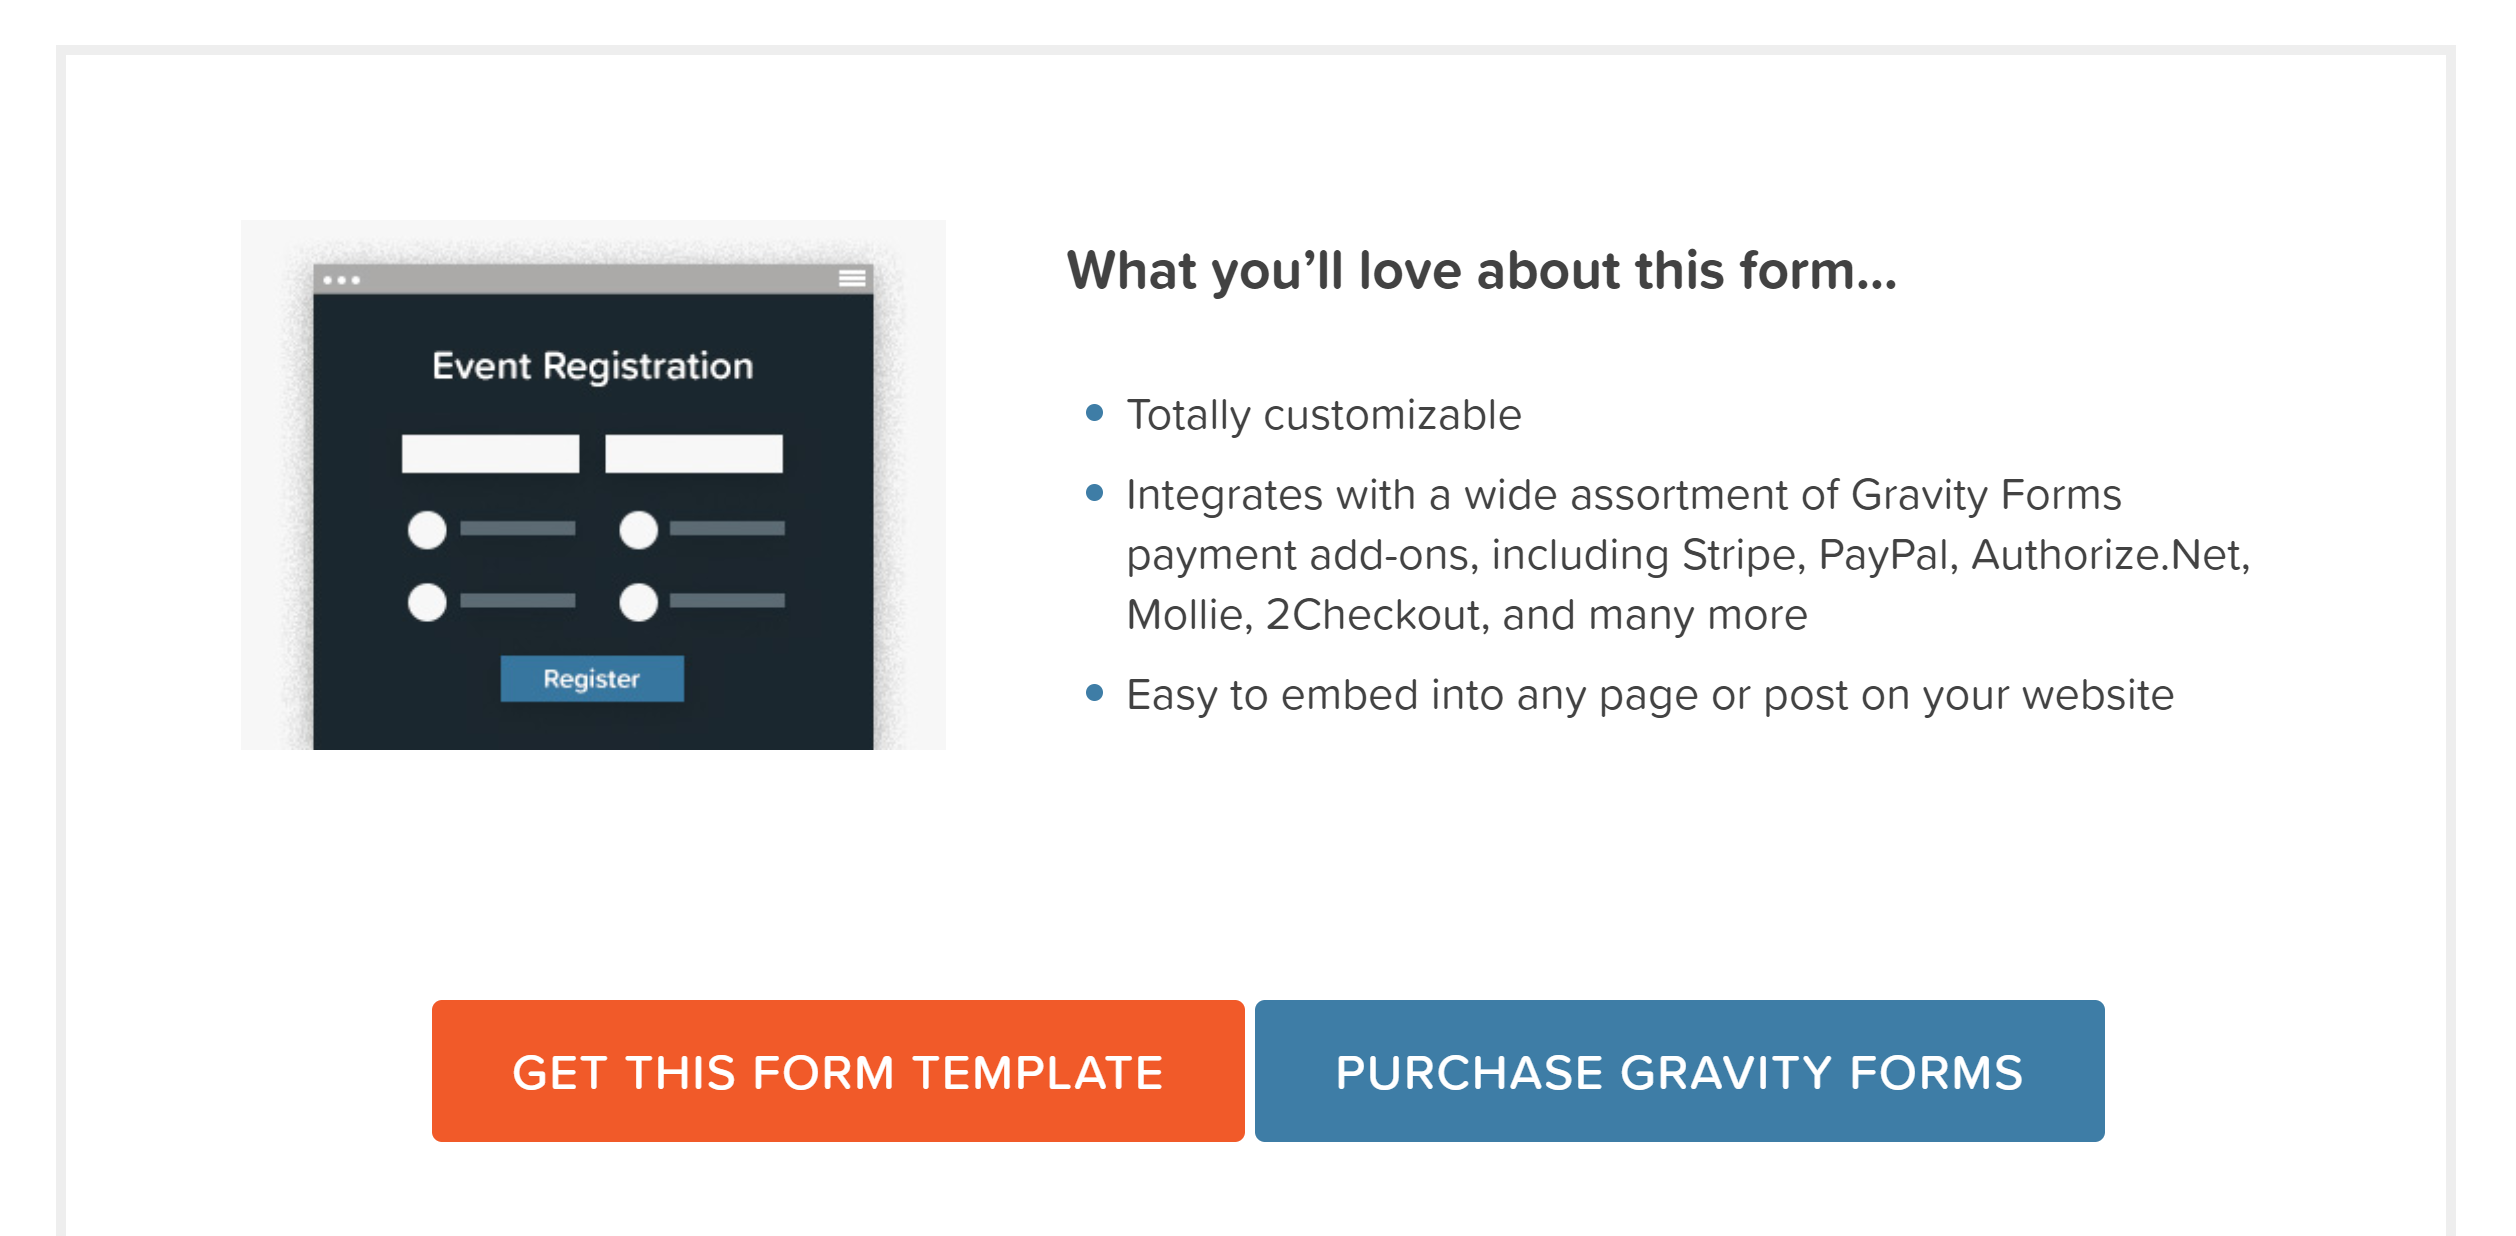 Open your WordPress dashboard and select Forms > Import/Export > Import Forms > Choose Files. Select the event-registration-form.JSON file from your computer and hit Import.
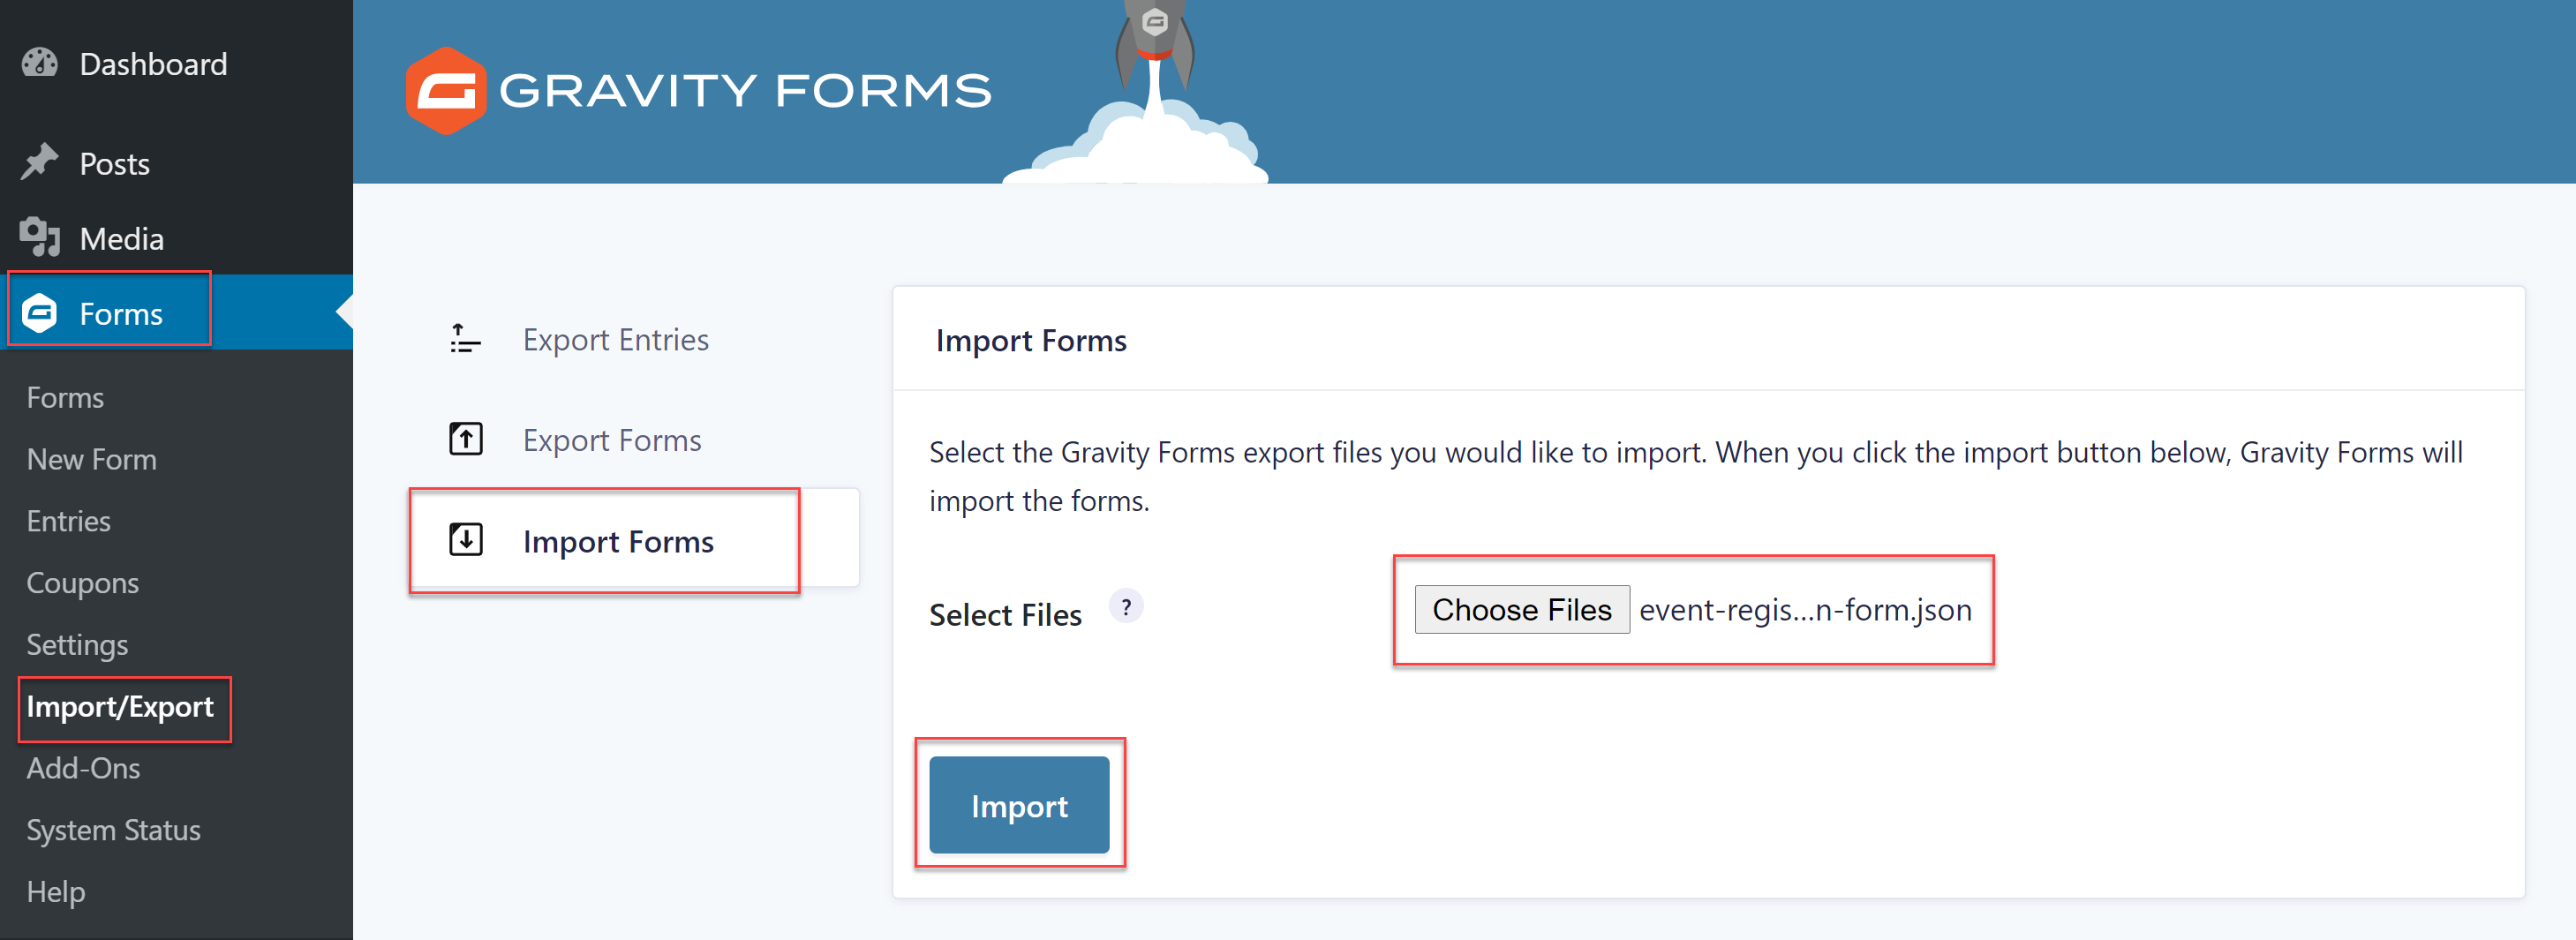 The event registration form template will now be ready to customize within the form editor.
Step 2: Edit Your Form Fields
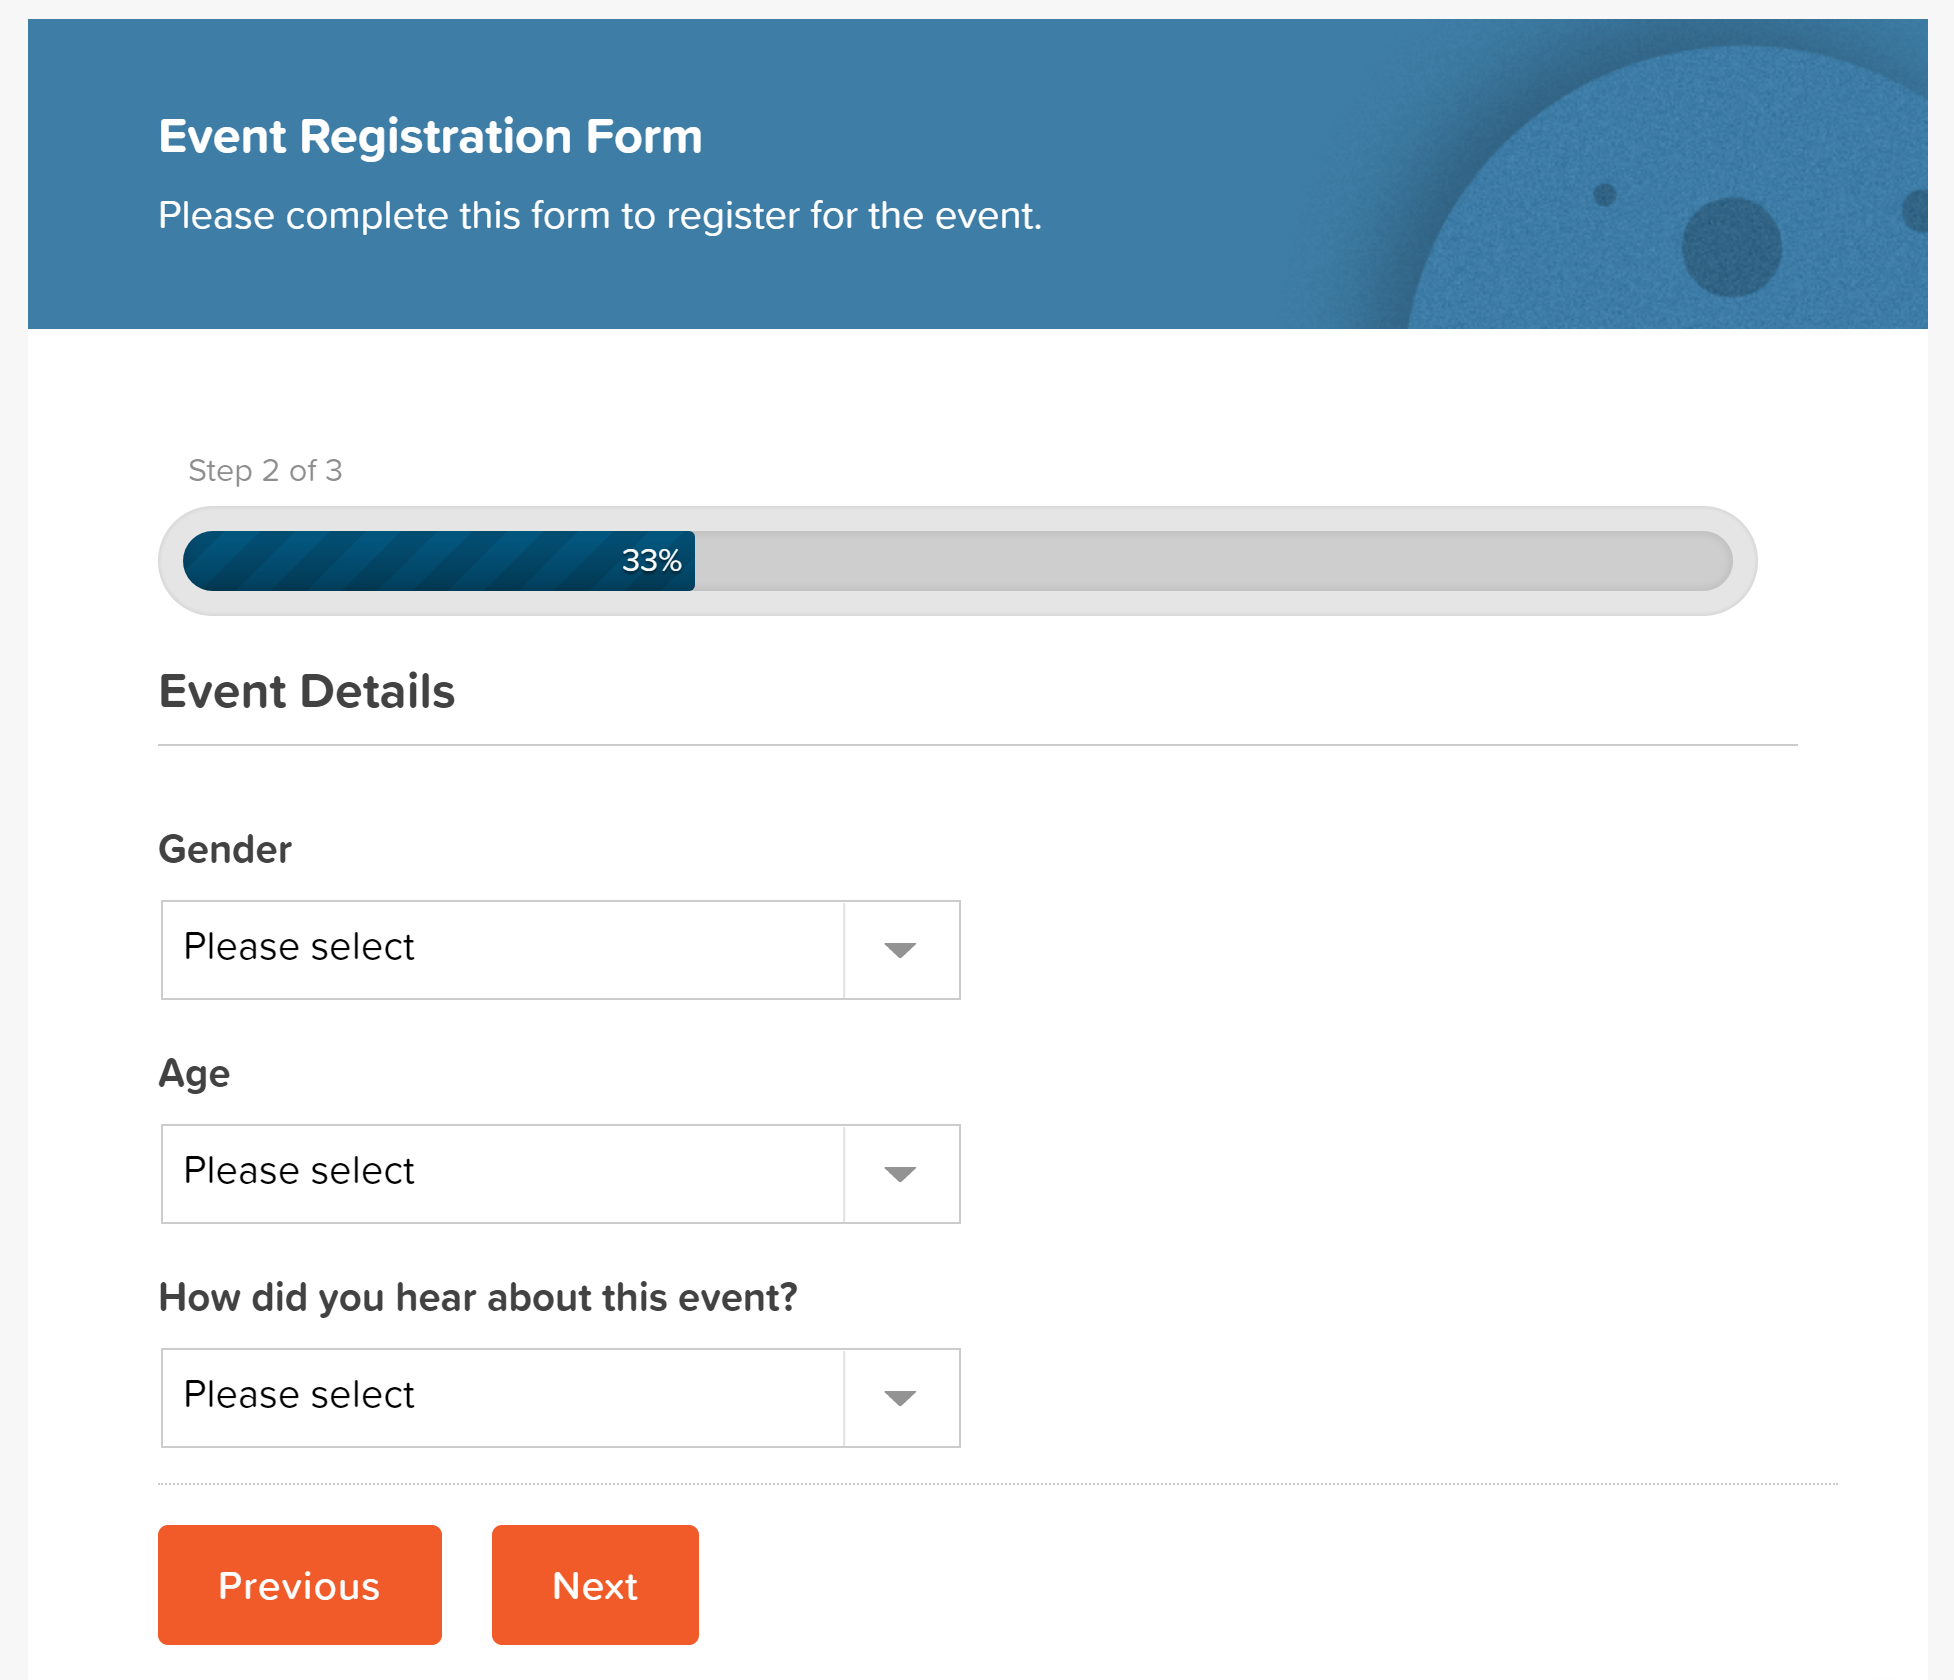 Apart from collecting personal contact information from your attendees – like names and email addresses – you may also want to ask those more in-depth event-planning questions to help the event run smoothly. To do so, you will need to customize the form template so the form fields reflect your requirements.
Within the form editor you can delete, add, and re-order any fields you want by dragging-and-dropping them onto and around the editor canvas.
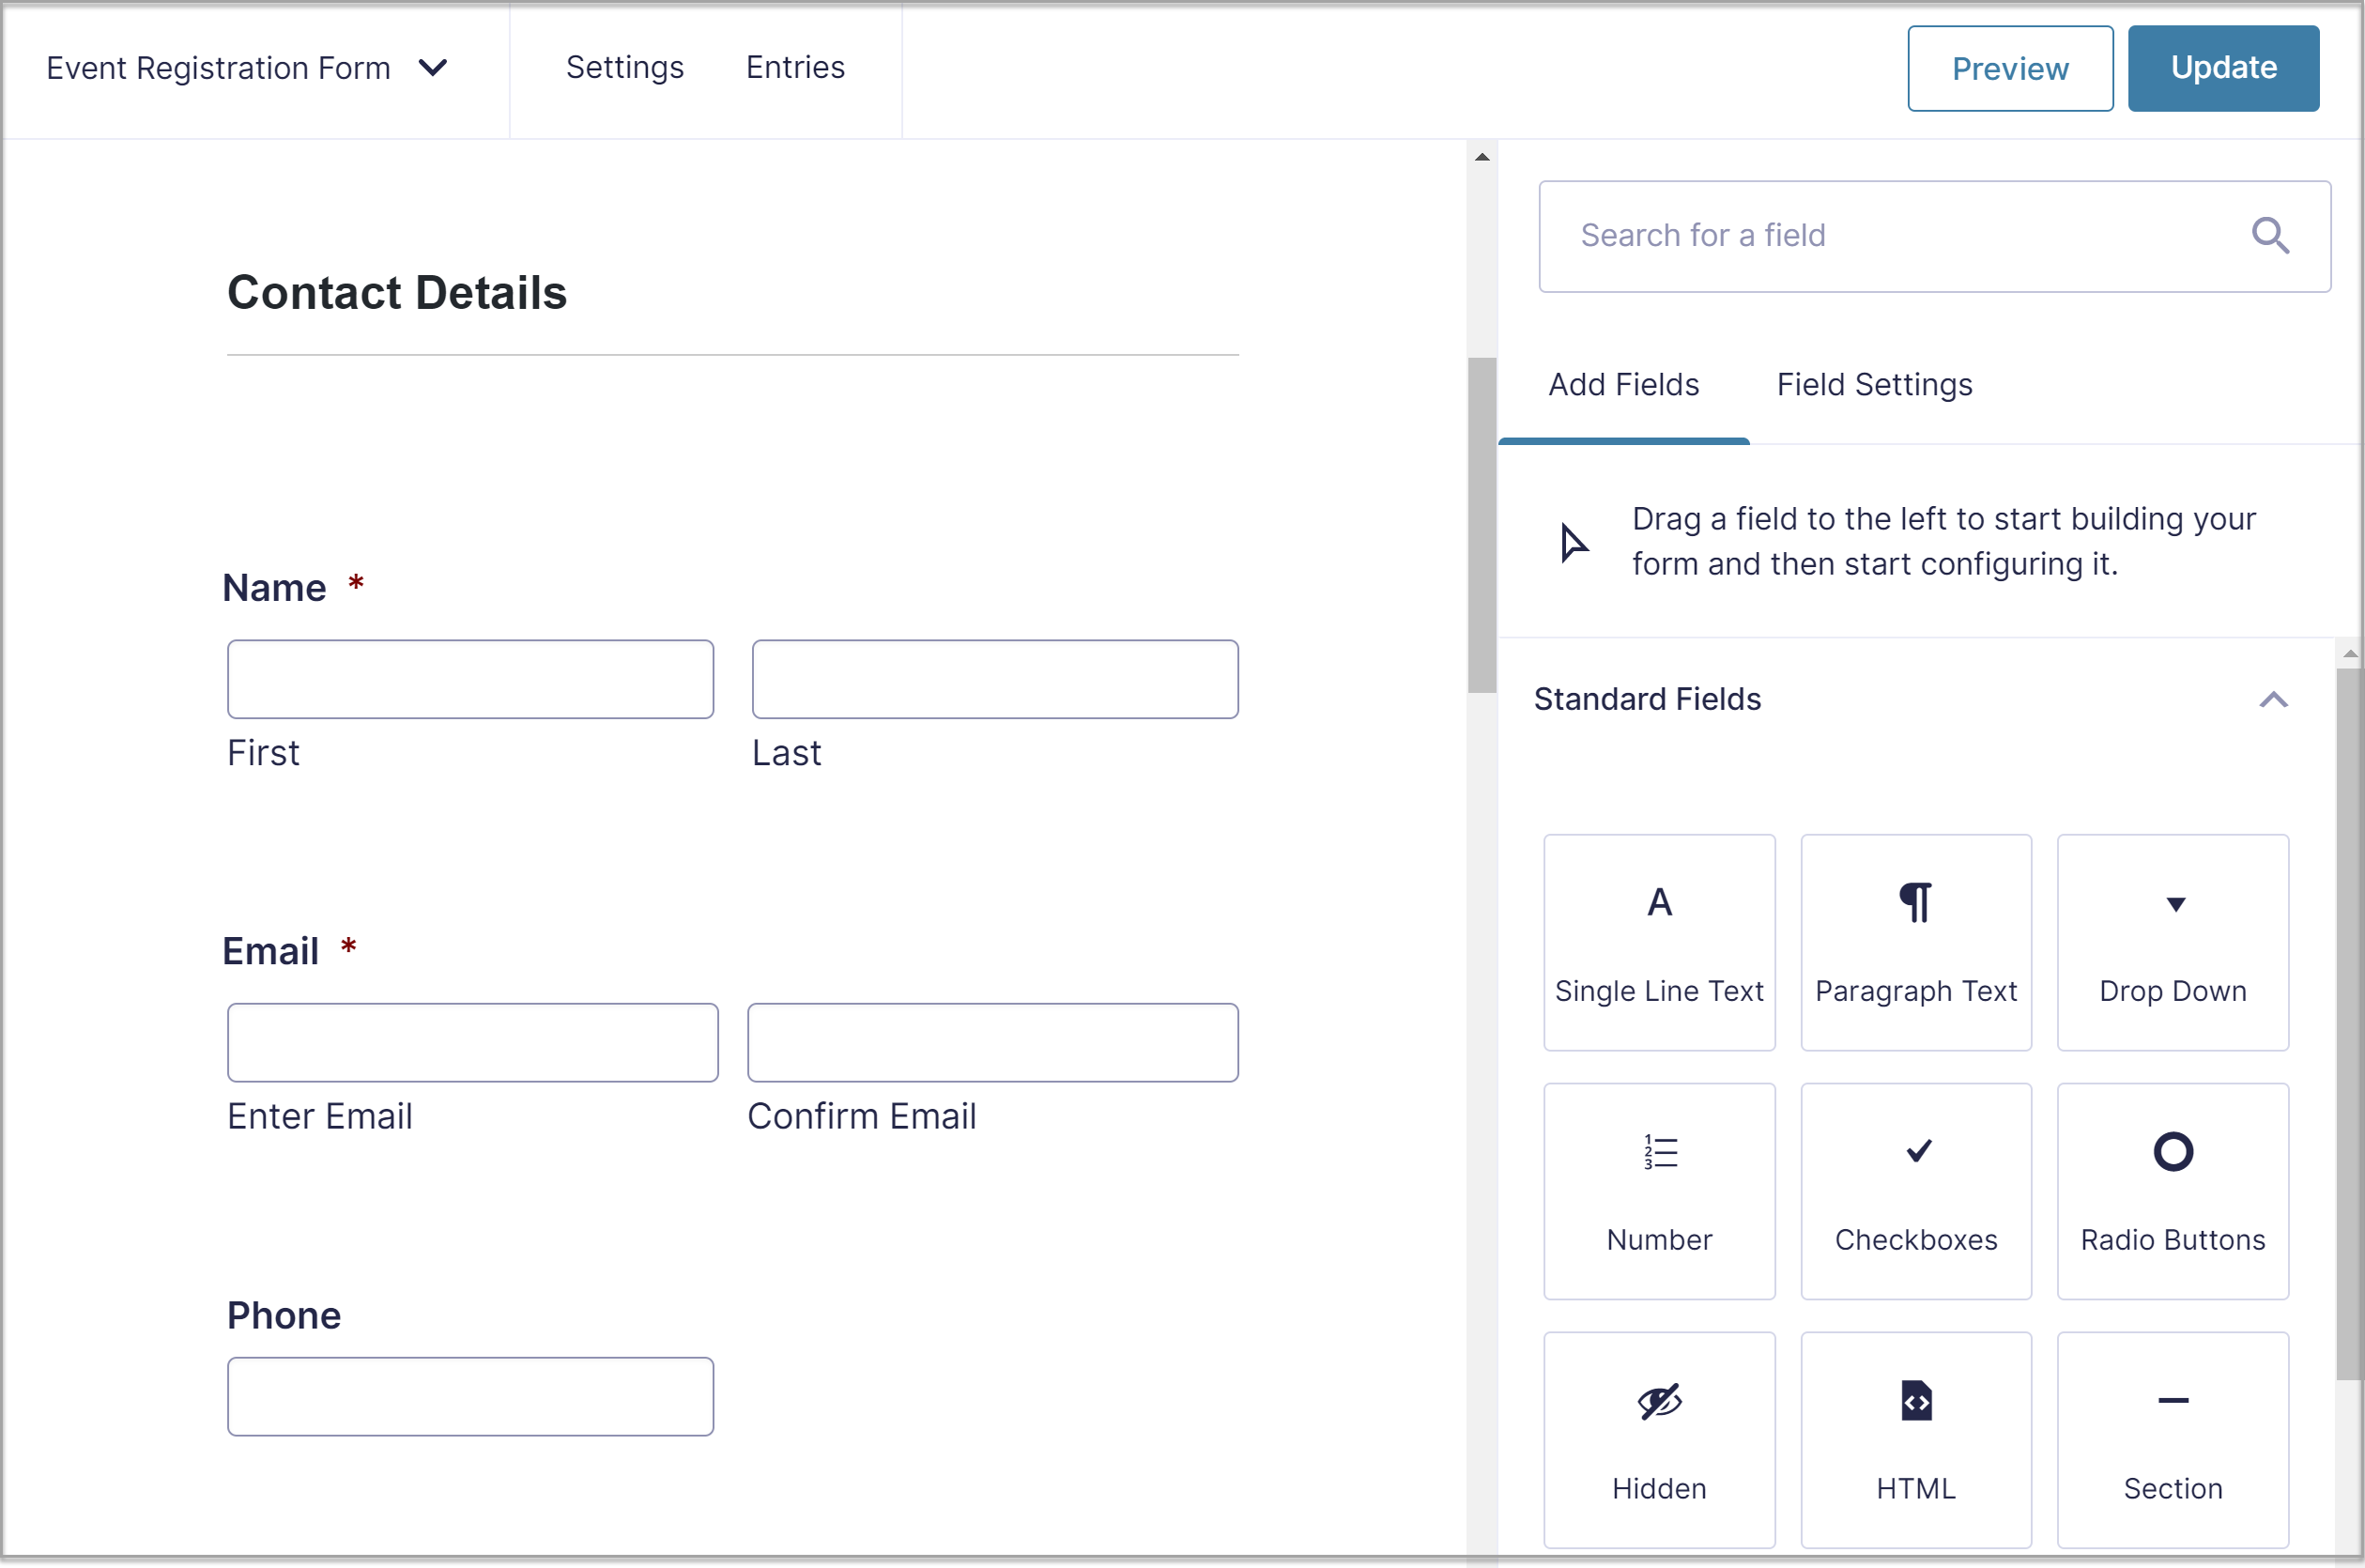 Fields can also be edited within the Field Settings – easily change the name of a field and the options available.
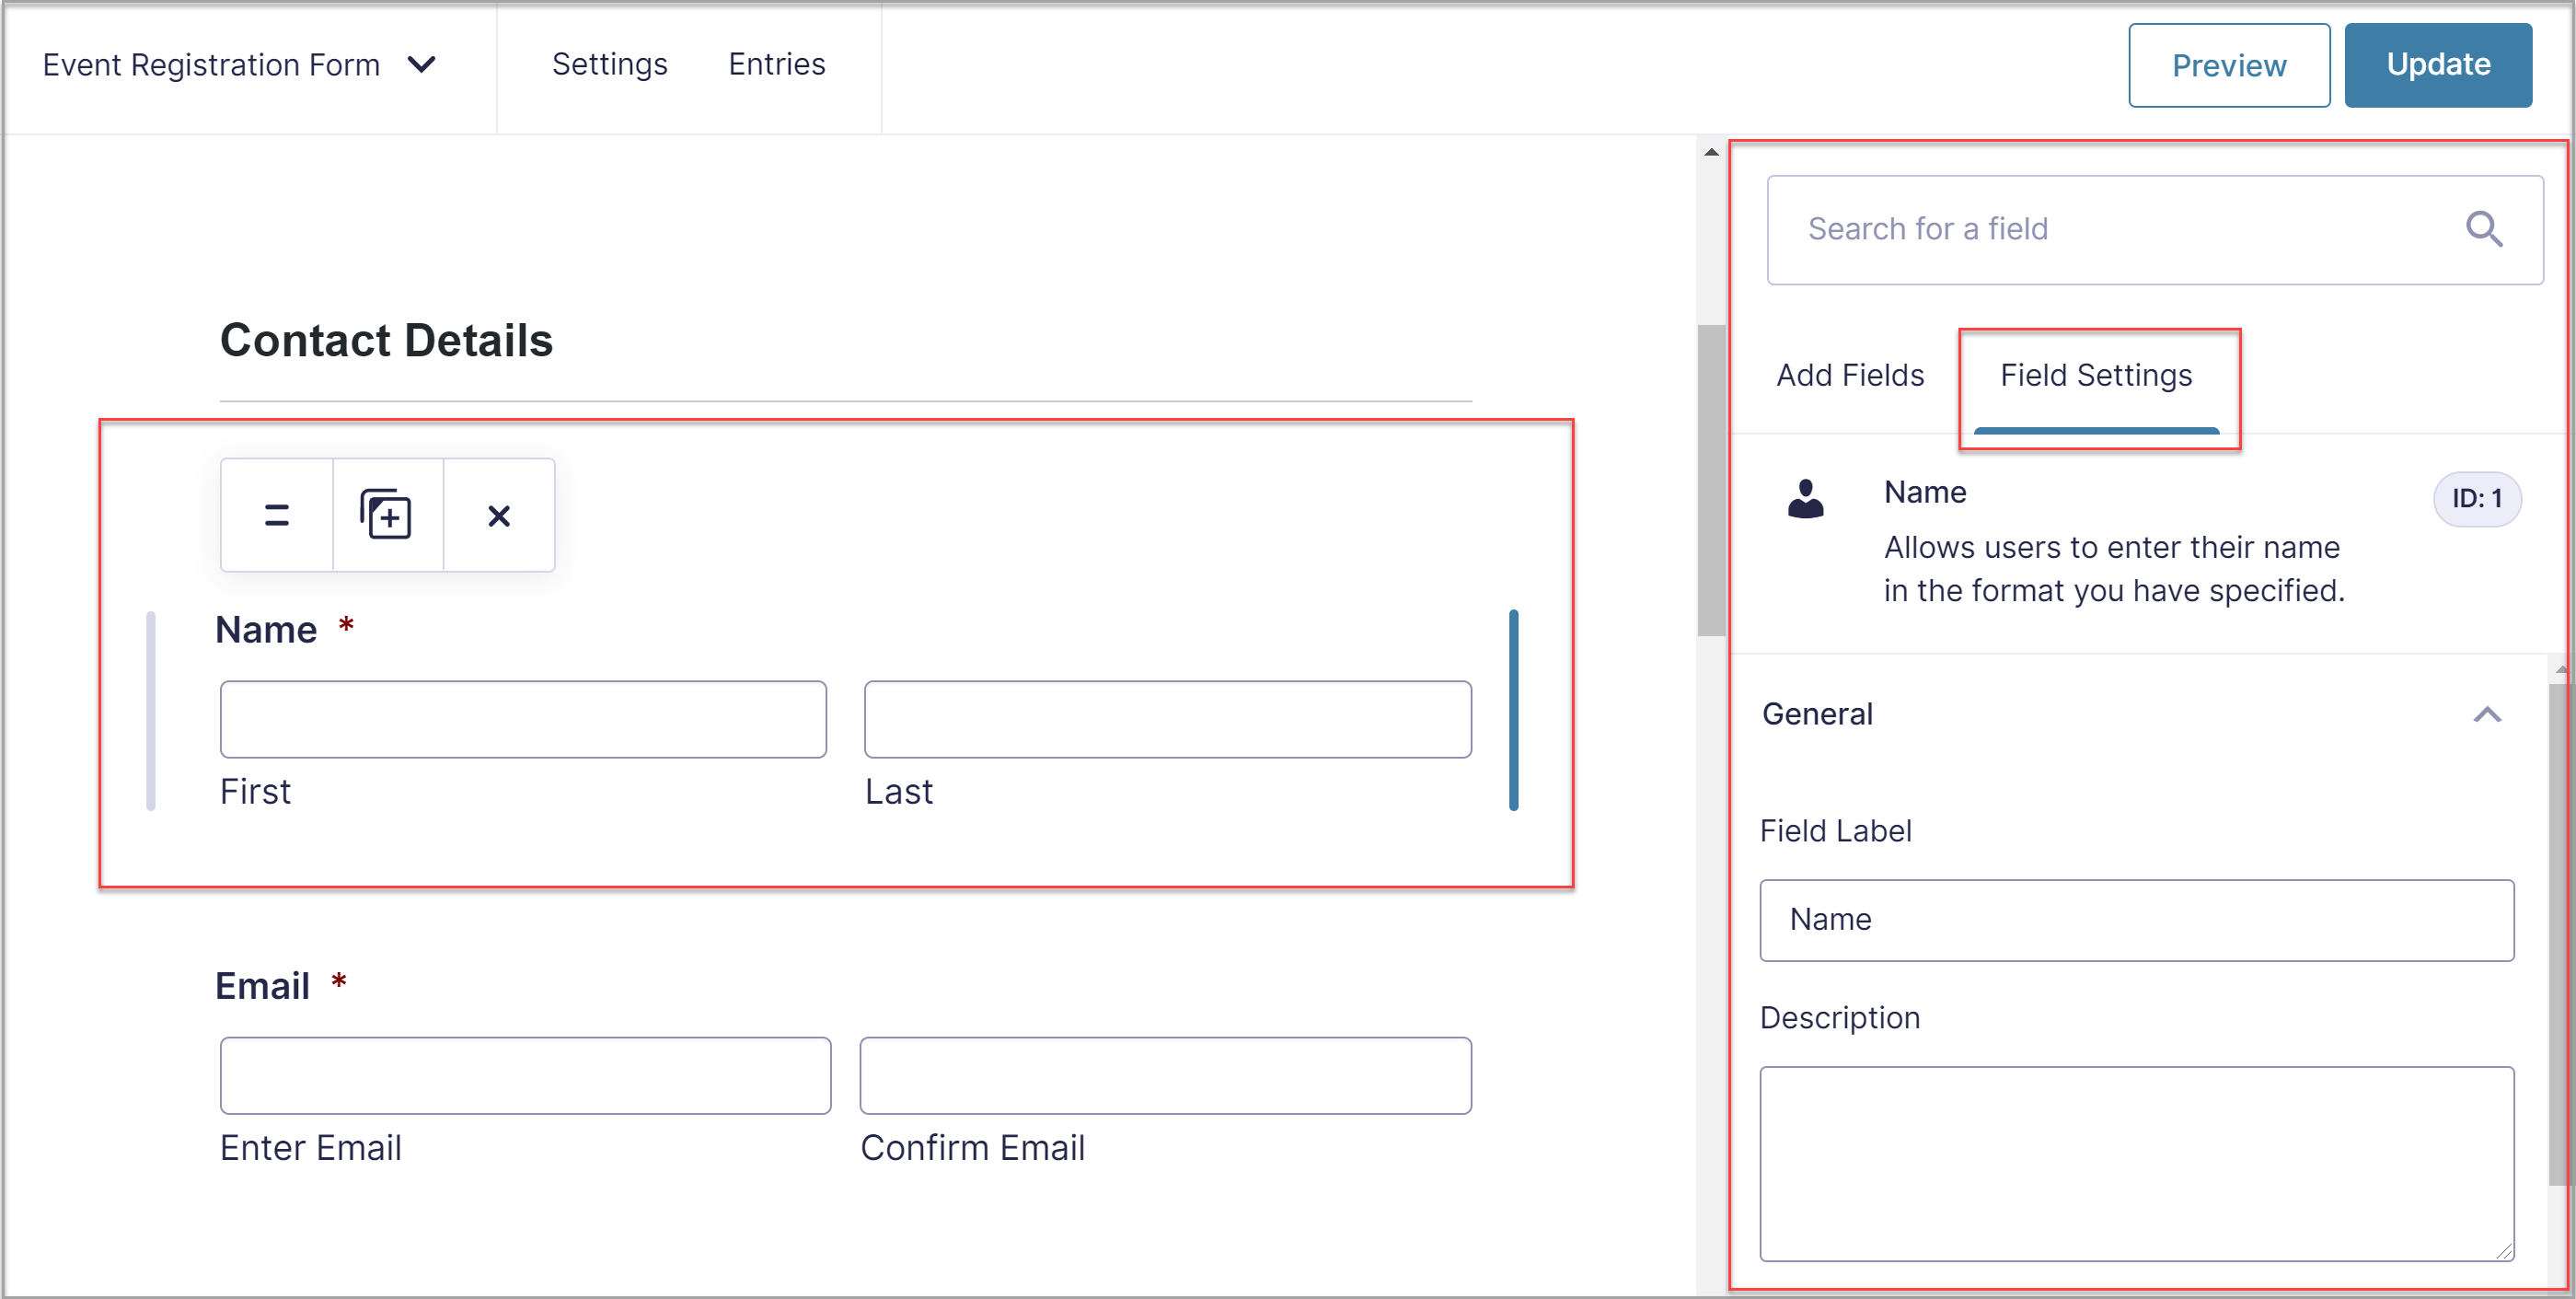 Although you shouldn’t be afraid to ask questions, forms with multiple questions can get long very quickly (and you don’t want to deter your participants from signing up to your event because of a lengthy form!)
With Gravity Forms you have the option of using a multi-page layout – as is used in the event form template – and/or conditional logic. These features both make the form appear more manageable as users aren’t immediately faced with a barrage of questions, just a couple at a time.
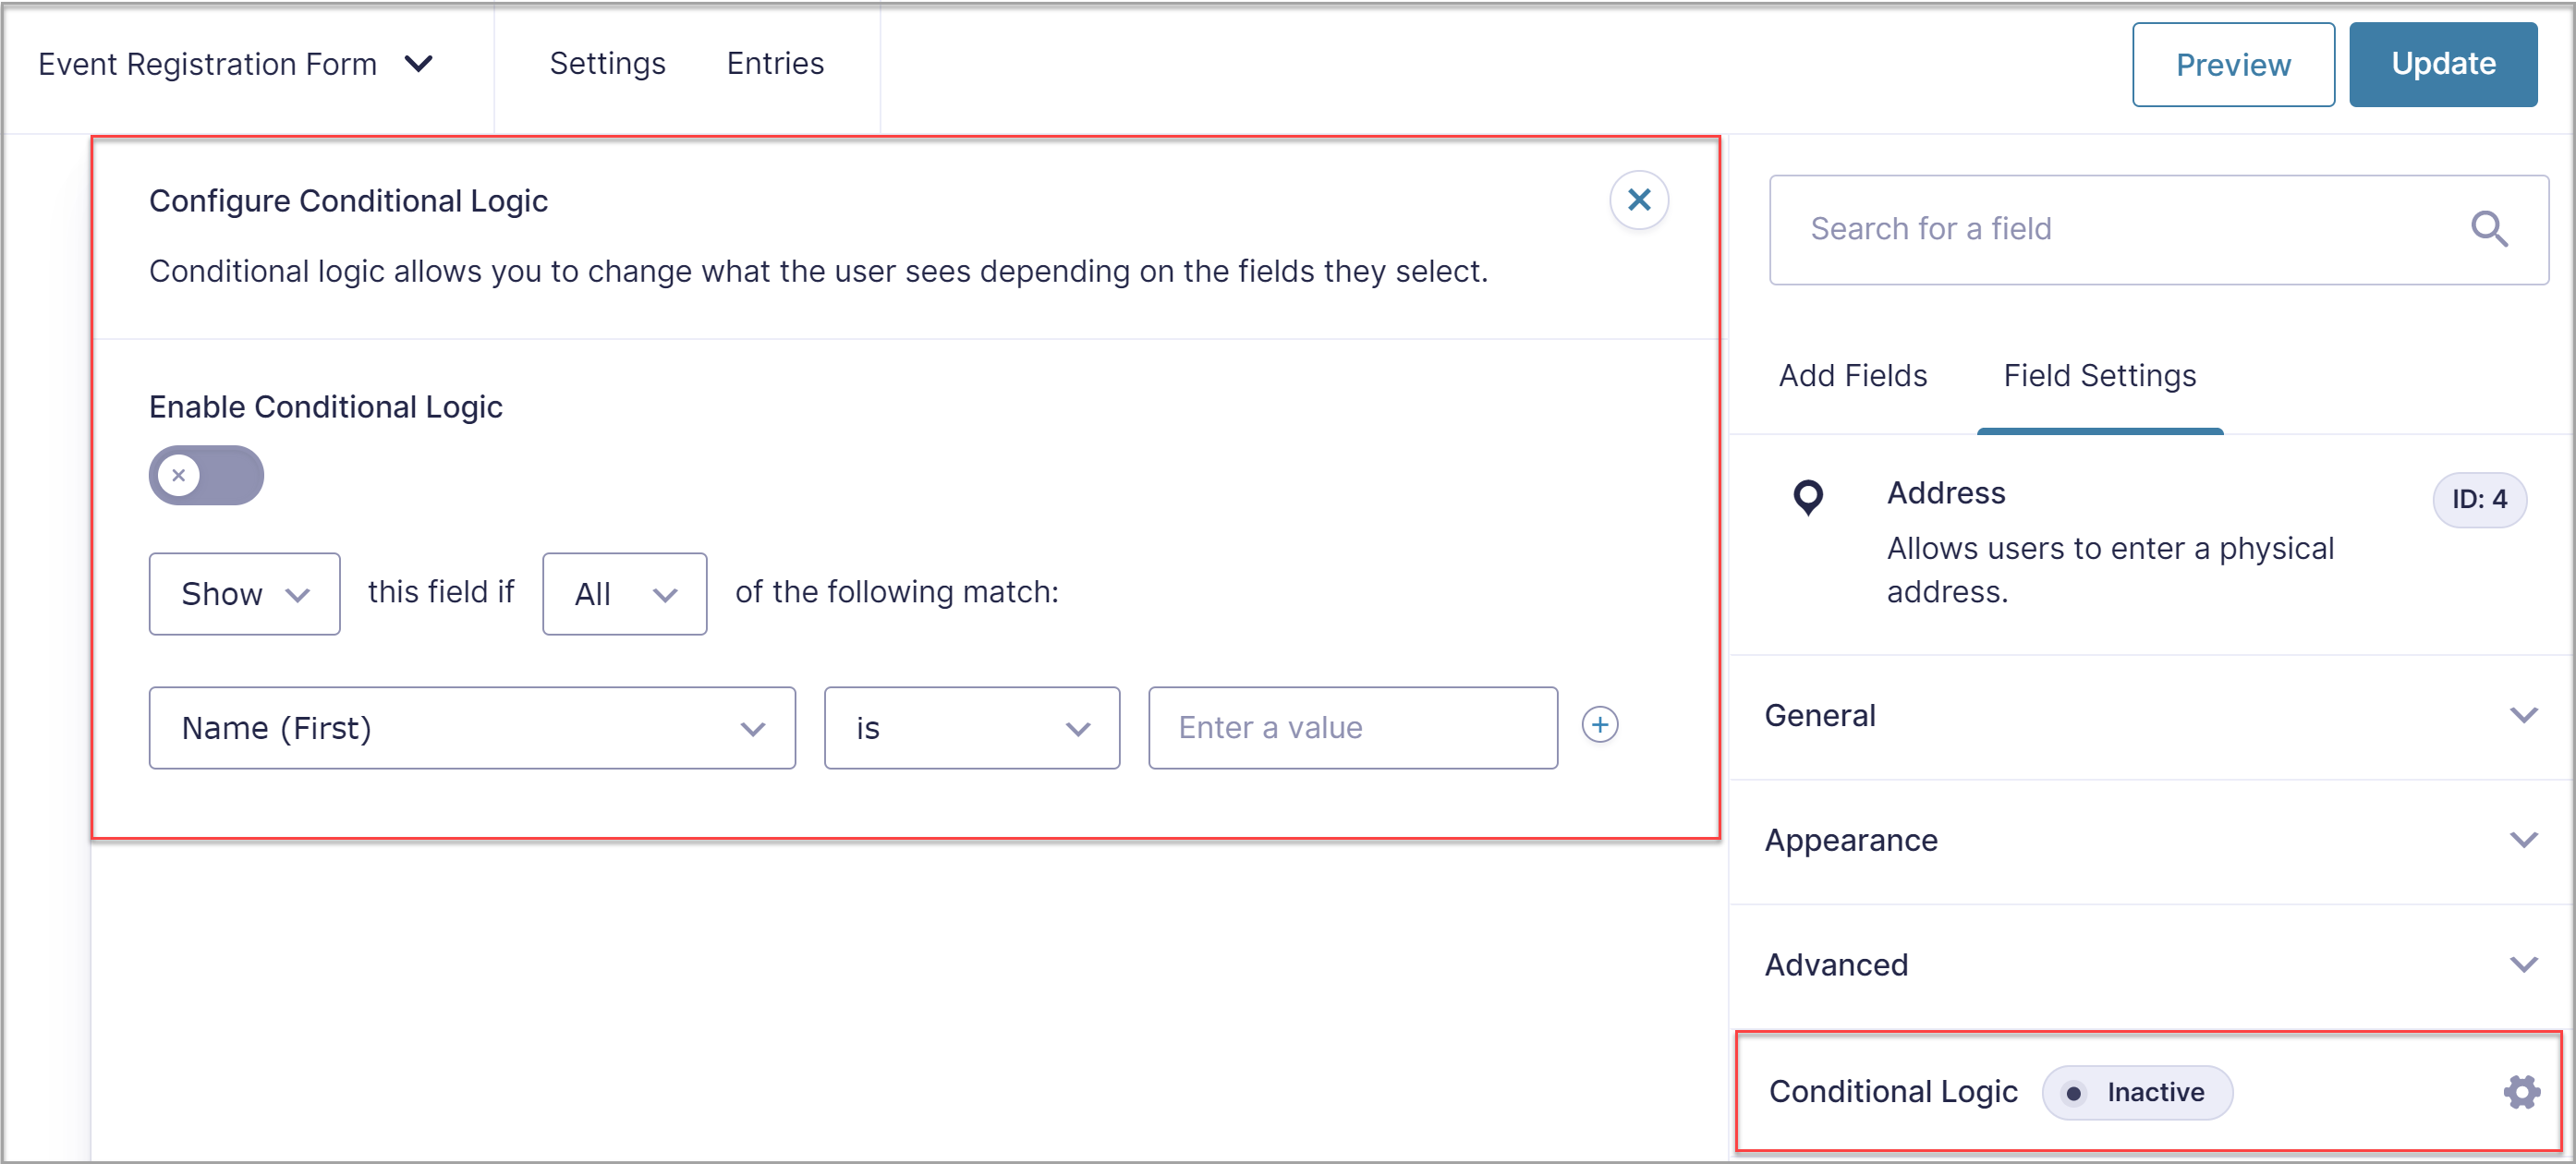 For more information on using these features, check out these resources…
Step 3: Integrate a Payment Add-On
As mentioned, if you want to accept payments via your event registration form then you will need to install a Gravity Forms payment Add-On. For this article, we have chosen to install Square. Watch the video or read on to find out how to integrate this payment processor with your event registration form…
To install your payment processor of choice, open the Gravity Forms Add-On browser within your WordPress dashboard, select the appropriate add-on and select Install < Activate.
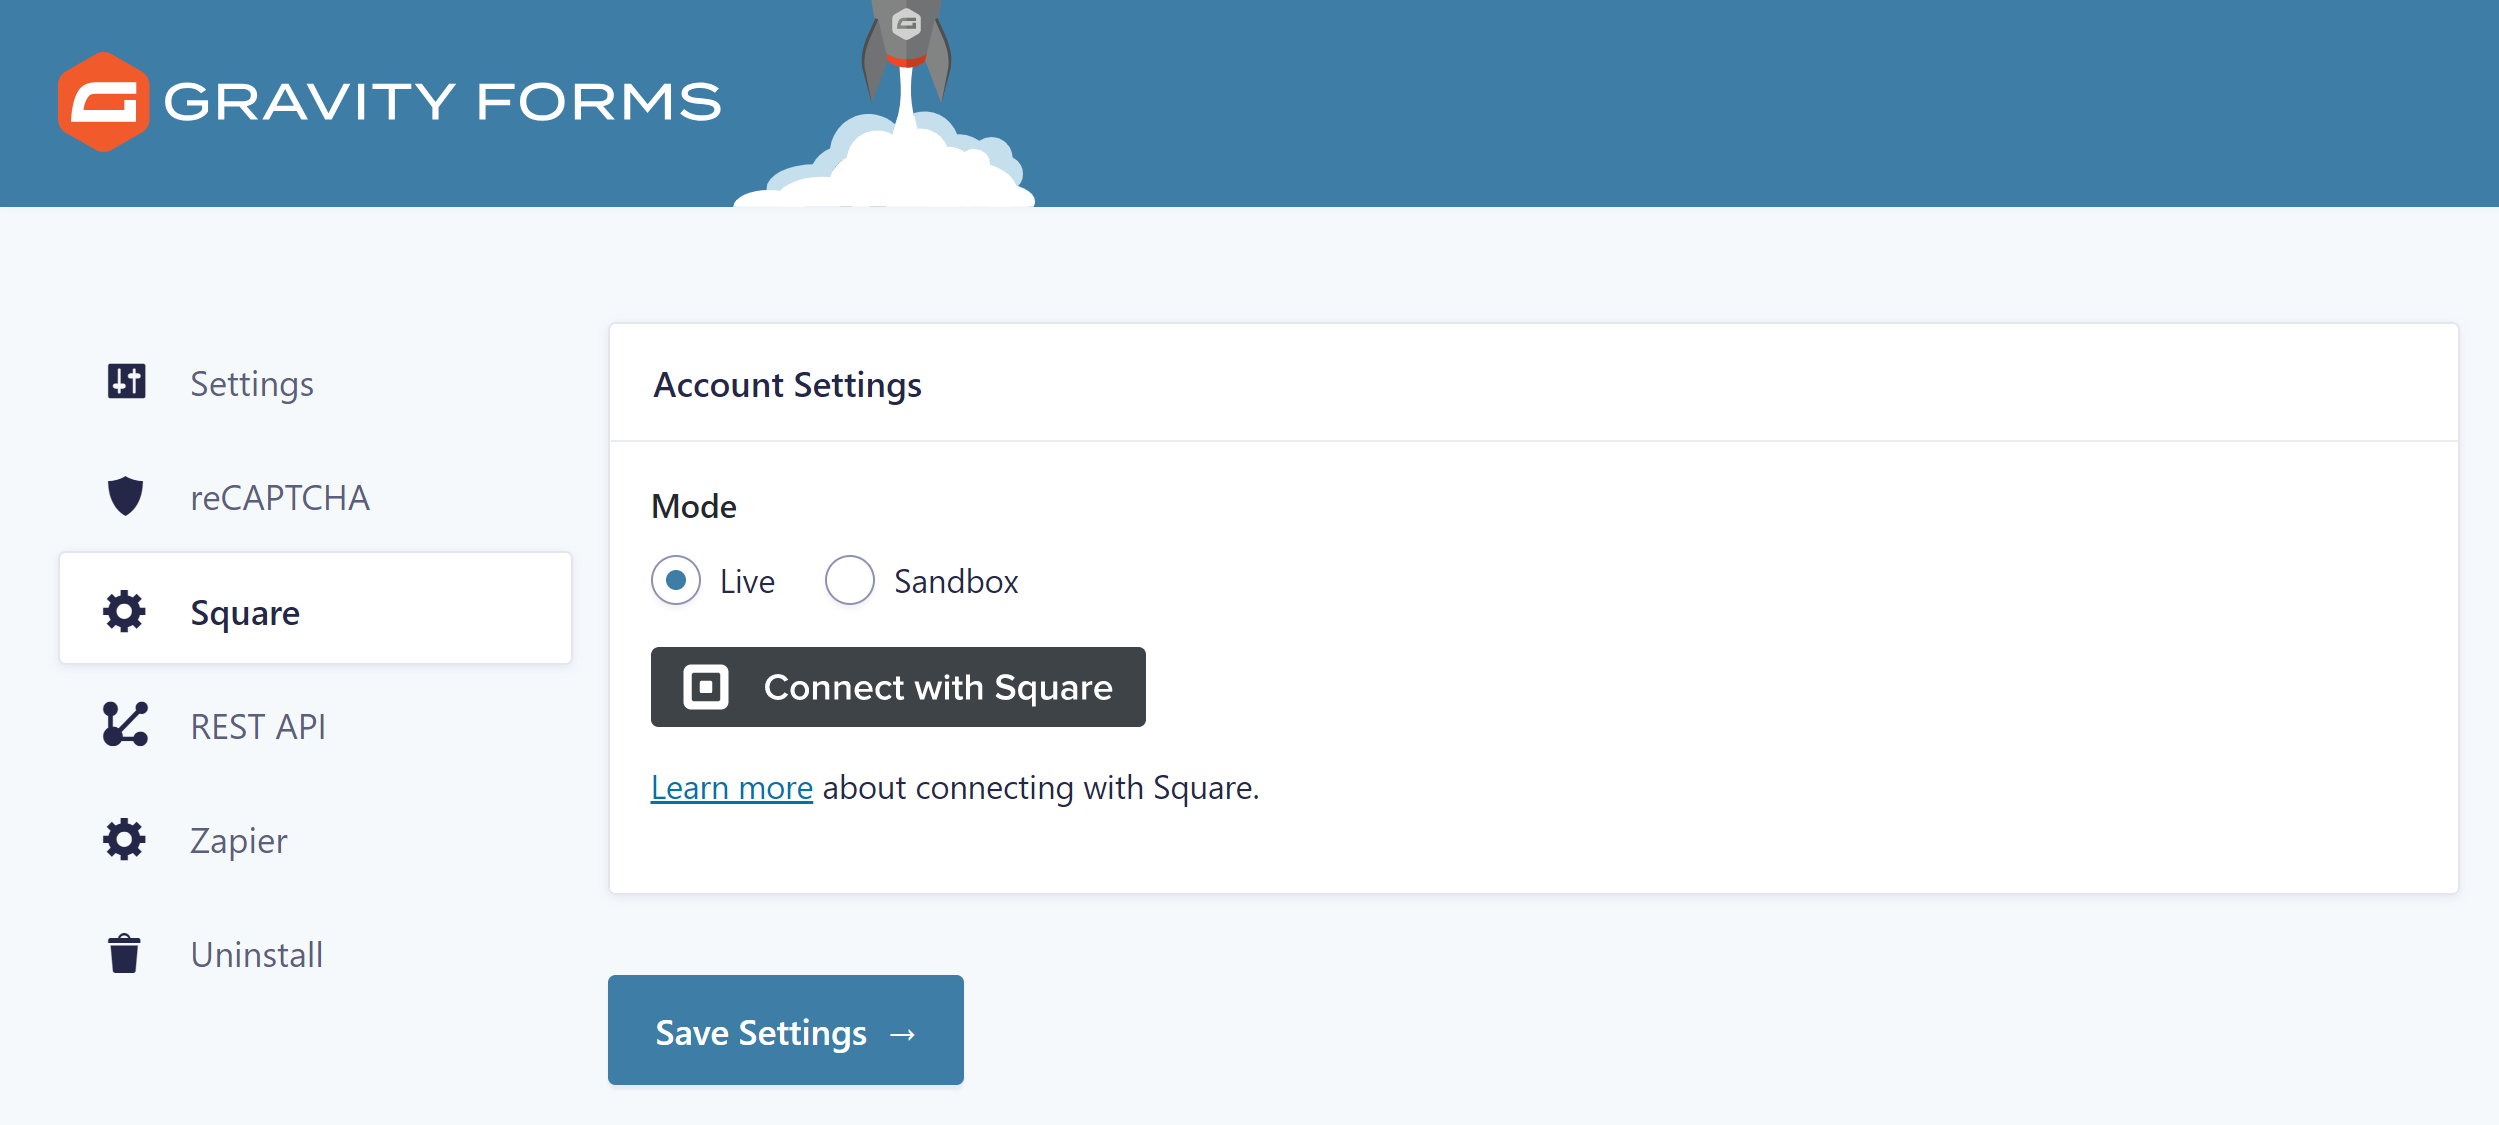
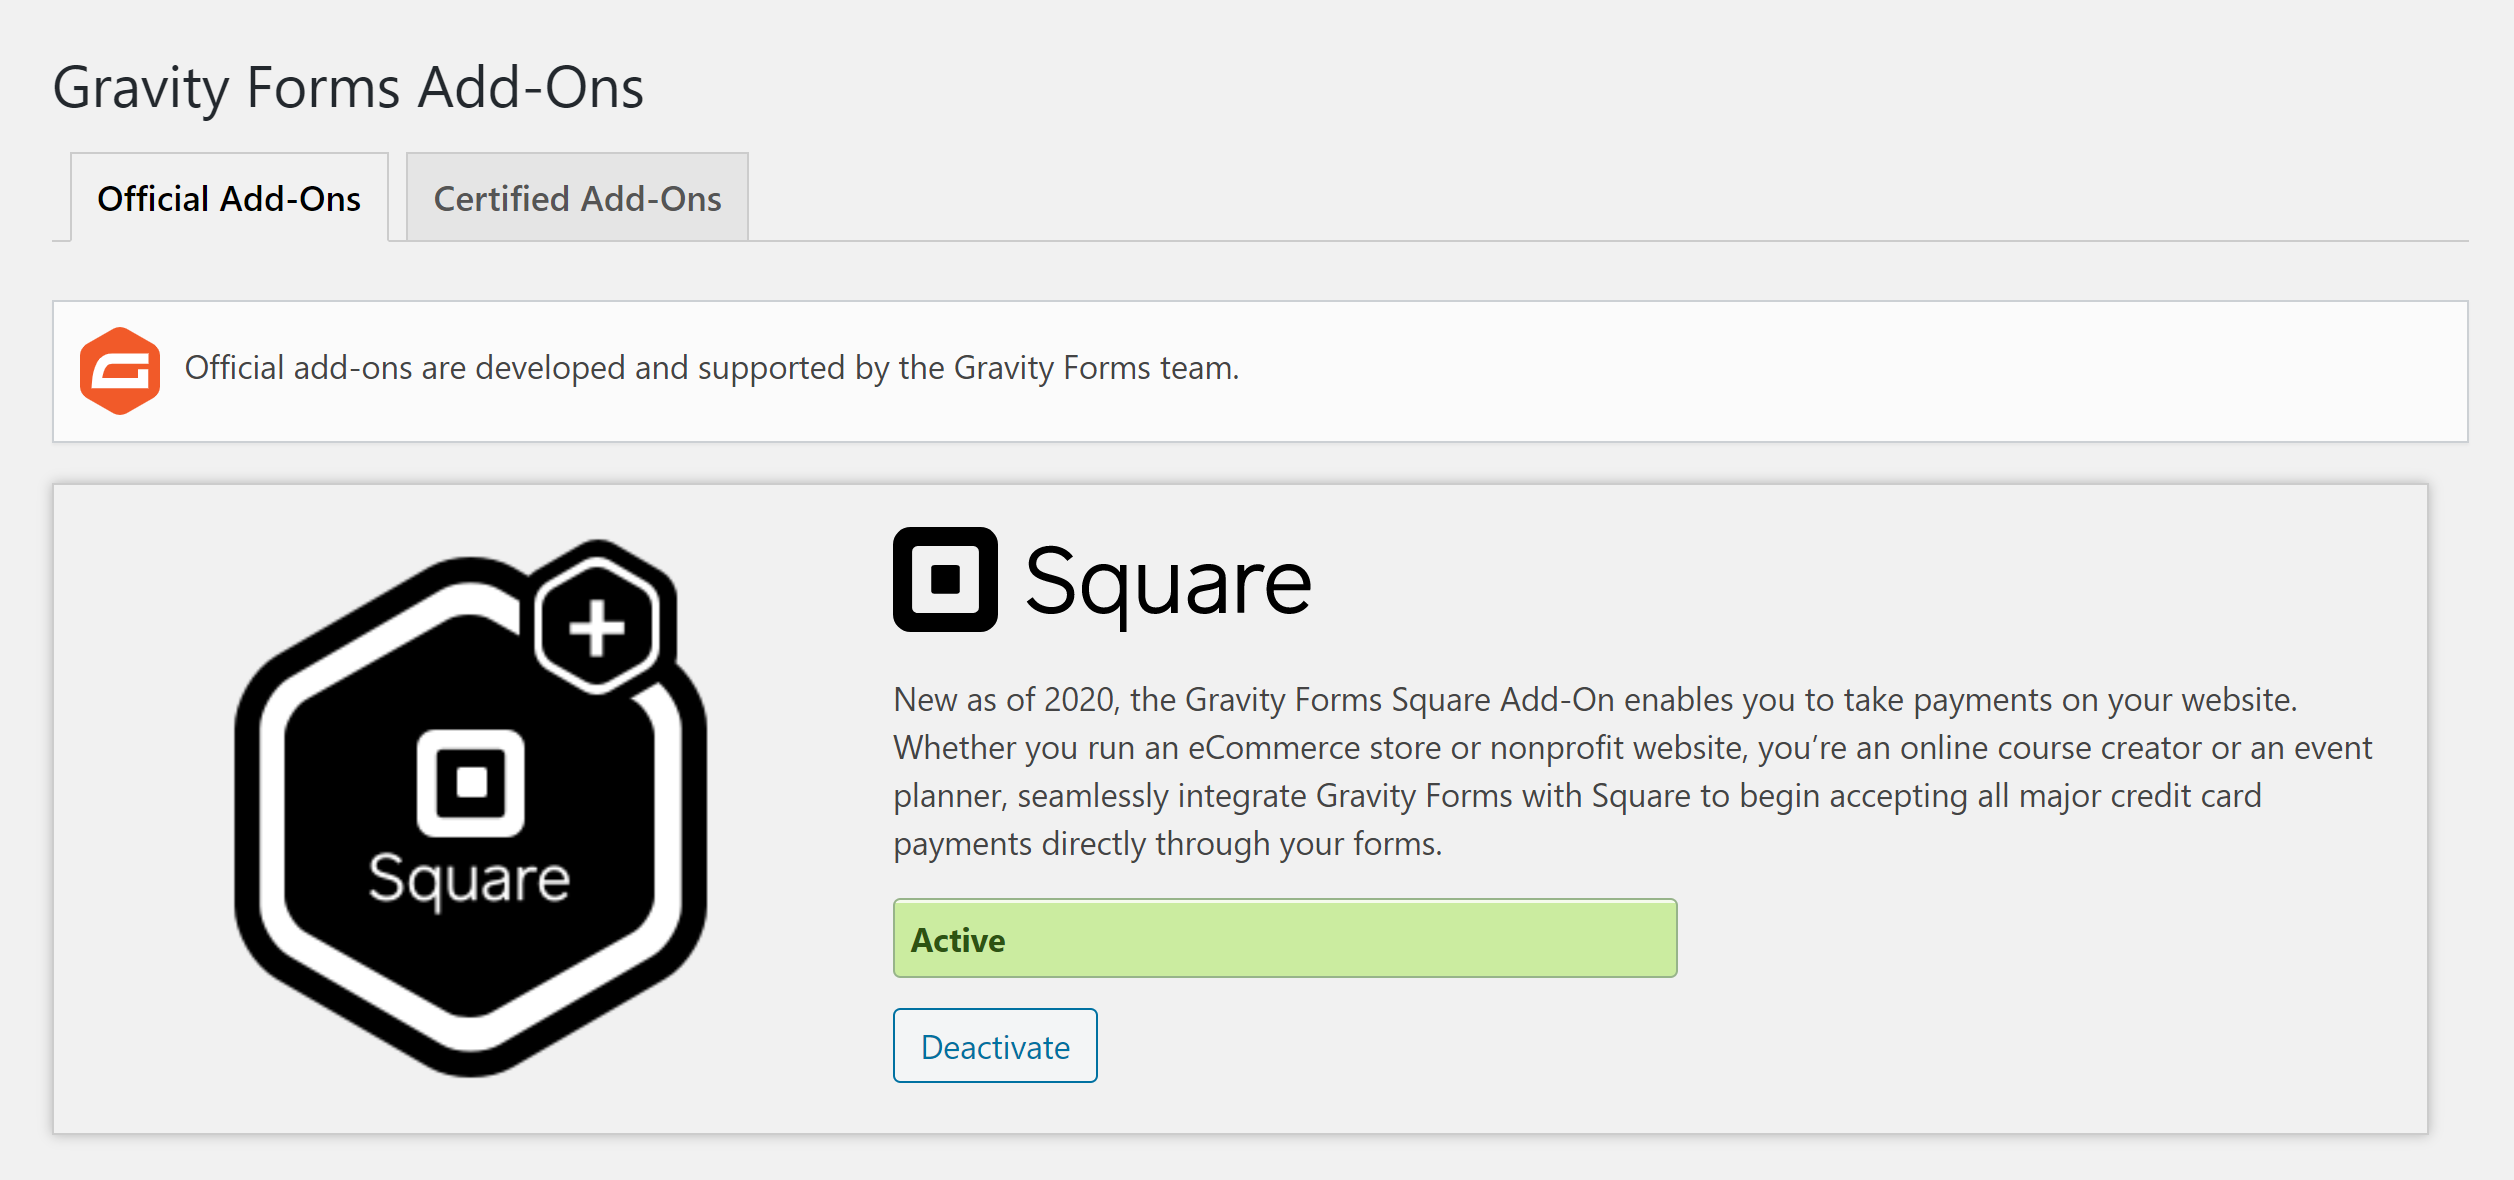 Next you will need to navigate to the Gravity Forms Settings page to connect Gravity Forms with your Square account. To do so, select Forms > Settings > Square, and follow the instructions.
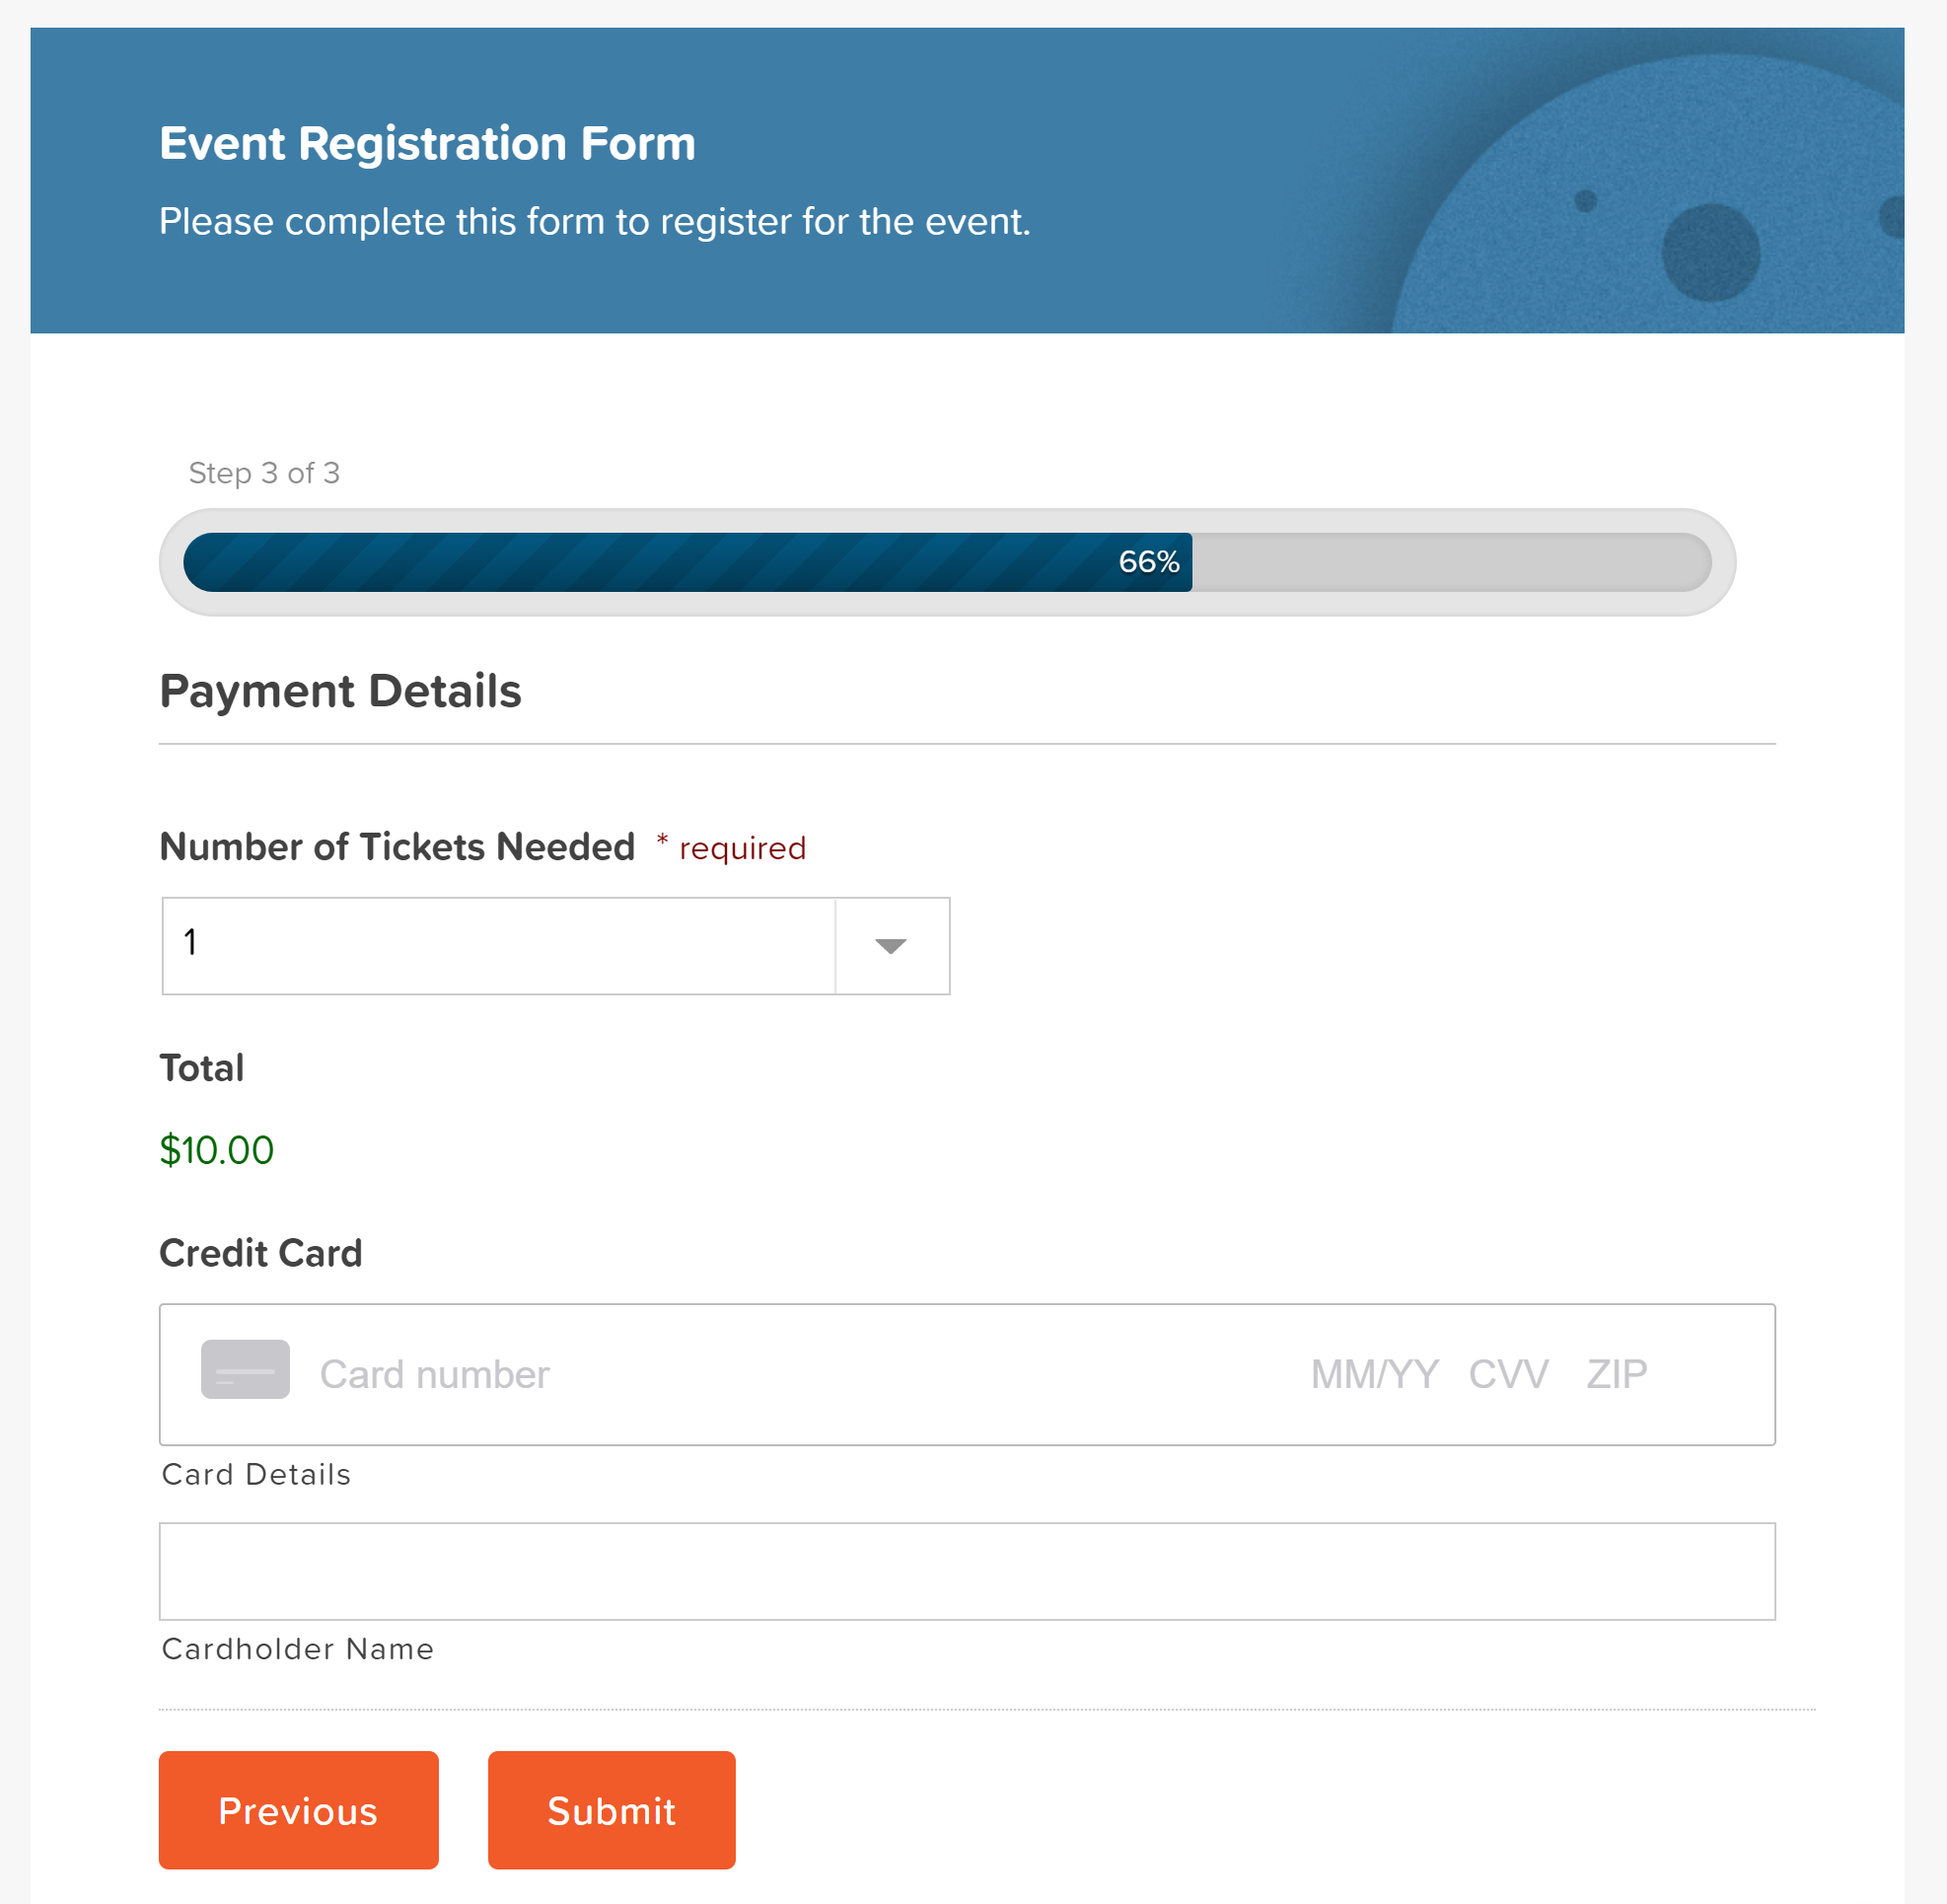
 Once your account is connected, you’ll need to add some Pricing Fields to your form – for example Product and Total fields – as well as the Square field to enable your users to submit their credit card information.
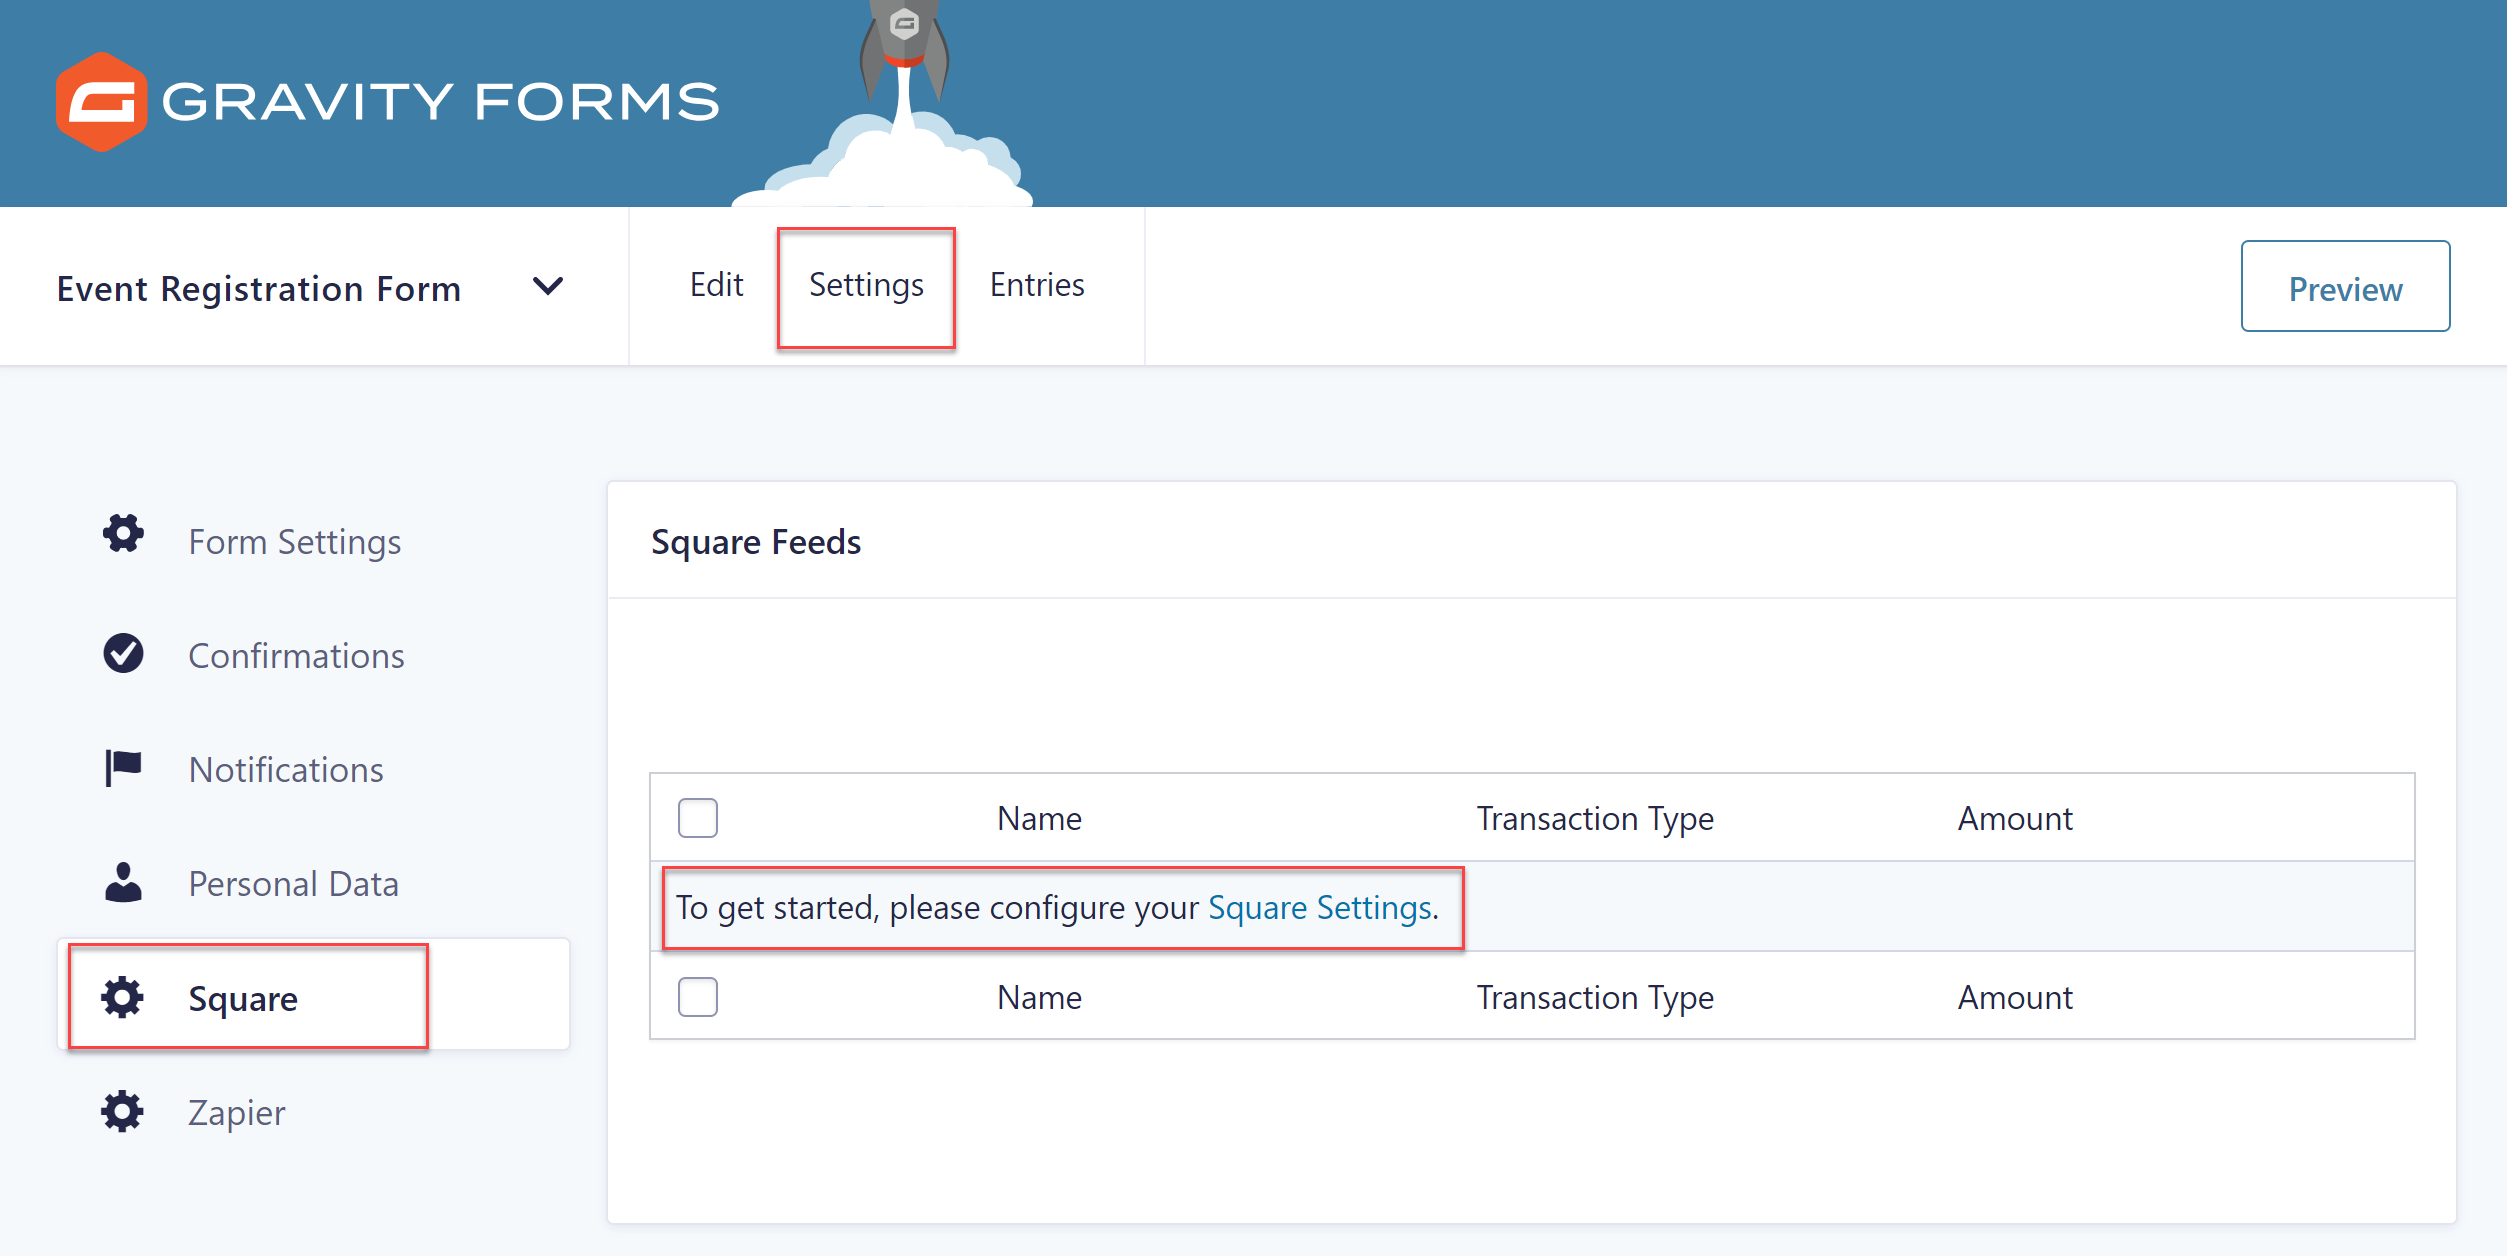
 The last step of the process is to create a Square Form Feed. By creating a feed you are syncing your event registration form with Square and enabling payments to be accepted via the form.
To create a form feed, from within the form editor select Settings > Square > Configure Your Square Settings. Now follow the instructions to complete the process.
 For more in-depth information on how to install and sync a form with Square, or any other payment or marketing Add-Ons, check out the Gravity Forms Add-On documentation.
Step 4: Set Up Confirmations and Notifications
Once a form has been submitted, you’ll want to display an on-screen confirmation message, thanking the user for their successful submission.
To set this up, within the form editor, click Settings > Confirmations. Open the default confirmation and then write your confirmation message in the text editor.
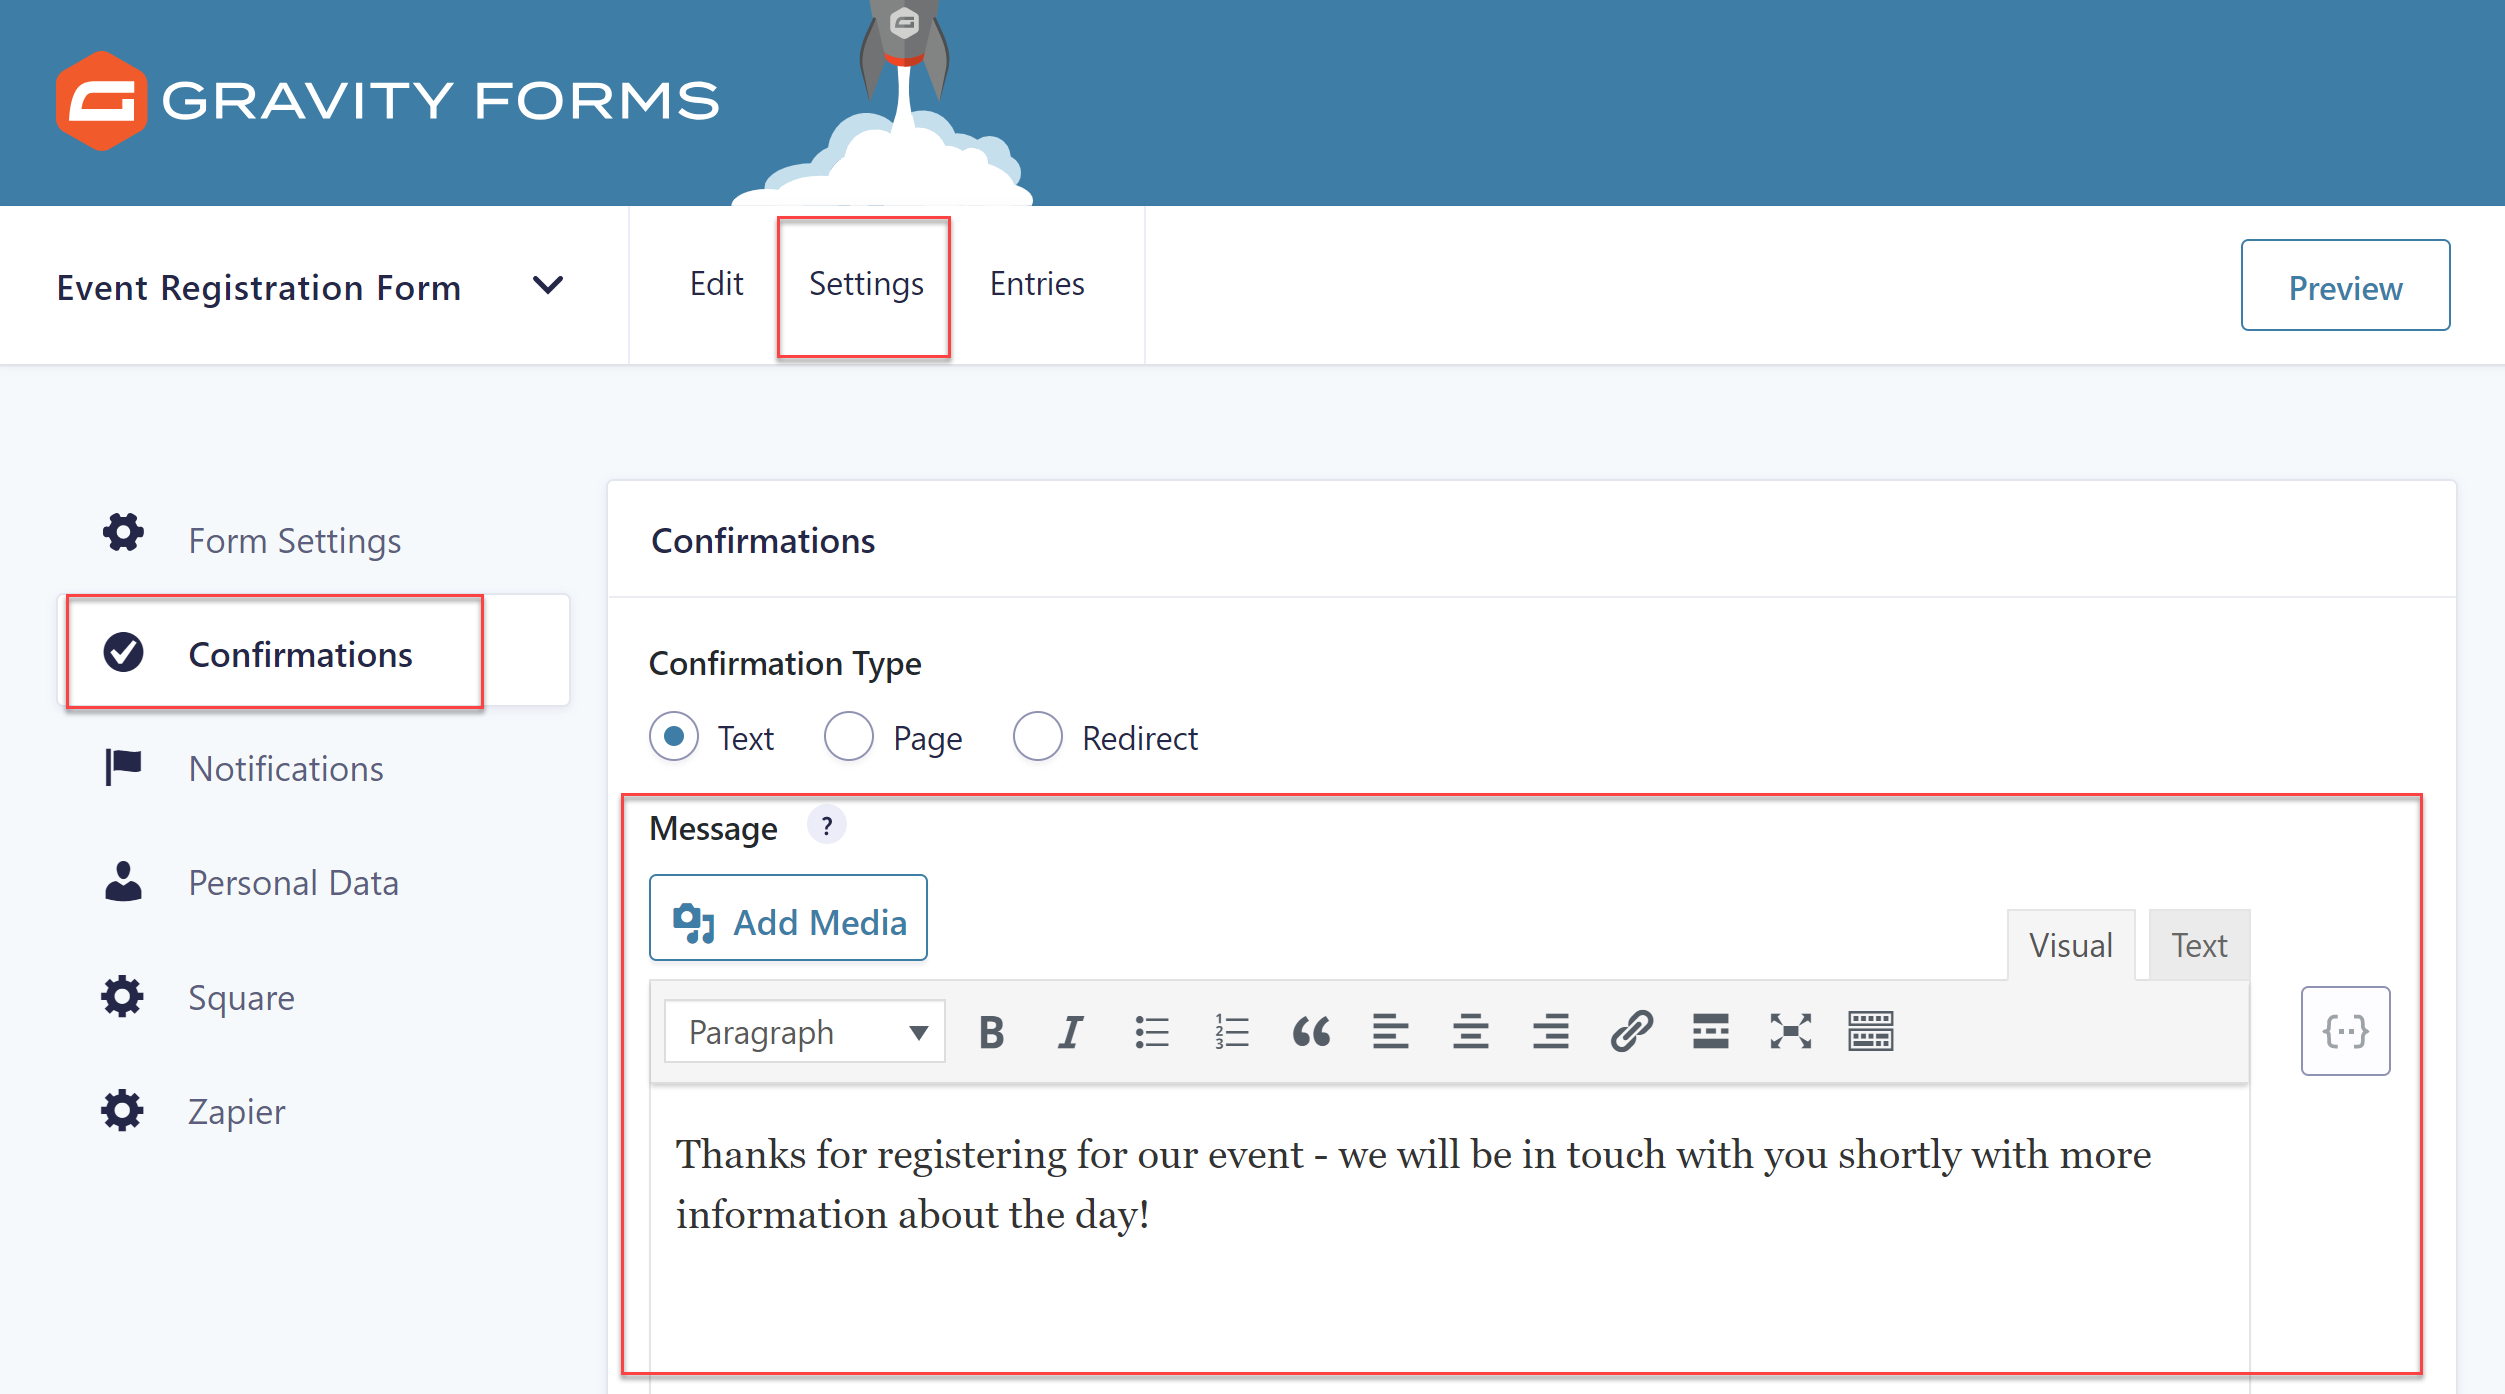 If you want to redirect users to a new page instead of showing a message immediately on the screen, under Confirmation Type select Page or Redirect, and select the page or add the URL of the page you want to open on submission.
Generally speaking, most event organizers prefer to redirect registrants to a new page. This is useful if you have additional information you need your attendees to know. For instance, you may need to give them a detailed itinerary, driving directions, a list of nearby hotels, dress code, or other pieces of content to help them get the most value out of your event.
For more information on this, have a read of this article – How to Redirect Users to a New Page or URL After Form Submission.
It’s also helpful to send users an email to confirm their registration and let them know about any next steps. In Gravity Forms, these kinds of emails are called Notifications.
To customize form notifications, select Settings > Notifications in the form editor. By default there is already an admin notification created that sends an email to notify you about a new registrant. Click Add New to make a notification for each new user that registers for your event.
Give your notification a name. Then underneath Sent To, click Select a Field > Send to Field > Email to send a notification email to the email address the user submitted.
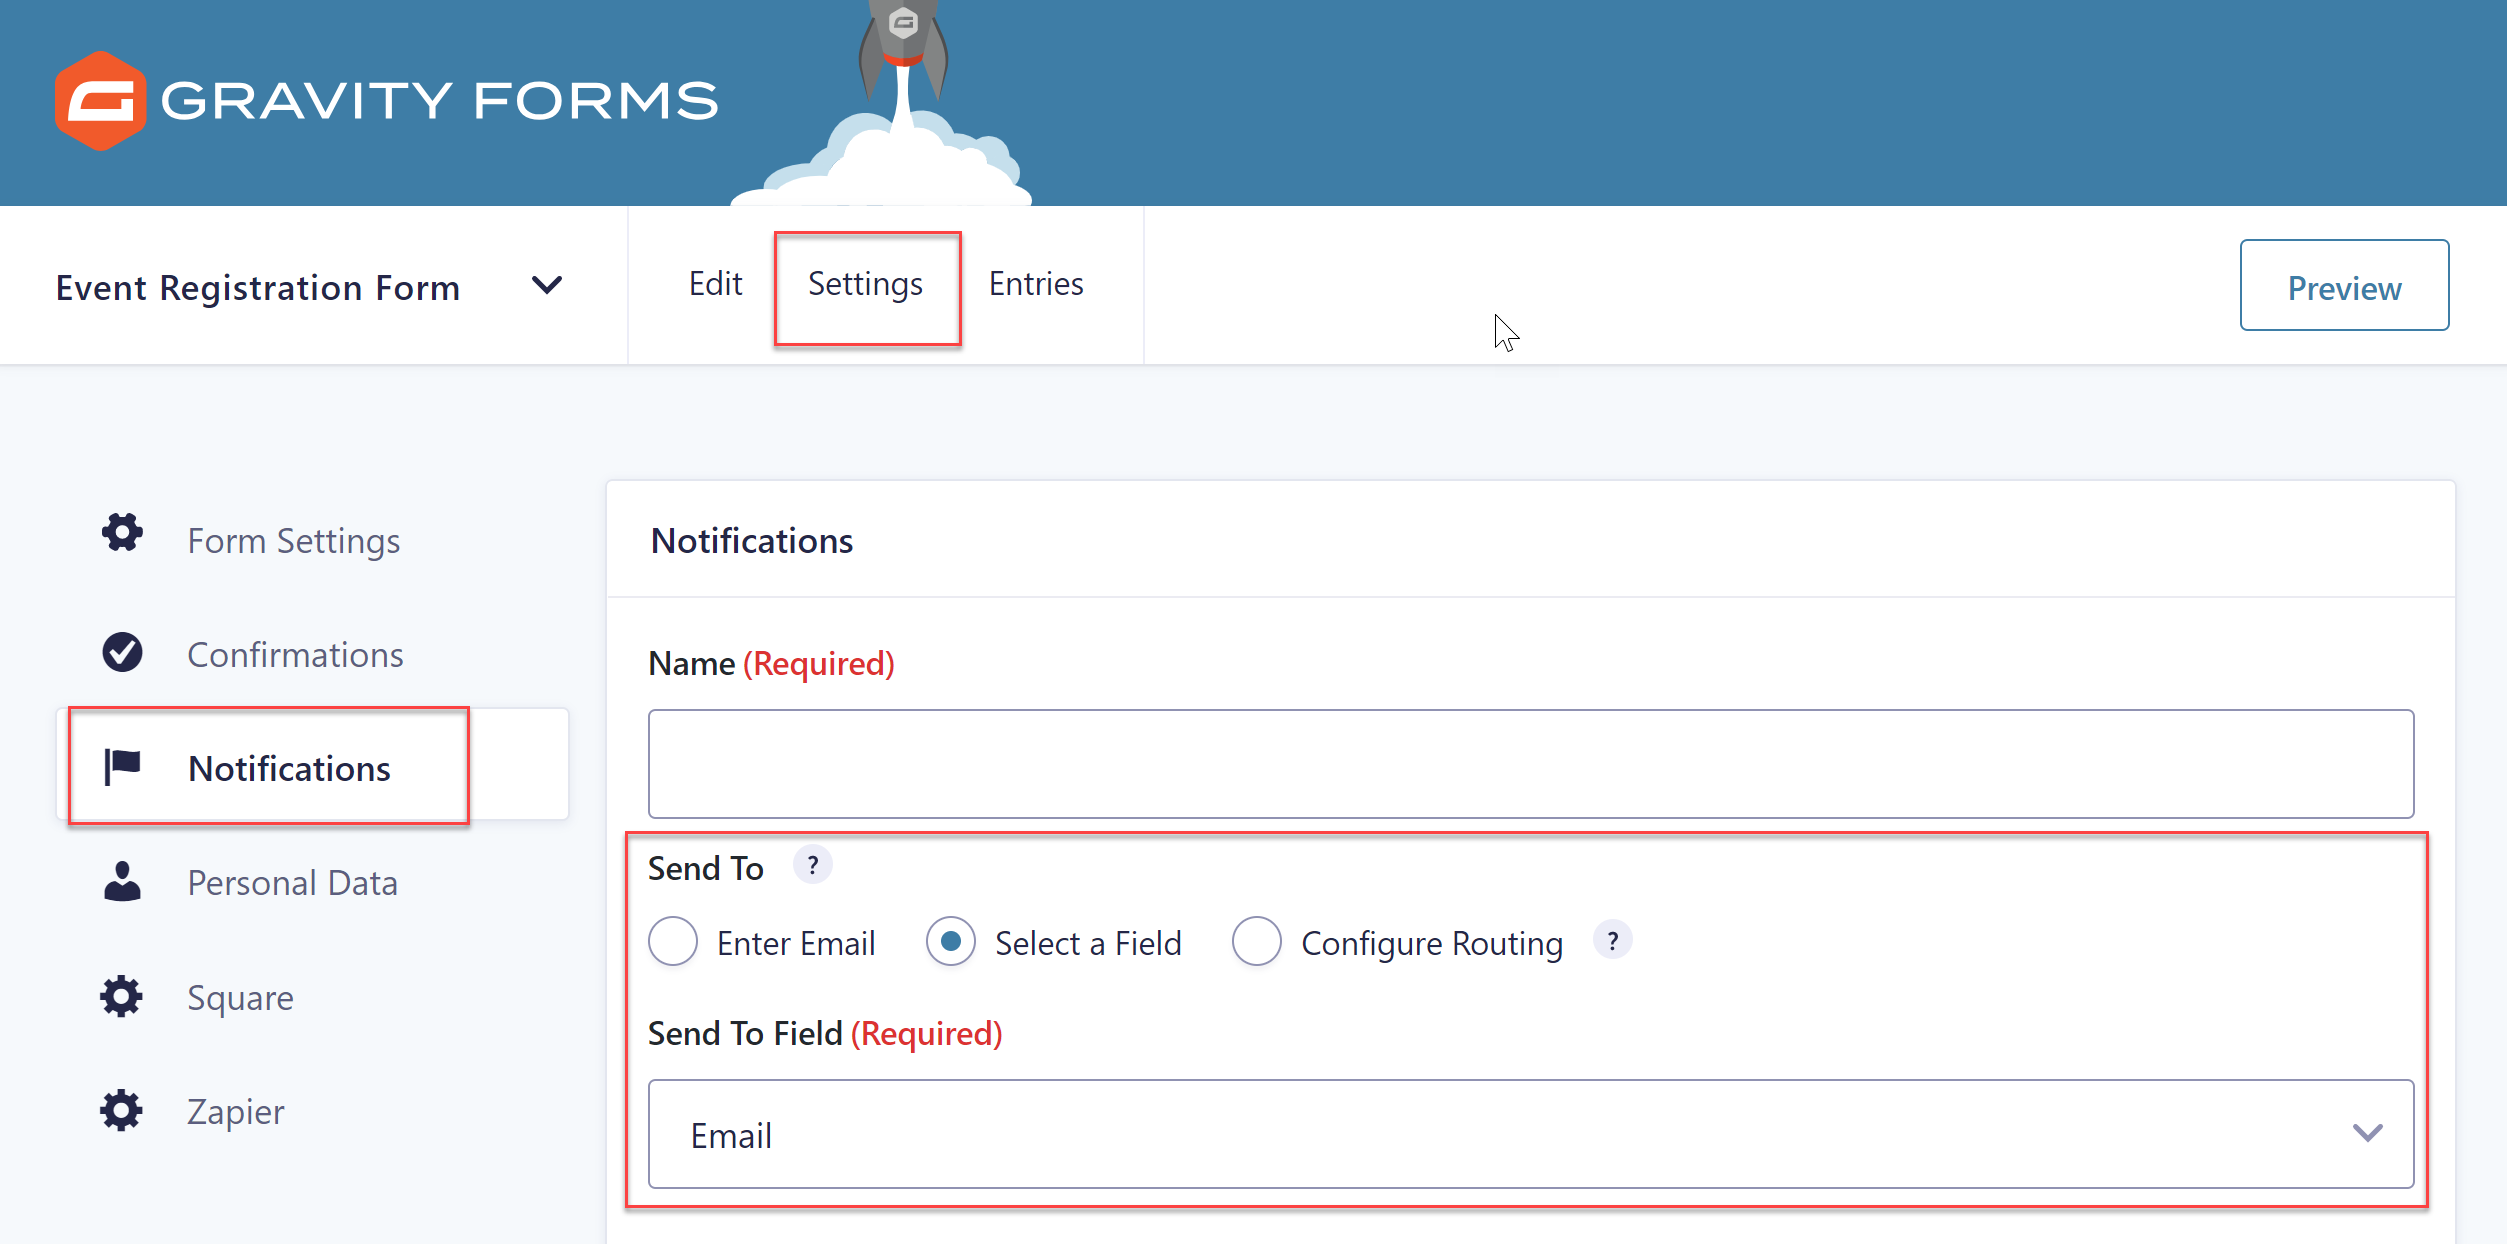 Finally, fill the text editor with anything you’d like the event attendee to know. Give them some transaction details so they have a receipt or let them know where to find more information, sign up for mini-events (like presentations or lectures), or give them directions to your location.
For more information on how to set up Confirmation and Notifications, check out these articles…
Step 5: Embed the Form on a Page
Your final step is to add your event registration form to a page so people can use it.
To do so, within your WordPress dashboard, open the appropriate page, click into the Gutenberg editor and add a block where you want the form displayed. Then type Gravity into the Search for a Block function.
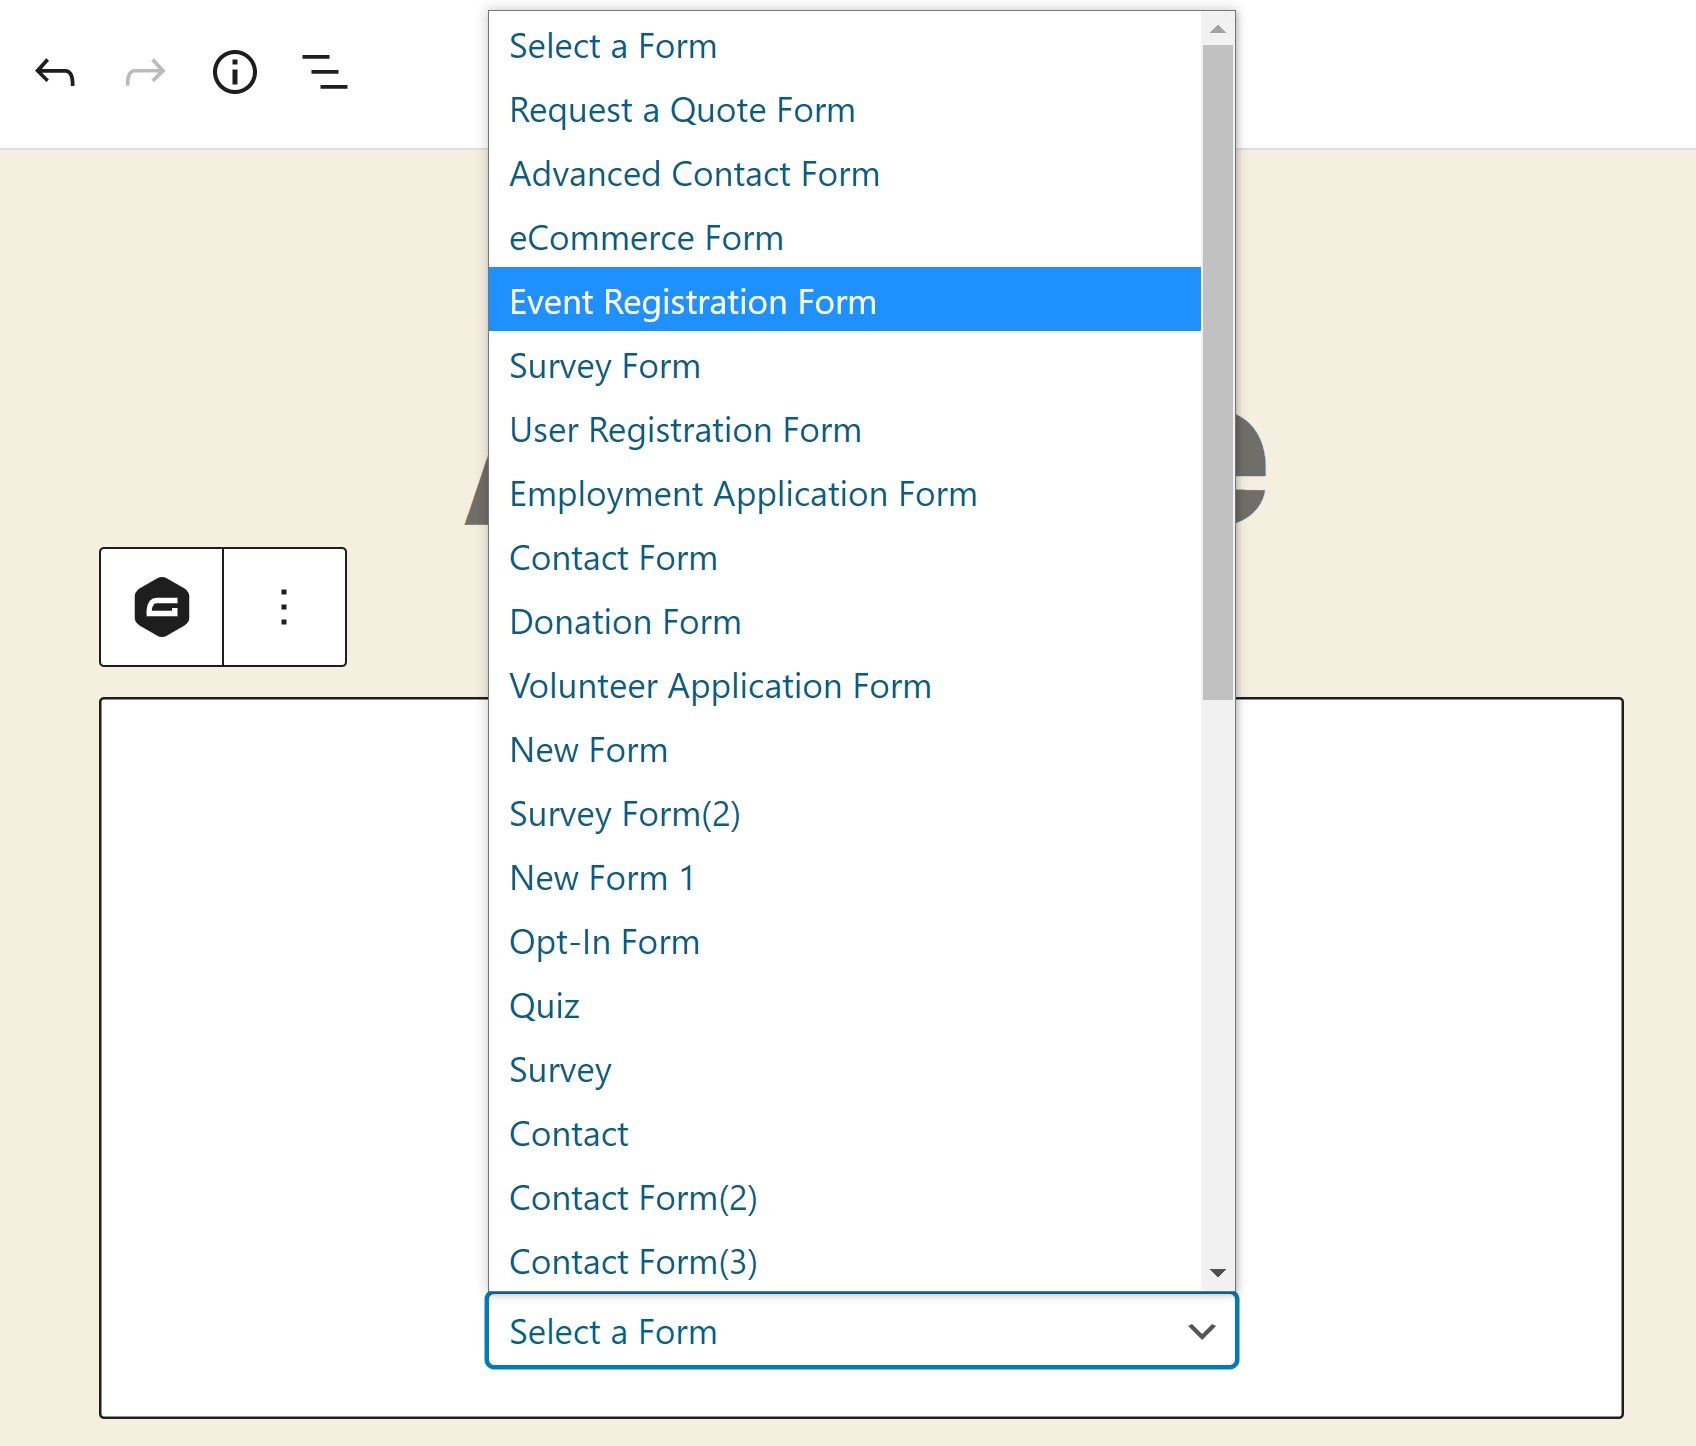 Select Event Registration Form from the drop-down form options, then Preview the form on the front end of your website. If you are happy with your form, go ahead and Publish the page – and don’t forget to test the form yourself to check that it is working!
If you use the Classic Editor, check out this helpful article in the docs Adding a Form Using the Classic Editor.
Final Thoughts on How to Create an Event Registration Form
Although creating an event registration form is a relatively quick and easy process, such a form can have a big impact on your business. By displaying a user-friendly registration form, tailored to your business and event, your attendees can easily register, helping you to automate sign ups as well as other processes like payments and future correspondence.
Are you ready to add an event registration form to your website? Don’t forget to download the form template from our template library!
Not a Gravity Forms customer yet? Sign up for our free demo to check out just how easy it is to create your own forms as well as customize our many form templates.

If you want to keep up-to-date with what’s happening on the blog sign up for the Gravity Forms newsletter!
