Show Different WordPress Form Confirmation Messages with Conditional Logic
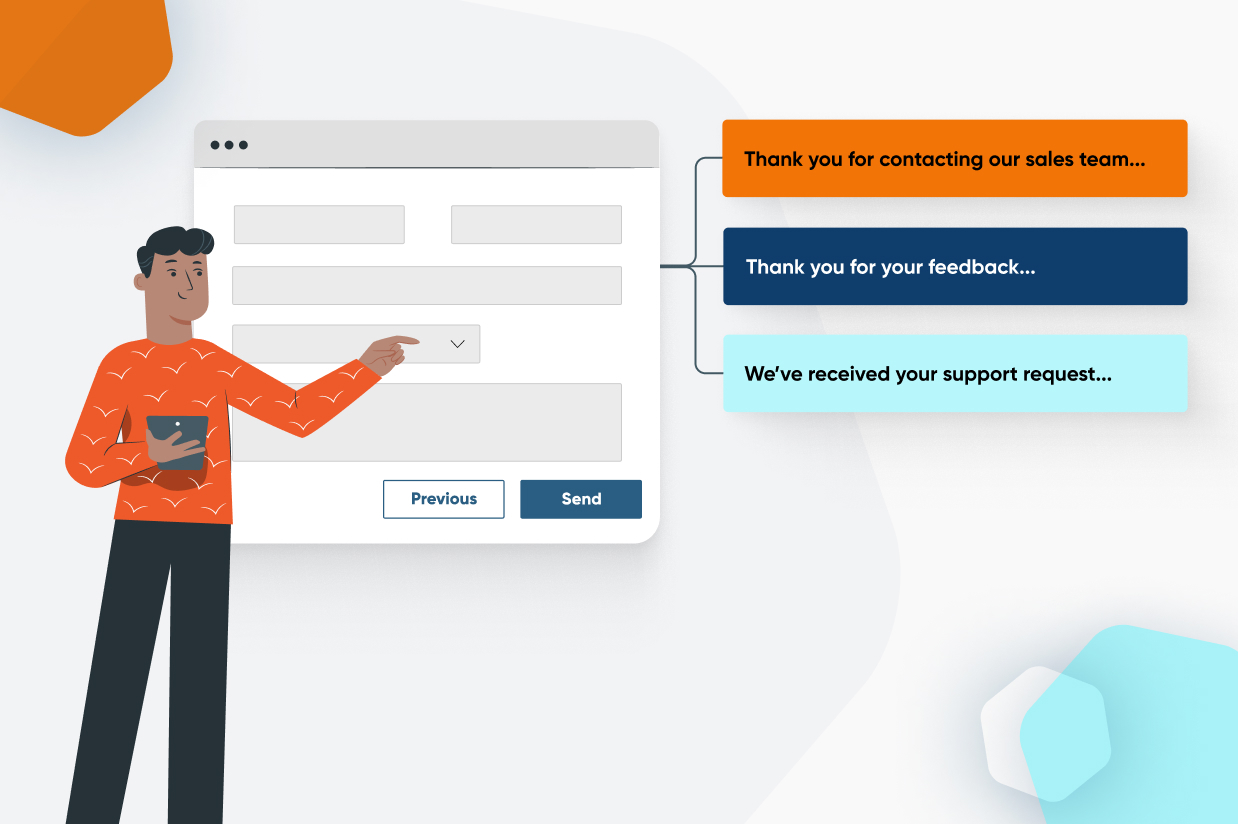
If you want to level up your forms, consider giving your audience an experience that feels custom to them. With Gravity Forms, you can use conditional logic to show different confirmation messages based on how a user has filled out a form.
Not only will your users appreciate the tailored experience, but you’ll also be able to signpost users to different destinations based on their form inputs.
For example, you could direct those who indicated that they were completely satisfied in your customer survey to follow you on Instagram (more on that below!) By displaying different confirmations with personalized CTAs, you’ll be able to continue to engage your users, even after a form has been submitted.
Ready to find out more? Let’s jump in…
When to Use Conditional Logic for Confirmation Messages
We’ve posted before about using different confirmation messages for different form types. In this article we’ll show you how to set up different confirmation messages within the same form, based on the user’s responses.
In this example, we’ll use a customer satisfaction survey that has a multiple choice field allowing your customer to rate their experience with your business.
Of course, there are a number of outcomes possible here depending on how many choices you provide on the form, but here are two to consider:
- The customer is less than satisfied, so you want to use a confirmation message telling them you’ll follow up with them A.S.A.P.
- The customer is completely satisfied, so you want to use a confirmation message asking them to follow you on Instagram.
In this tutorial, we’ll walk you through setting up two confirmation messages:
- When the user is less than satisfied and gives you a rating of 0, 1, 2, or 3.
- When the user is completely satisfied and gives you a rating of 4.
How to Configure Custom Confirmation Messages Using Conditional Logic
Any time you want to use conditional logic in your confirmation messages, you’ll need to add a new confirmation message. The default confirmation message does not support conditional logic.
In this example, we will need to create two confirmation messages, which will exist in addition to the one that is there by default.
Note: The default confirmation cannot be turned off. This is intended to always ensure one confirmation can be executed – the default confirmation will only execute if no other confirmation is executed.
Confirmation Message 1
First, we need to create a confirmation message to be displayed when a customer is, unfortunately, less than satisfied with a service.
In this scenario, the options they could select are 0, 1, 2, or 3.
1. Start by navigating to your form settings, then click on Confirmations.
2. Click Add New.
3. Fill out the Confirmation Name and Message fields. This article goes into more detail on how to configure a custom confirmation message.
4. Scroll down to the Conditional Logic section.
5. Set the condition to Any.
6. Select the field where the condition should apply.
7. For this confirmation message, we need to repeat this process until we’ve listed all possible selections a user could make on our survey to indicate that they are less than satisfied with our services.
8. Click Save Confirmation at the bottom of the page.
Now, your first new confirmation message will appear in the Confirmations section of the form settings.
This is what that response will look like when the form is submitted:
Note: Within the confirmation settings, you also have the option to redirect users to a new page or URL to view a confirmation message. For more information on how and why to do so, check out this article – How to Redirect Users to a New Page or URL After Form Submission.
Confirmation Message 2
Next, we need to create a confirmation message to be displayed when a user tells us they are completely satisfied with our services.
1. Go back to the Confirmations section of your form Settings and click Add New.
2. Complete the confirmation settings with a new Confirmation Name and Message.
3. When you are satisfied with your message, scroll down to the Conditional Logic section.
4. Set the condition to All.
5. Select the field and logic. We will only need to select option 4, as we will only show this confirmation message to anyone who has selected that they are completely satisfied with our services.
6. Click Save.
Now, your second new confirmation message will appear in the Confirmations section of the form settings.
This is what that response will look like when the form is submitted:
Once you’ve got the hang of it, you can set up multiple confirmation messages for each form on your site, ensuring a personalized experience for your users that also ensures you’re showing the right information to the right people after form submission.
For more information on getting started with confirmation messages, check out the Gravity Forms Confirmation Documentation.
Ready to Take Your Forms to the Next Level?
Creating different confirmation messages for your forms using conditional logic is a great way to keep your communication clear, personal, and efficient, and Gravity Forms makes this easier than ever.
Conditional logic is included with all Gravity Forms licenses, so if you’re ready to level up the forms on your website, head on over to our pricing page and make a purchase today.
If you’re not a Gravity Forms customer yet, sign up for a free, personalized demo to try it out for yourself.

If you want to keep up-to-date with what’s happening on the blog sign up for the Gravity Forms newsletter!


