How to… Create WordPress Forms with Save and Continue
 No matter what kind of website you have, one thing is certain: you’re going to need a form. The most basic kind of form you should have on your website is the contact form. But, depending on your business, you might have other types of forms such as a payment form, a client questionnaire, a job application form, or similar.
Typically, the shorter the form, the better. However, in some cases, you need longer forms. The problem with longer forms is that people can be put off by the length, which leads to a low conversion rate.
If you have long forms on your website, there is a feature that can come in very handy — the Save and Continue feature. In this guide, we’ll explain how Save and Continue works, why it’s beneficial, and show you how to enable it on your forms built with Gravity Forms.
What is the Save and Continue Feature?
The Save and Continue feature does exactly what its name implies: it allows your users to save their form’s progress and finish filling it out at a later date. As mentioned before, this feature is handy when you’re dealing with longer forms and it increases the chances of users actually completing the form.
How Save and Continue Feature Works?
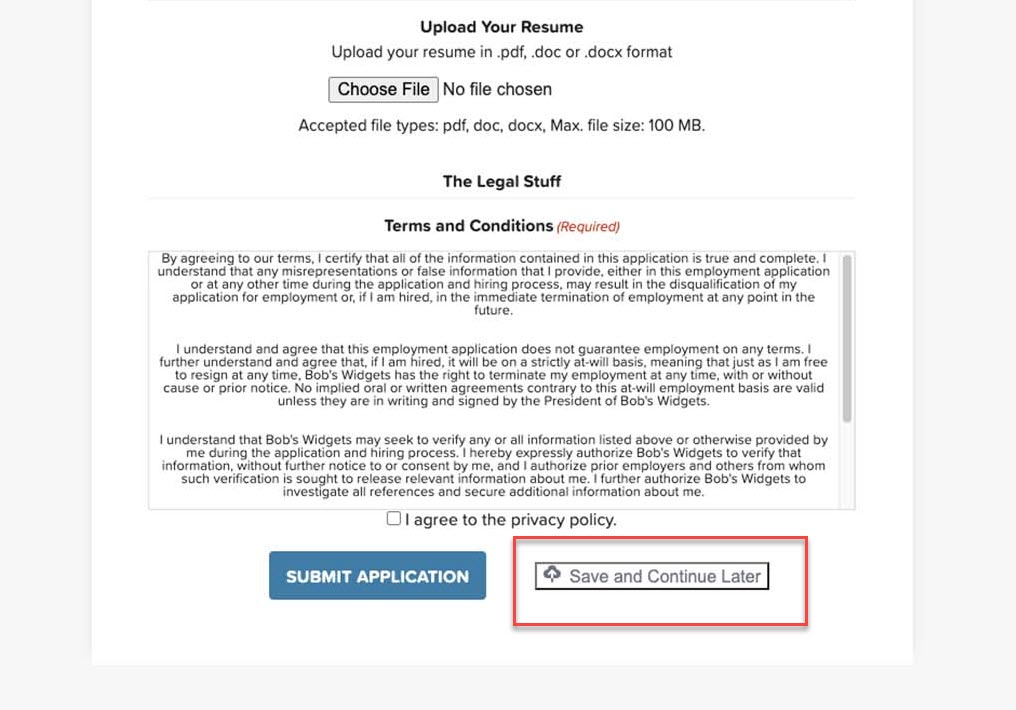
Once you enable this feature, it will generate a ‘Save and Continue’ link on your form that allows users to continue completing the form at a later point in time. The user can click the link in the form to save their progress and they will be presented with a custom link.
That custom link will take them straight to the current (saved) version of the form. The link can also be emailed to the user so they don’t have to worry about losing it or losing it among other bookmarks.
(It’s worth mentioning that the links are valid for 30 days. After that, the link will no longer work. However, you can override this by using the gform_incomplete_submissions_expiration_days filter and adding it in your functions.php file).
Benefits of Using Save and Continue Feature
There are several benefits and use cases to using the Save and Continue feature with your forms:
- Great for longer forms such as client questionnaires, surveys, or application forms as it can increase the chances of users completing the form.
- Sometimes life happens and your users might need to leave your website to deal with another issue. Once you enable this feature, users can save the progress and continue at a time when it’s most convenient for them without any interruptions.
- A common business example where Save and Continue might come in handy is any business that has a section on their website for job applications. If your job application is a lengthy one, you can allow applicants to save their progress and pick it up when it’s convenient for them.
- Another industry example where a lengthy form is common is the design industry. Designers often have complex client questionnaires. In those cases, the Save and Continue feature is a real life-saver.
- Lastly, any business or website owner that has detailed surveys on their website that aren’t time-sensitive can benefit from having the Save and Continue feature enabled on their forms.
How to Set Up Your Form to Enable the Save and Continue Feature
To enable the Save and Continue feature, you’ll need to have Gravity Forms installed on your website. If you don’t have our plugin yet, head on over to our pricing page and check out the available licenses.
Once you’ve made a purchase and installed Gravity Forms, you can then proceed with the steps below to enable the Save and Continue feature on your forms.
1. Create Your Form
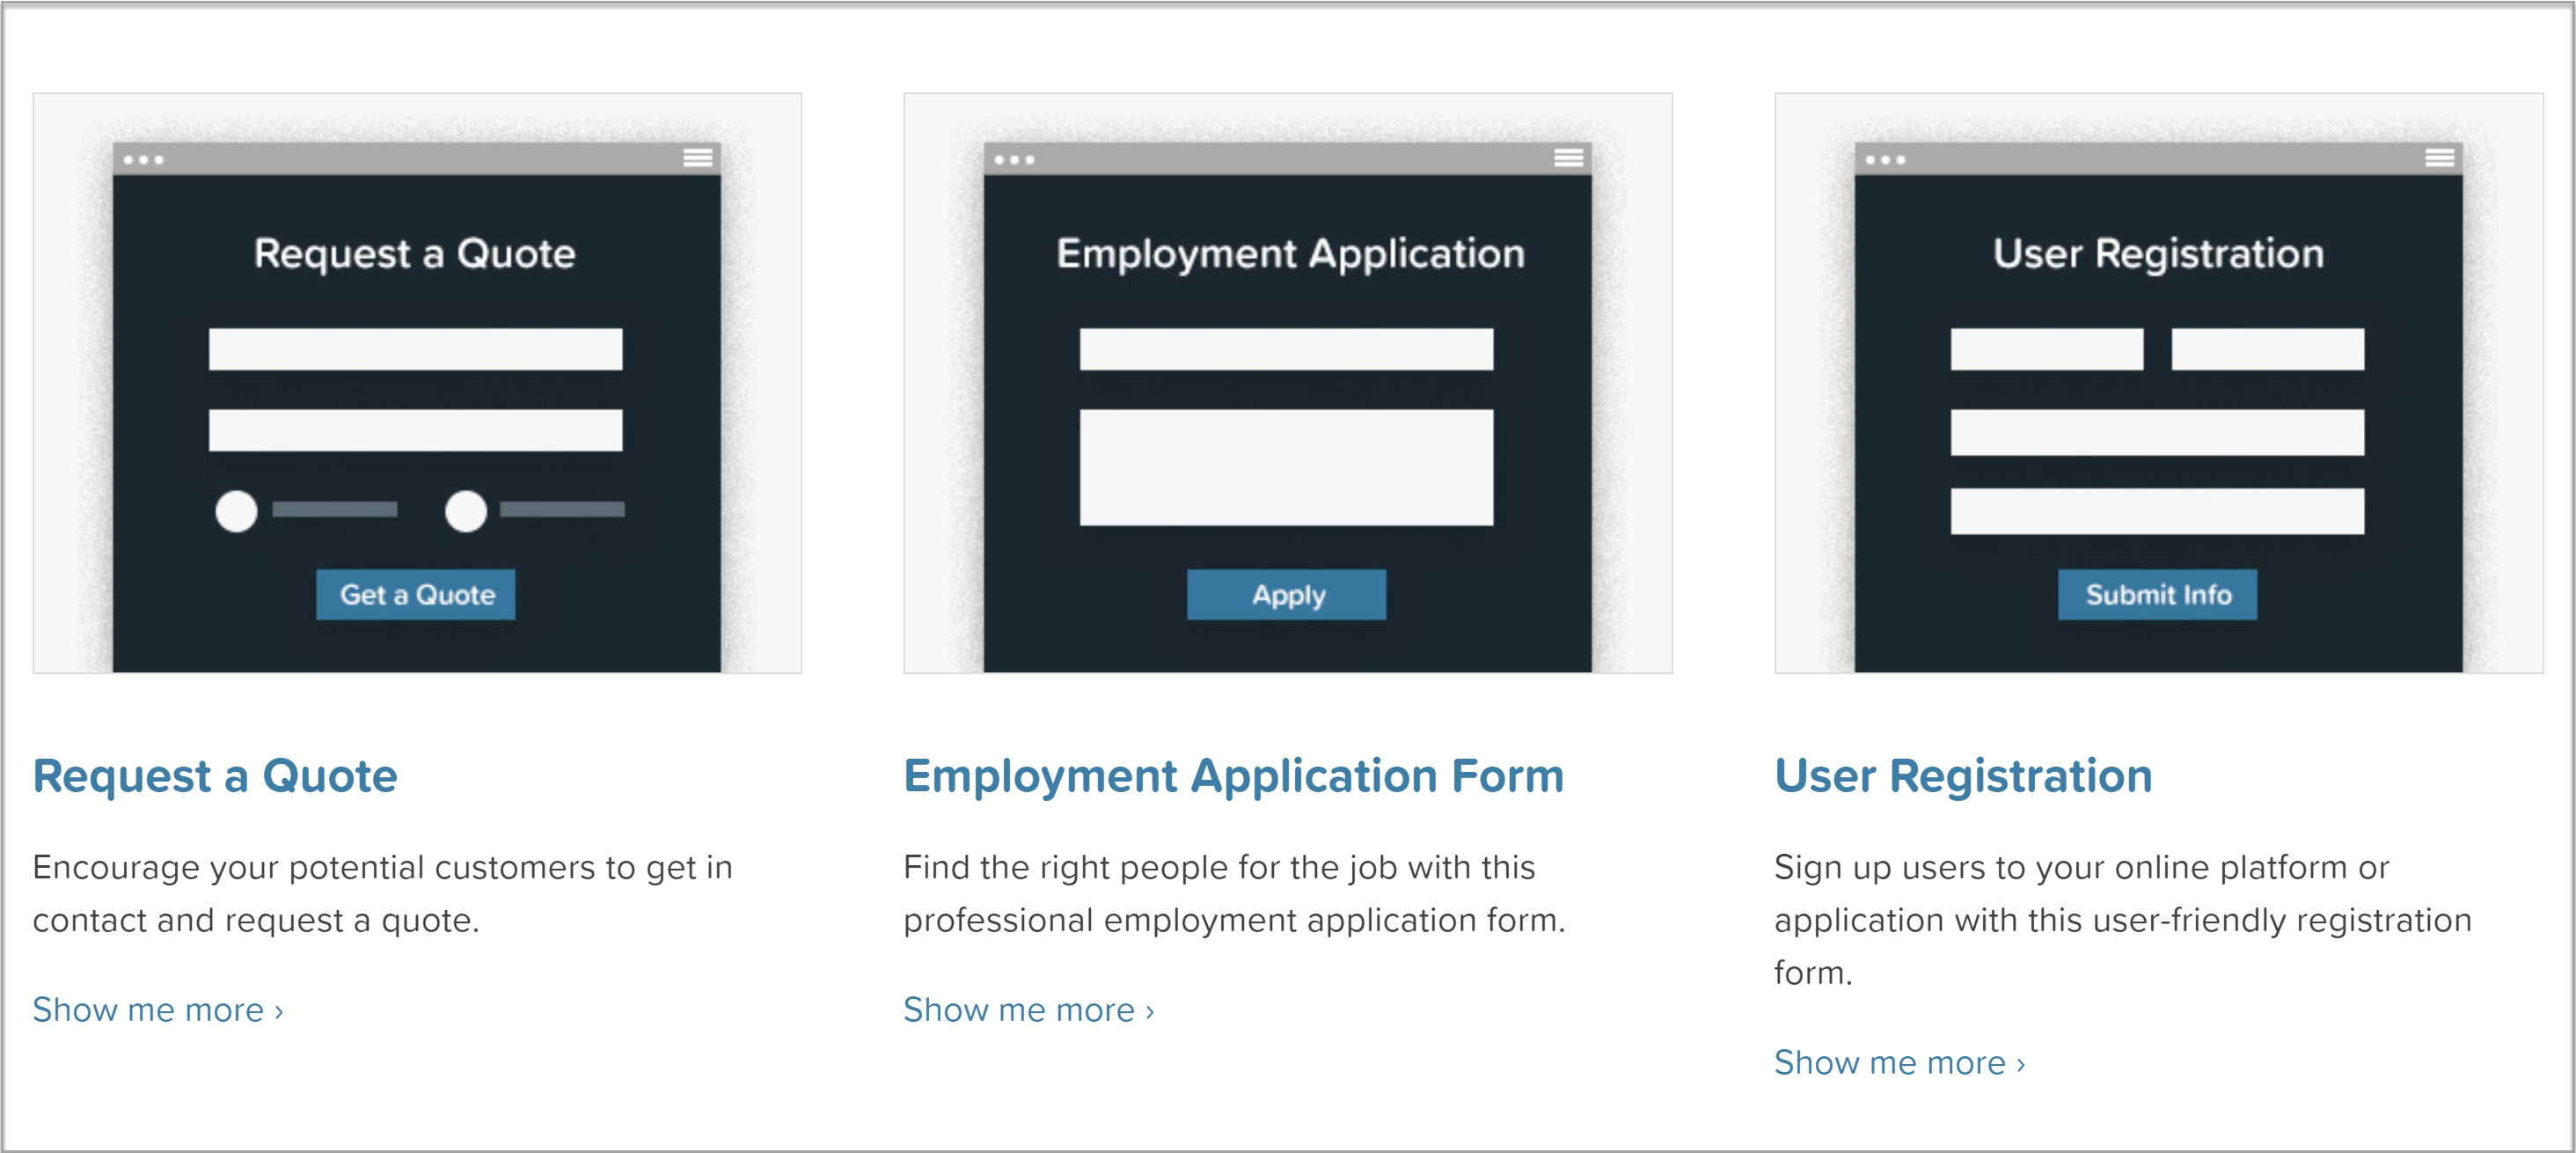
The first step is to create a new form or select any of your pre-existing forms. You can also select and import any of our fully customizable free form templates from our form template library.
2. Enable Save and Continue
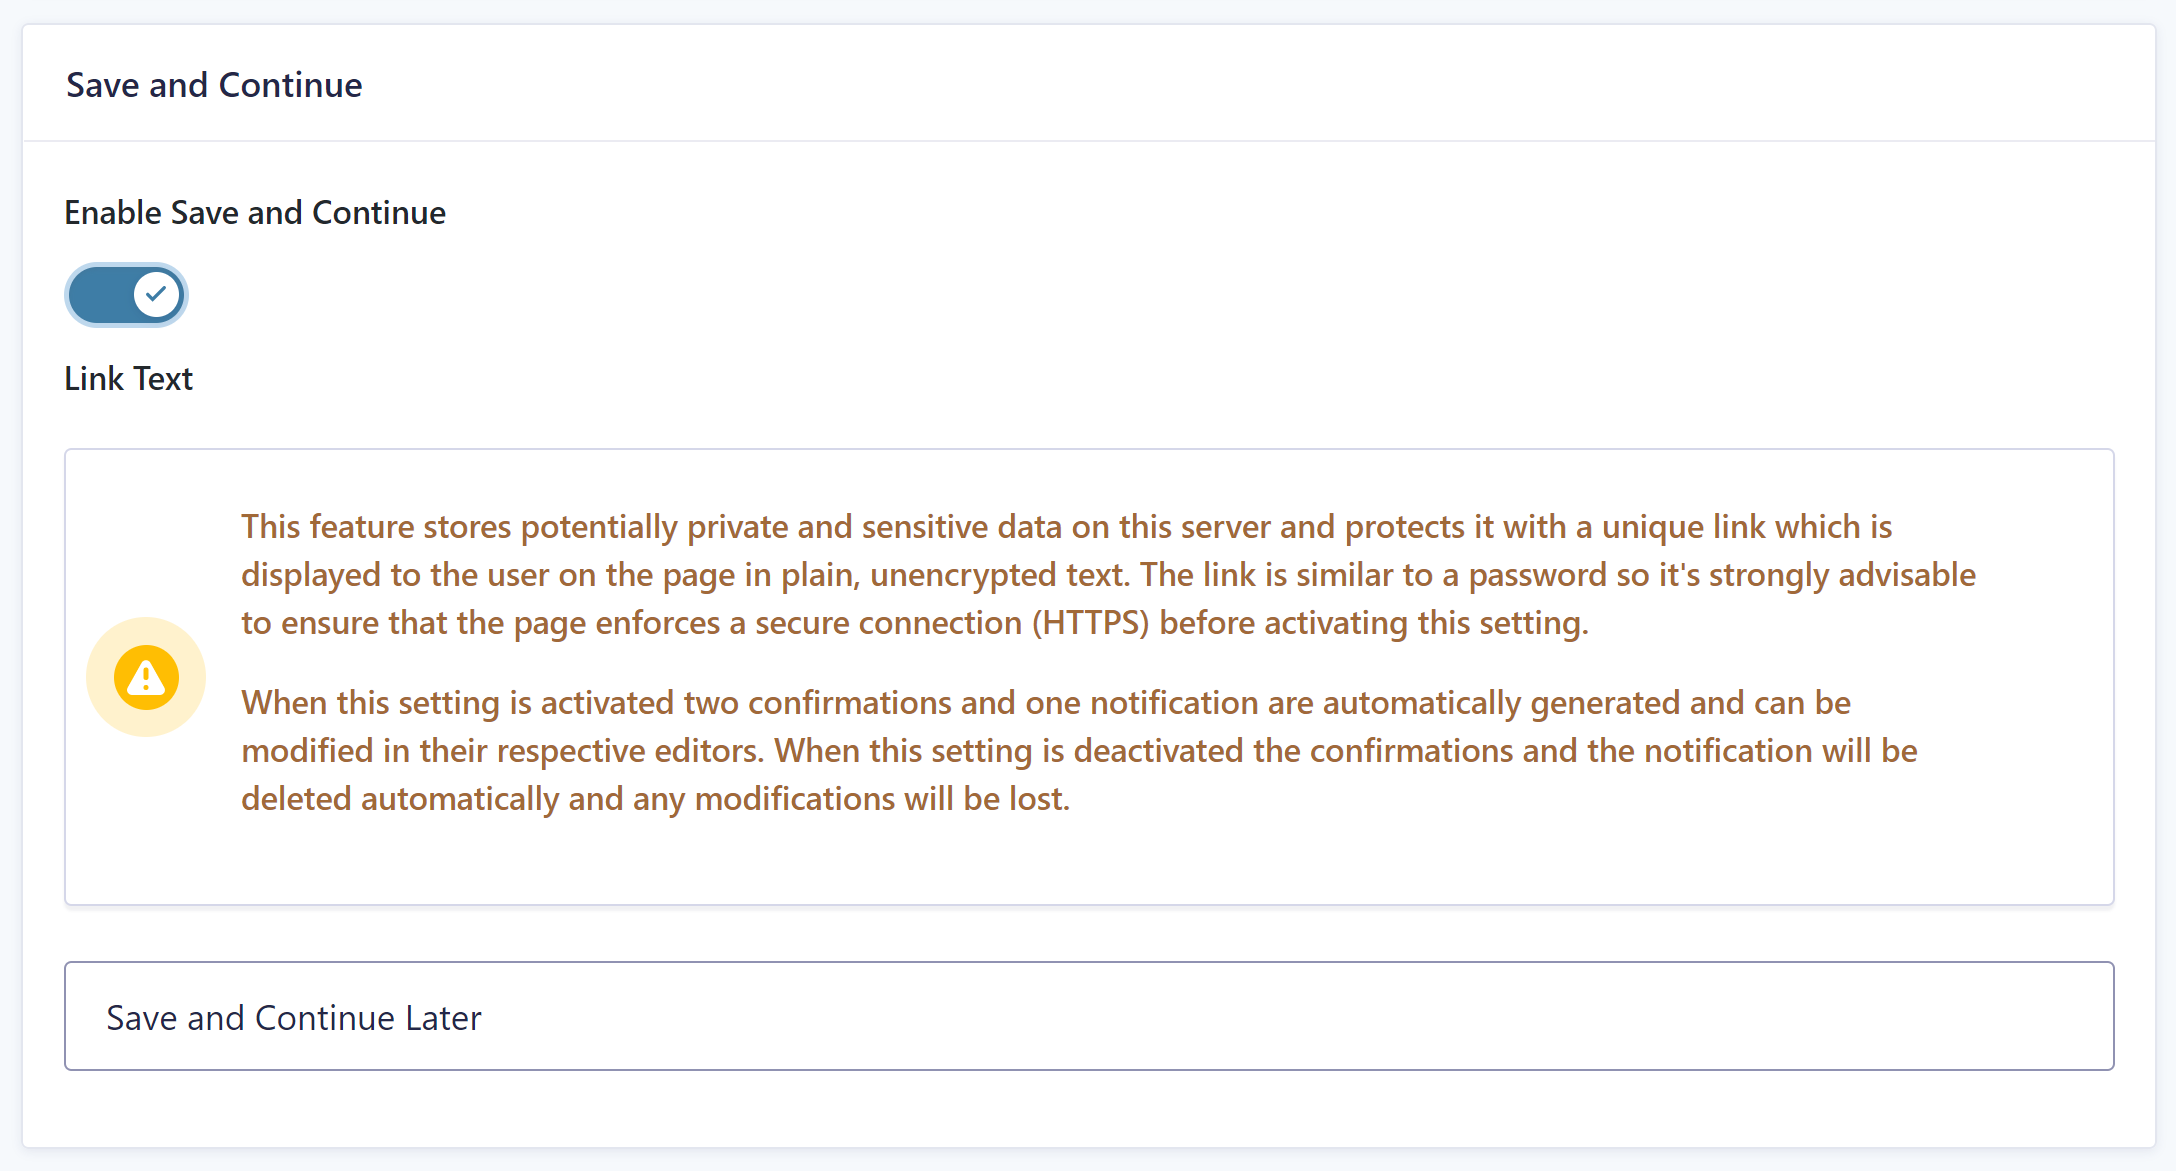
To enable Save and Continue on a form, navigate to Settings > Form Settings. Scroll down until you see the option Save and Continue then toggle the option to Enable Save and Continue functionality within the form.
Here you can also customize the text that appears for the Save and Continue link. When you’re done, click Save Settings at the bottom.
 If you take a look at your form on your website, you will see the link that allows users to Save and Continue later with filling out the form.
3. Configure Form Confirmations and Notifications
Once you have enabled the Save and Continue functionality, you’ll notice extra confirmation and notification messages. It’s therefore a good idea to go through them and customize them to your liking.
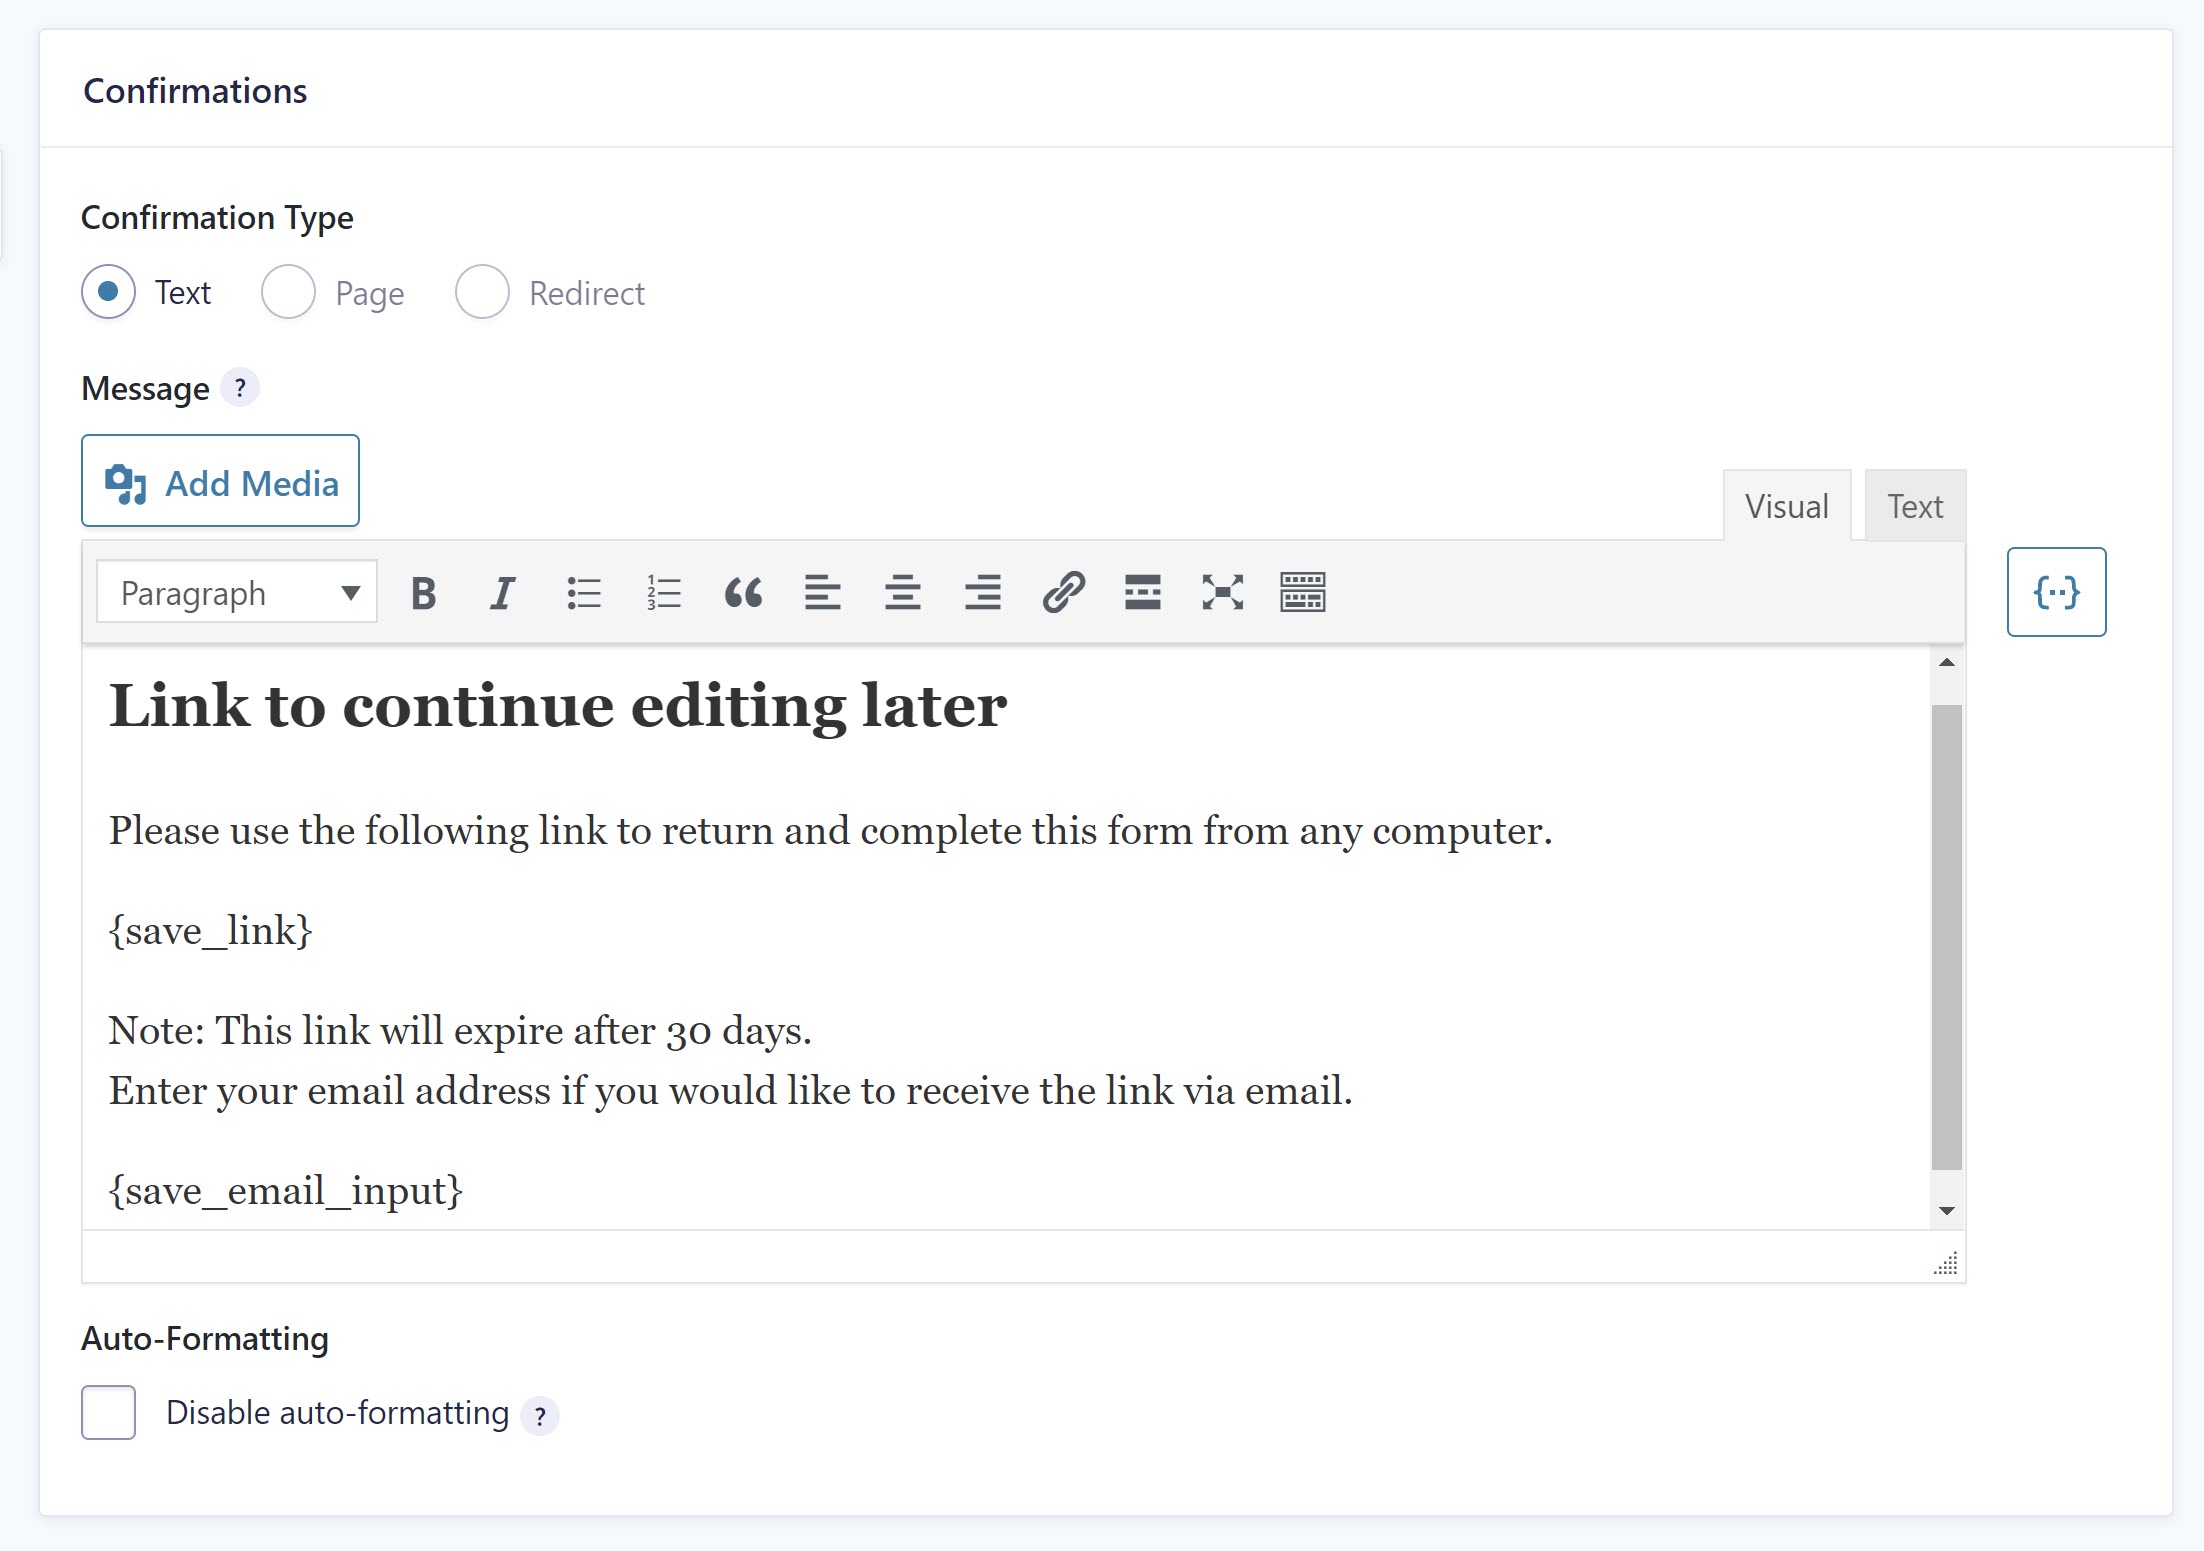
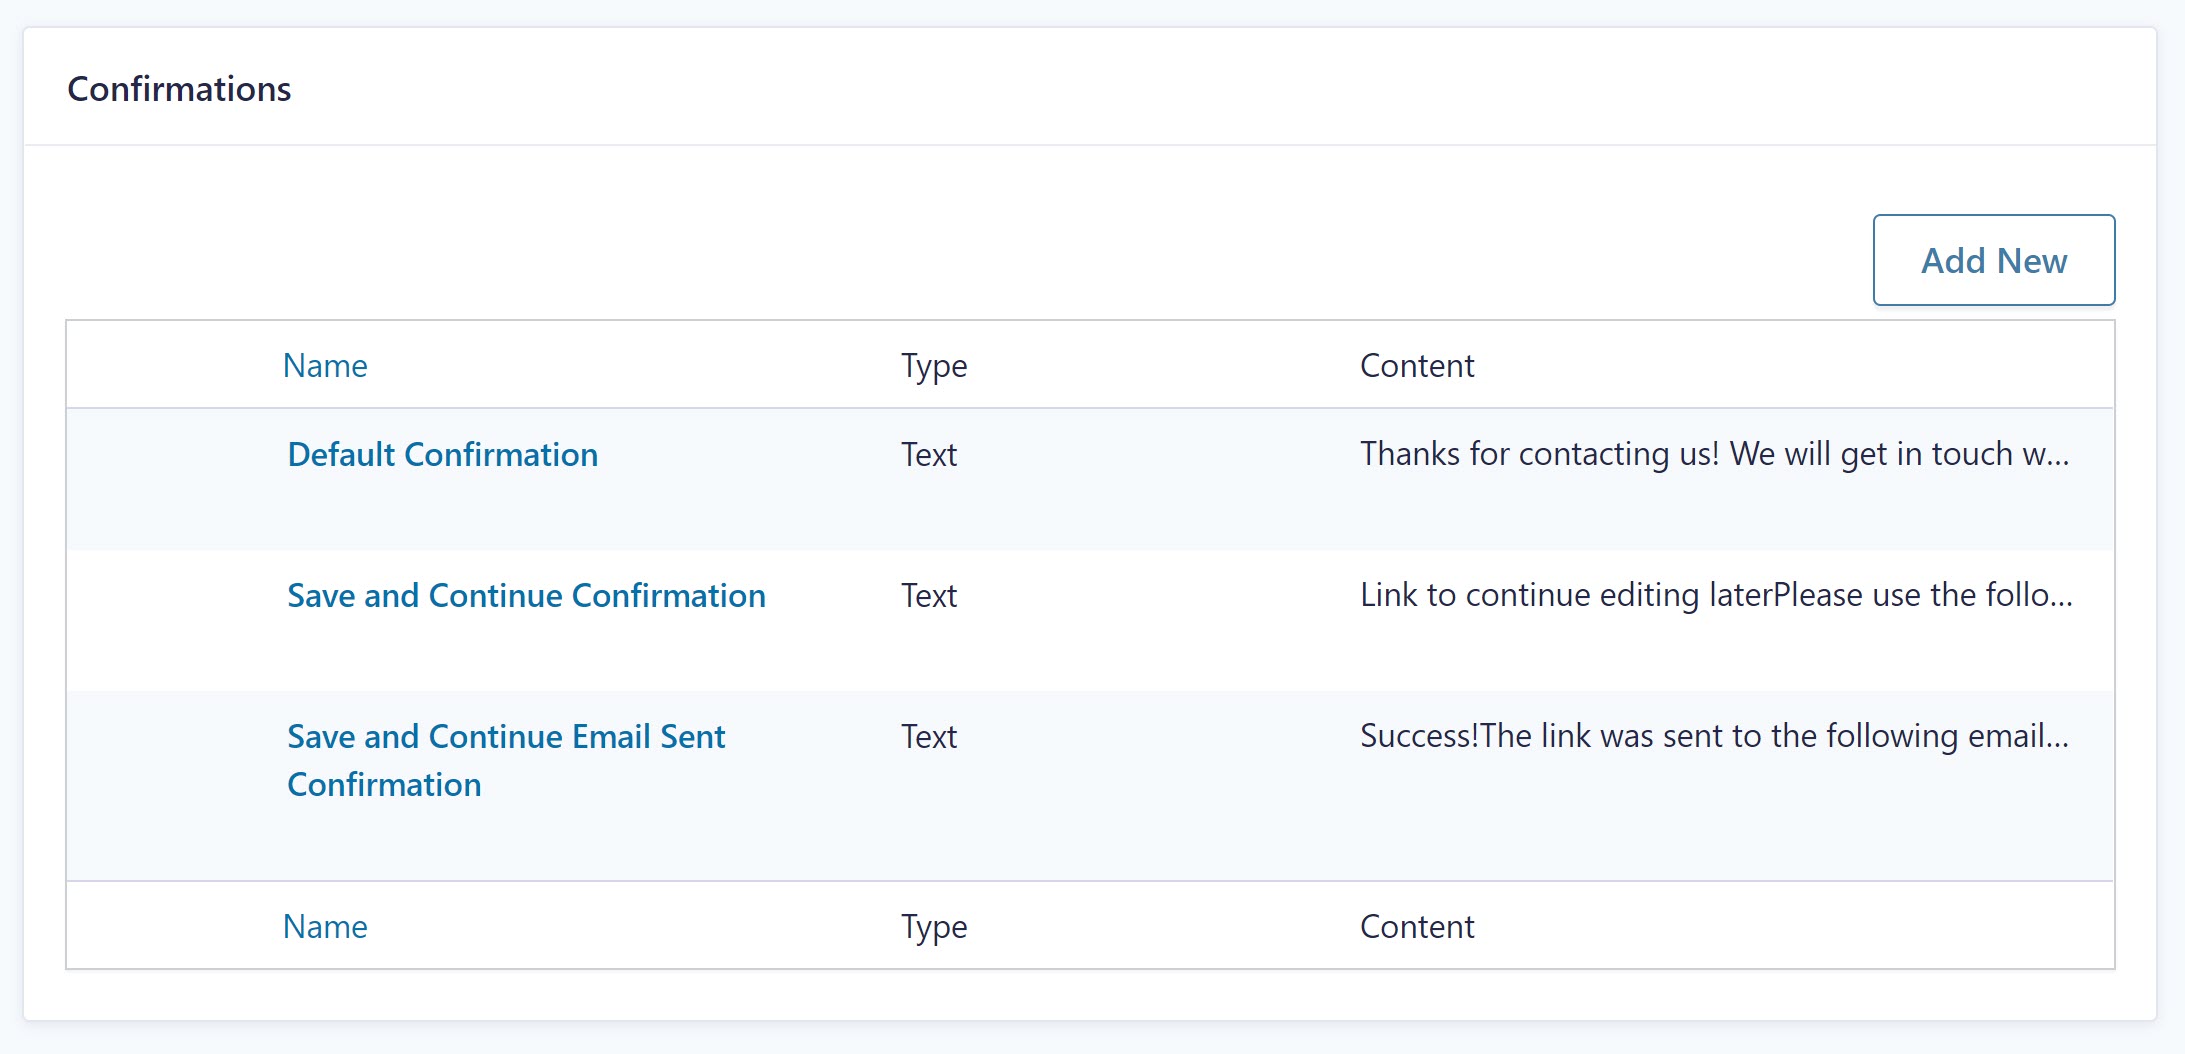 Go to Settings for the form that has the Save and Continue feature enabled and click on Confirmations. Here you’ll see two new confirmation messages.
The first one is displayed when someone clicks on the Save and Continue link. This contains the custom Continue link as well as the option to enter an email address so the user can also receive the custom link via email…
 You’ll also see a confirmation that confirms the email has been sent to the provided email address.
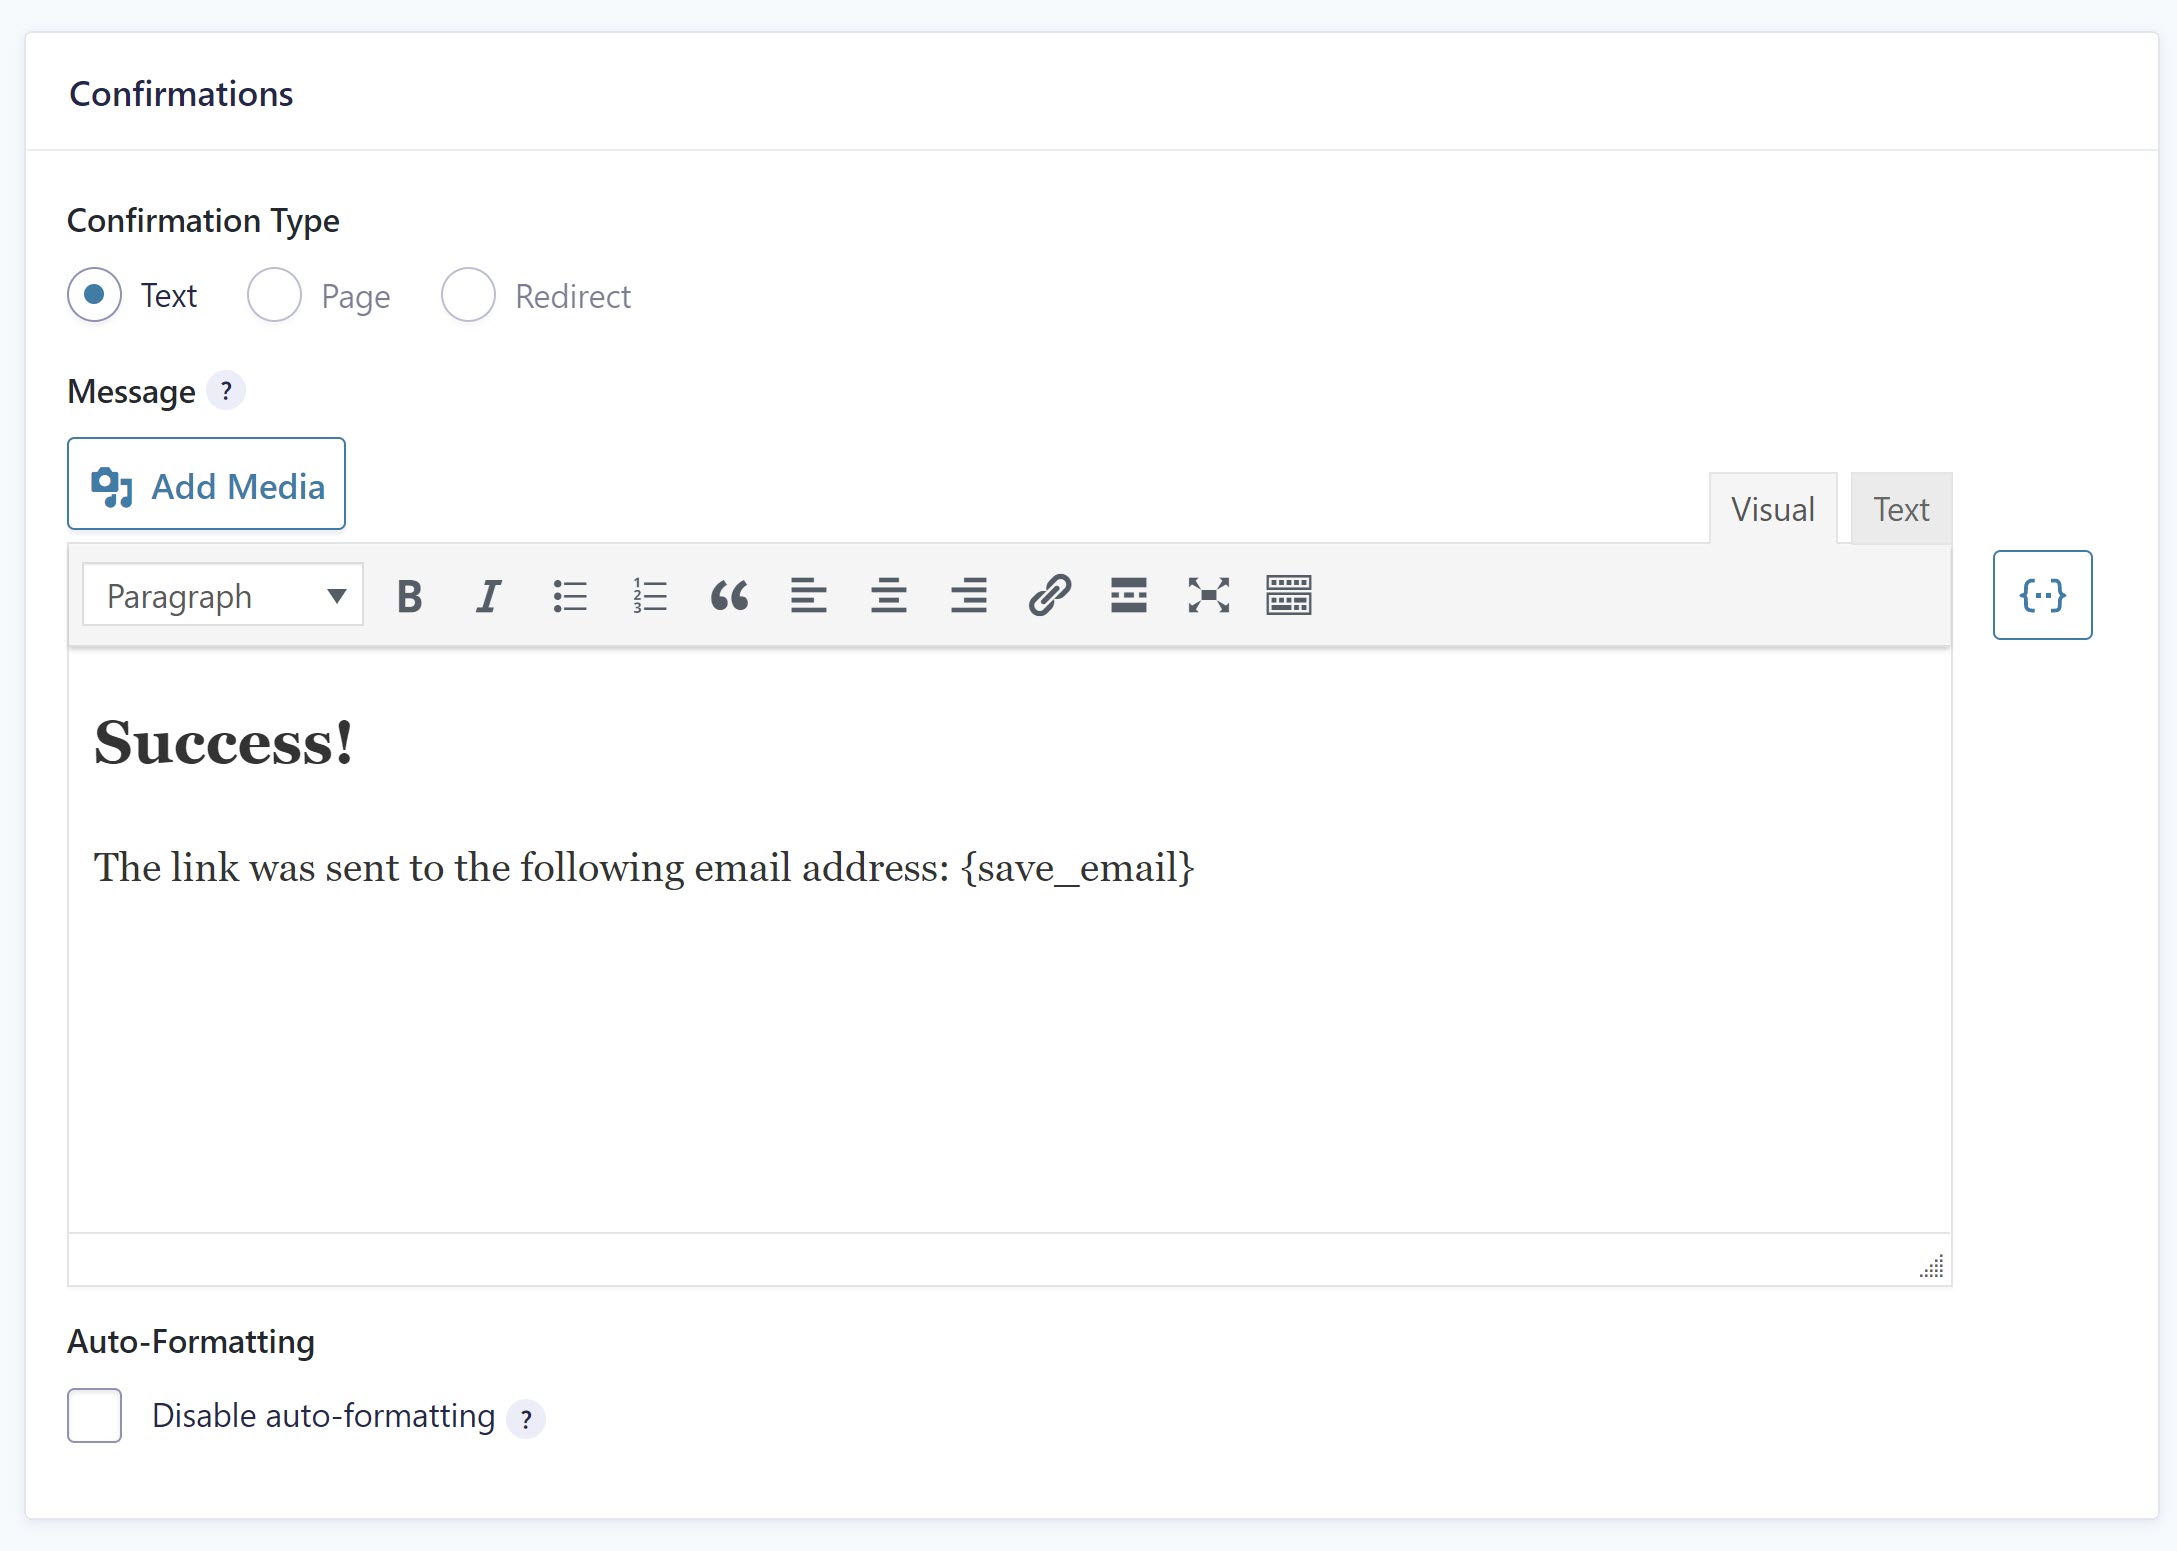 You can customize these messages to your liking and use the merge tags to add necessary automatically generated information. You can also change the confirmation type and send them to a page on your website instead.
Similarly, you can customize email notifications. By default, an additional email notification will be generated that’s sent to the user. You can customize the email to use your tone of voice along with adding merge tags to further personalize the email.
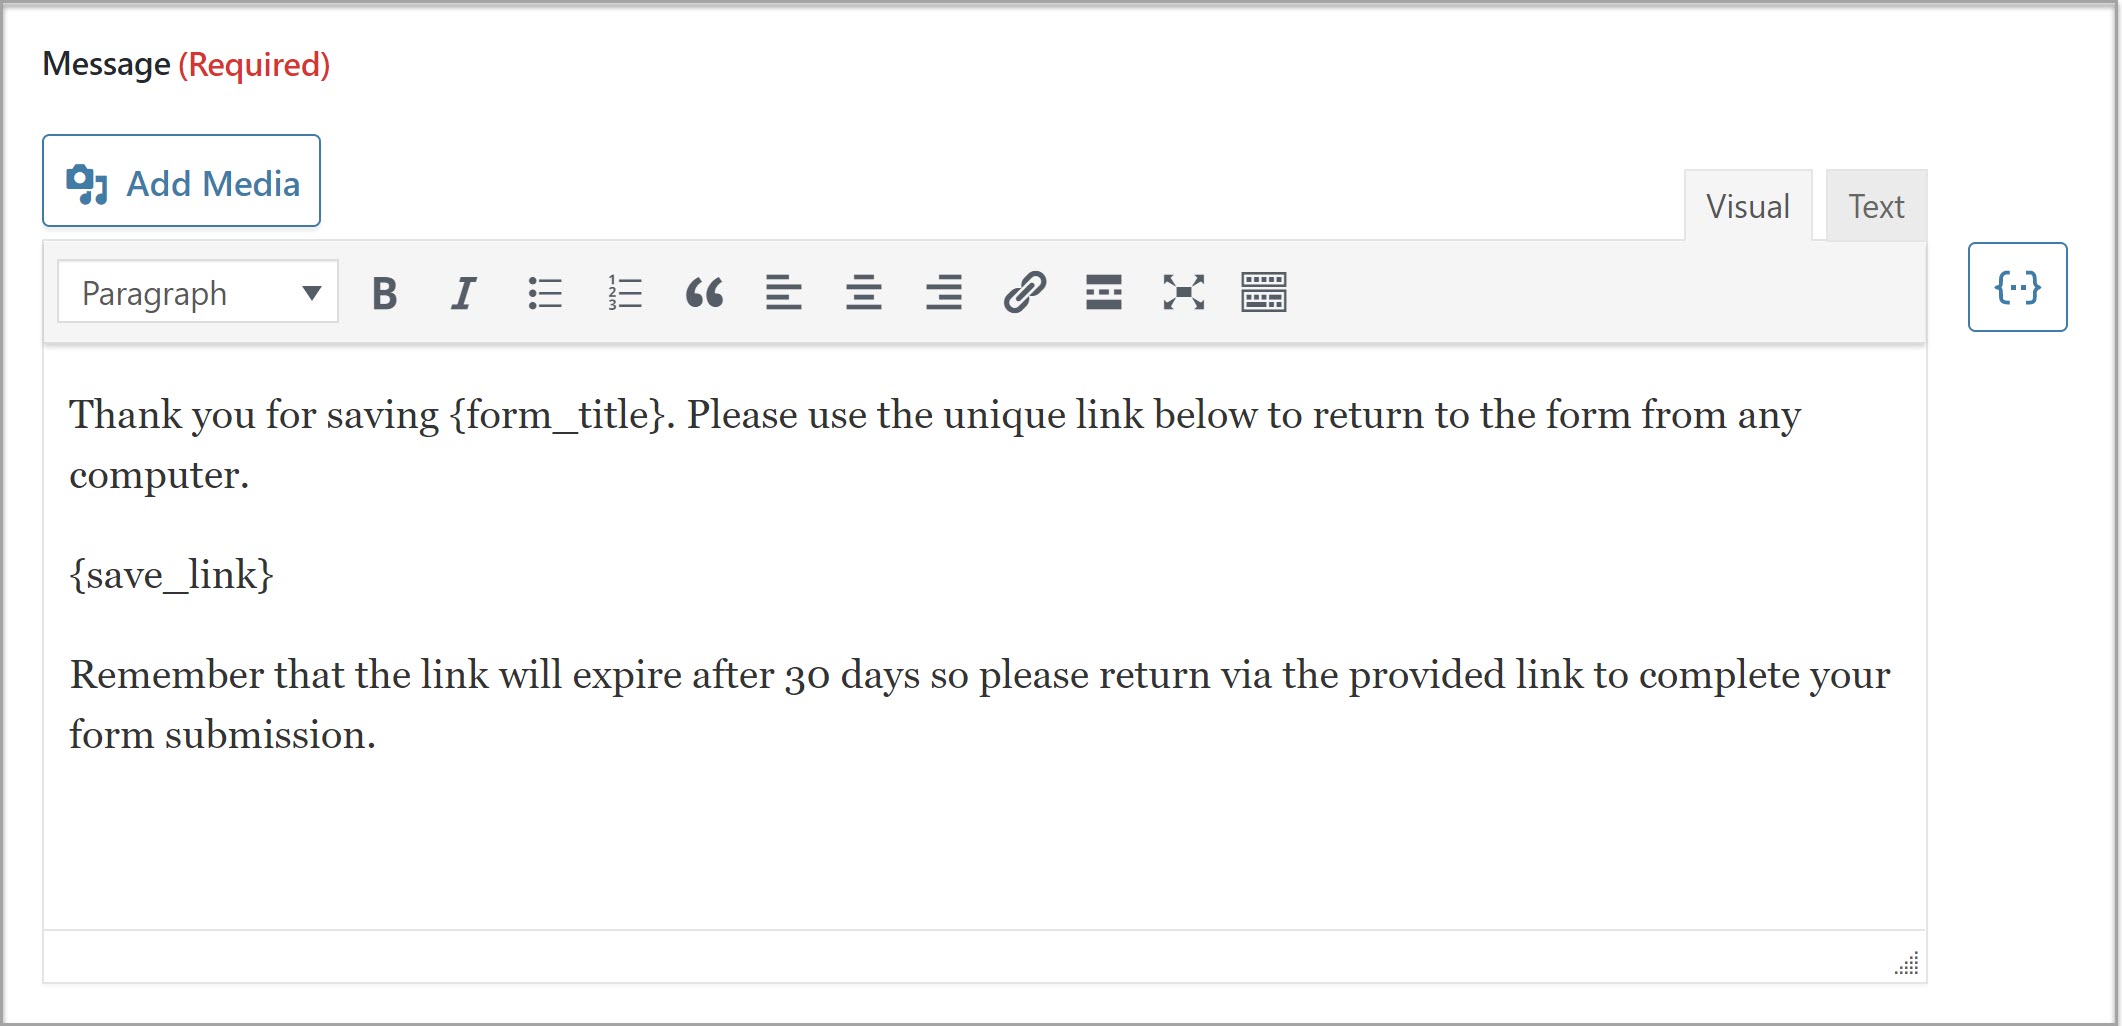
You can also create additional notifications that go to a specific person in your company to notify them. This can come in handy if you want to personally follow up with the person and remind them to finish filling out the form.
What Happens If a User Loses the Save and Continue Link?
In some cases, your users might lose the Save and Continue link. For example, they might have accidentally deleted the email or entered the wrong email address.
Keep in mind that Save and Continue links are stored in a separate database table. In other words, they’re not accessible from your WordPress dashboard.
However, if you have the Partial Entries Add-On installed and enabled, you can recover the lost Save and Continue link through the partial entries listing.
Ready to Enable Save And Continue Feature With Gravity Forms?
As you can see, the Save and Continue feature can be highly beneficial if you have longer forms on your website. If you want to learn more about Save and Continue works, the following resources will be helpful:
- Gravity Forms Documentation: Save And Continue
- How… to Capture Partial Entries
- Gravity Forms Documentation: Partial Entries Add-On
Don’t have Gravity Forms yet? No worries! Simply sign up for a personalized free demo and explore all of the features our plugin has to offer. Use the intuitive form builder to create forms from scratch and see why Gravity Forms is the top choice of WordPress website owners worldwide.
Already sold on using Gravity Forms? Purchase our premium WordPress form plugin today!

If you want to keep up-to-date with what’s happening on the blog sign up for the Gravity Forms newsletter!
