How to Add Images to a Form

Gravity Forms enables you to create stylish forms that connect with your audience and boost conversions. Adding images to forms can further enhance user engagement, personalizing or adding excitement to the form process, and ensuring your forms convey the right message.
With Gravity Forms, embedding images into forms is a quick and easy process. In this article, we will look at a few different ways you can add images to a form, including using a certified add-on that can do the job for you.
Let’s get started…
Uploading Images
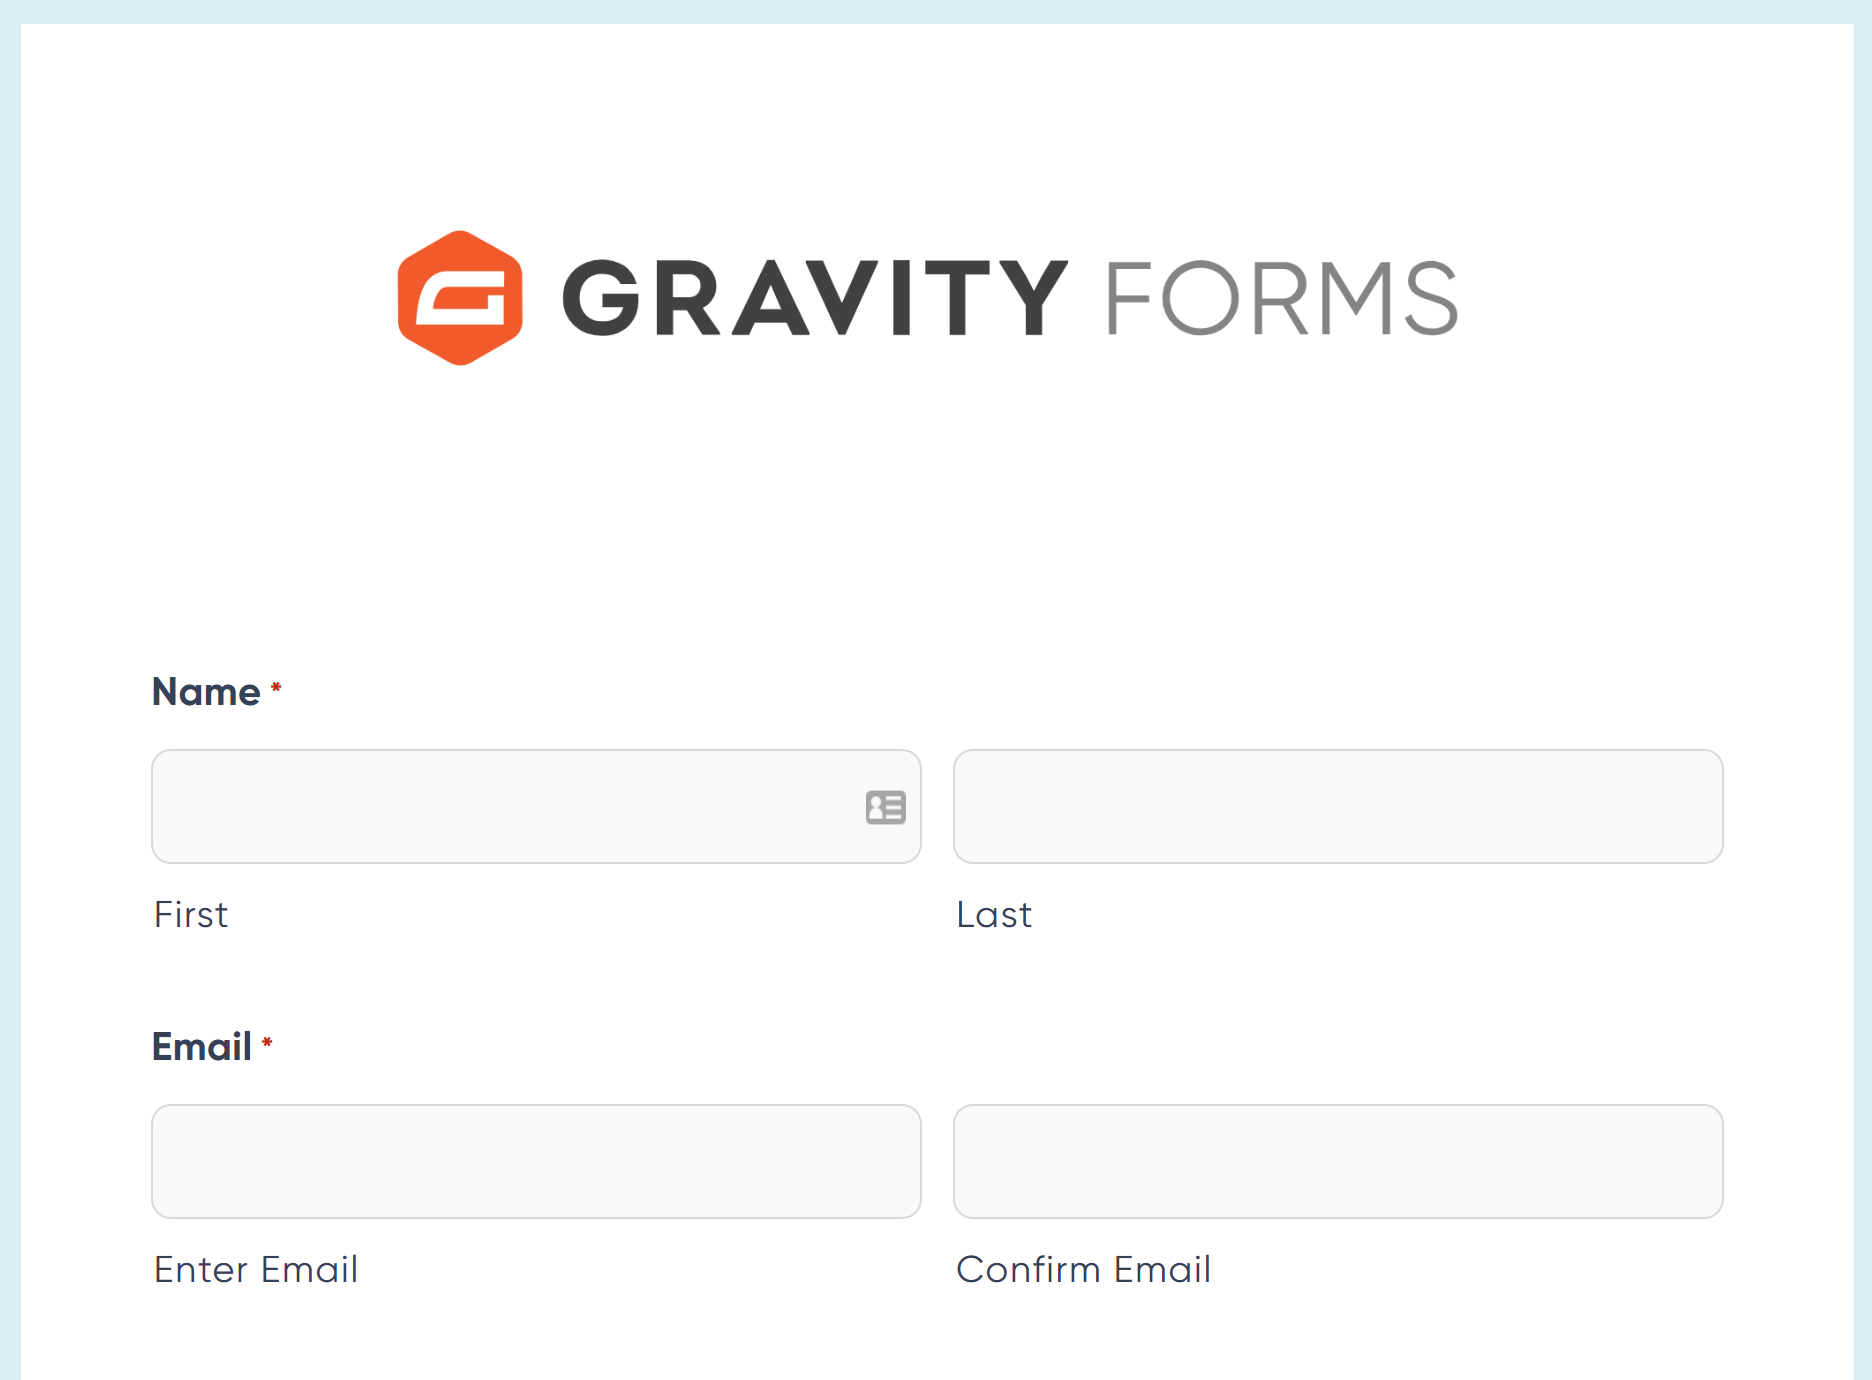
With Gravity Forms, you can display custom images within your form. This allows you to use relevant and attention-grabbing images that your users will relate and respond to, or add your logo to your forms to help reinforce your brand.
To add a graphic to a form, you will first need to upload your chosen image to your website’s media library. To do so, within your WordPress dashboard, select Media > Library > Add New > Select Files.

Then simply select the image you want to use and upload it to the media library – once uploaded, the image is then ready to be embedded into a form.
Adding an Image to a Form
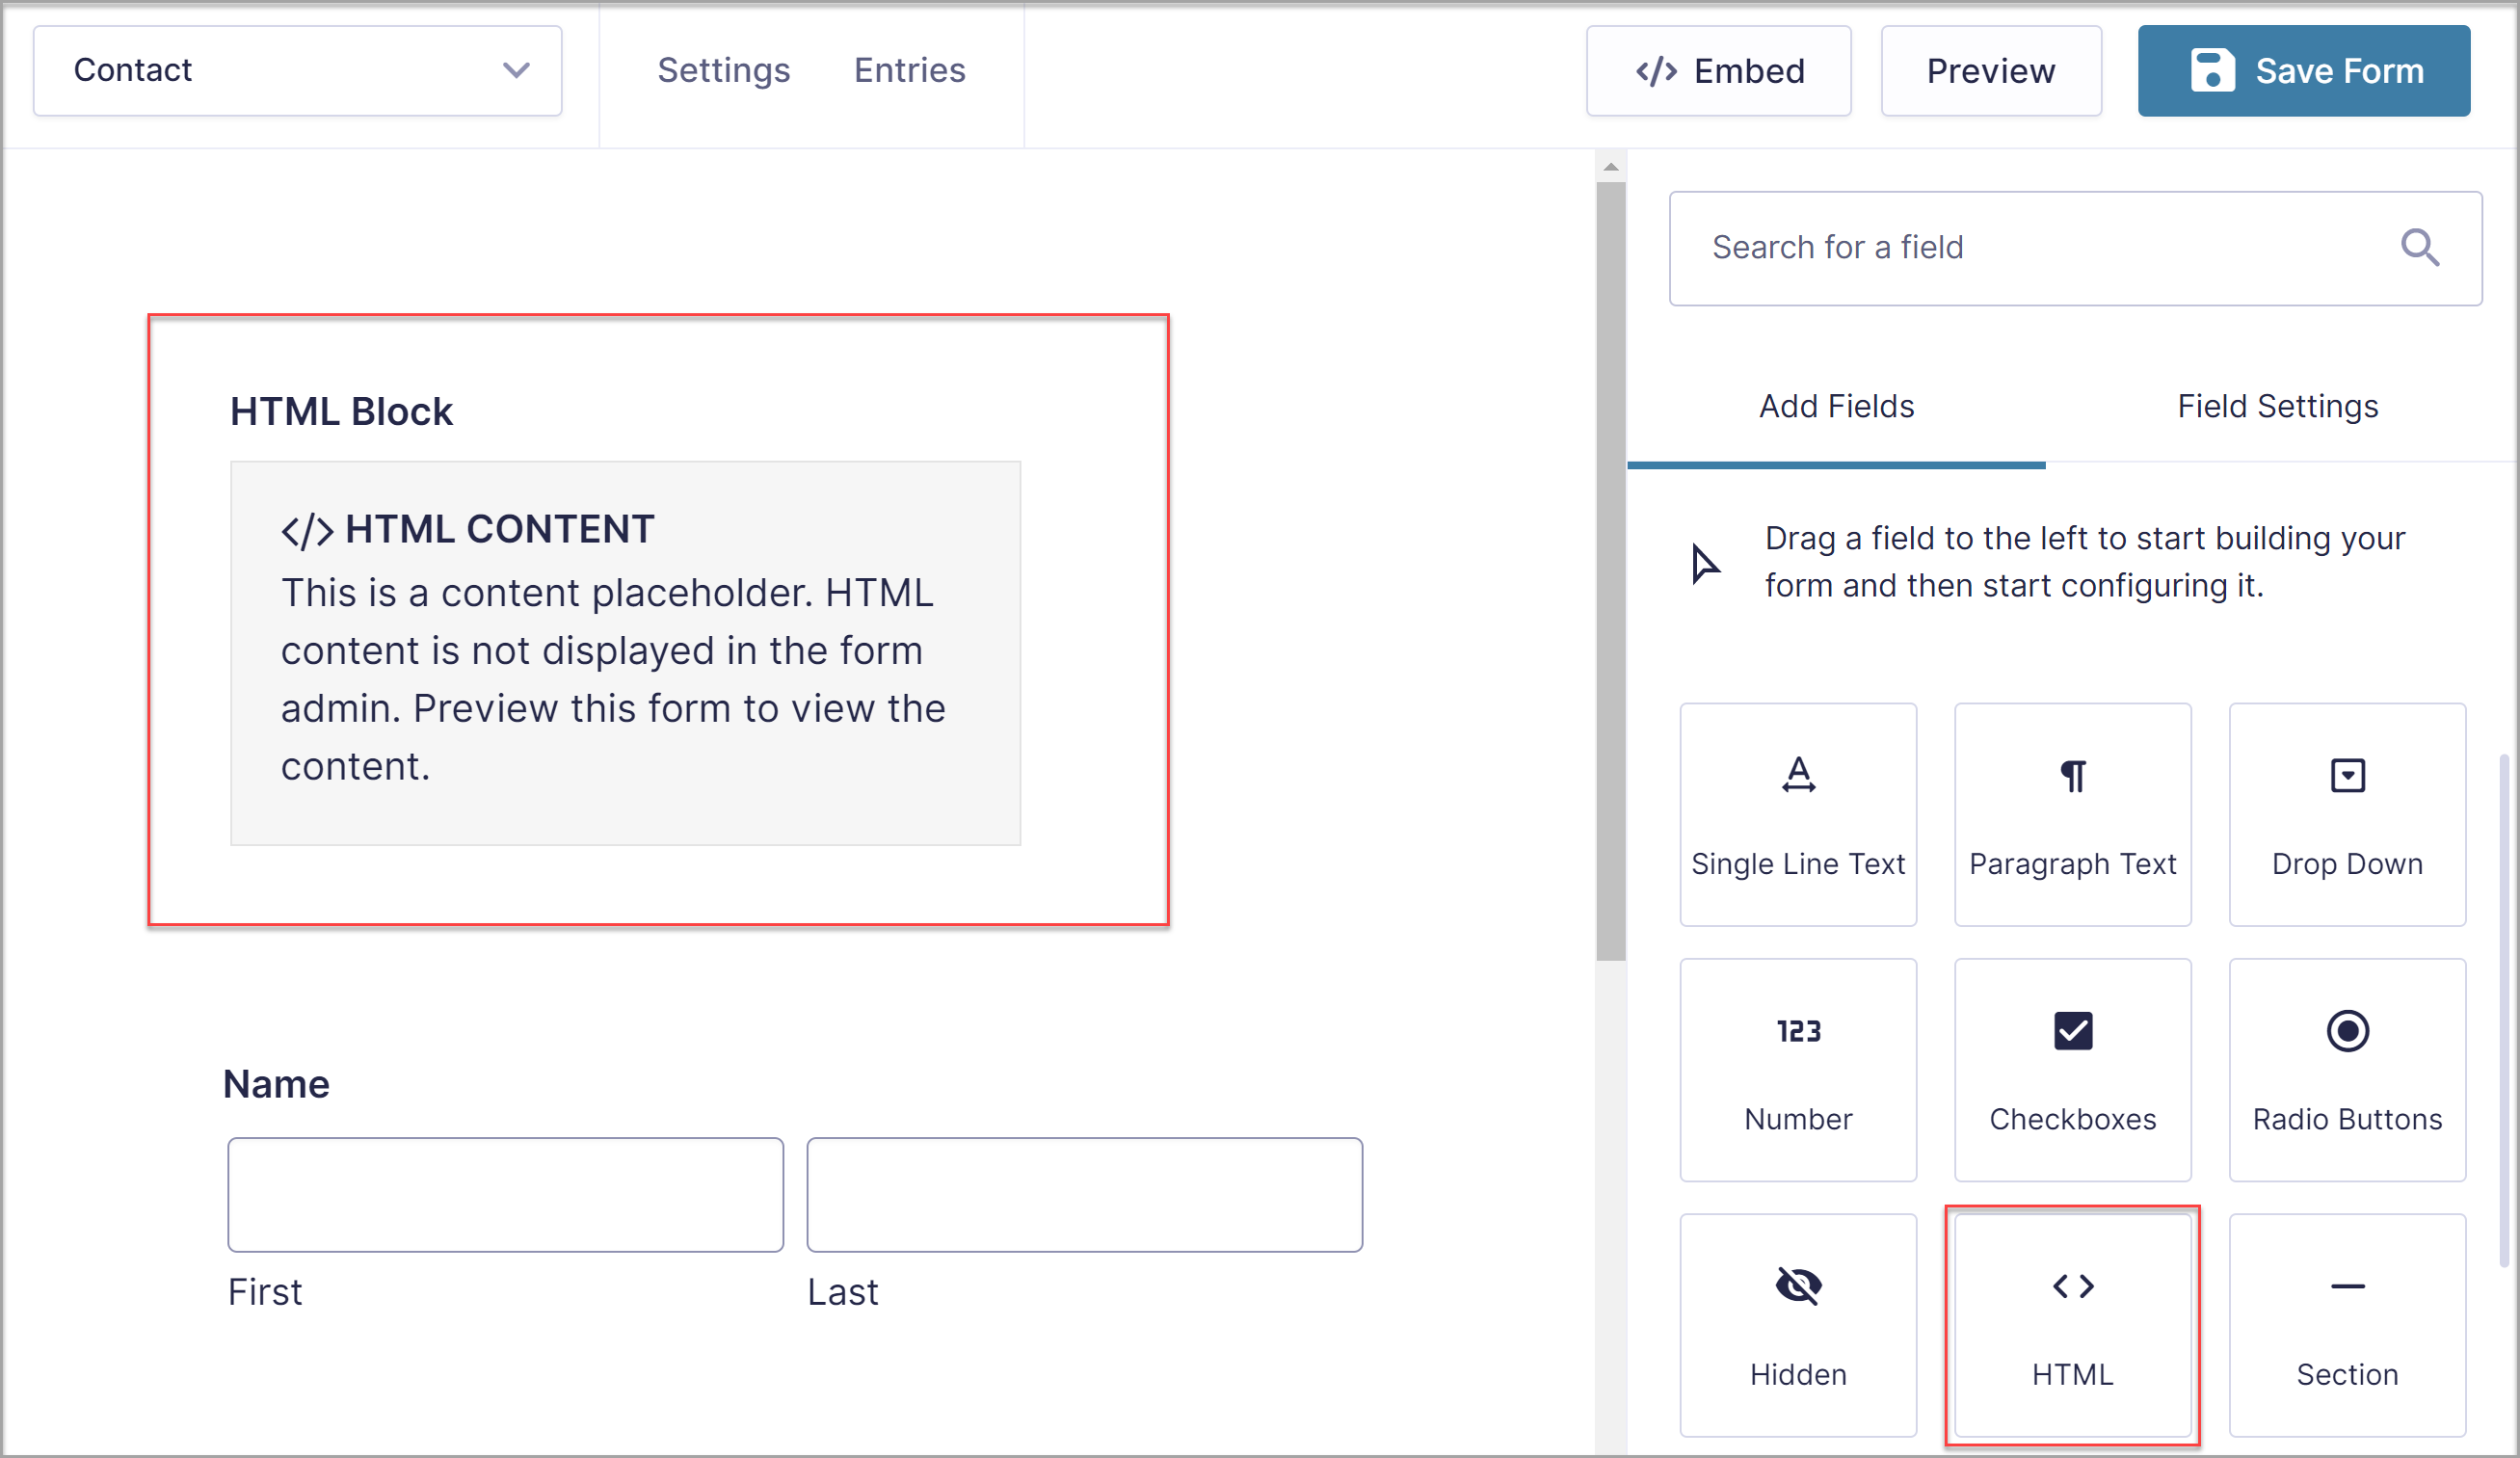
To add a stand-alone image to a form, open the specific form and then select the HTML field, which you will find under Standard Fields.
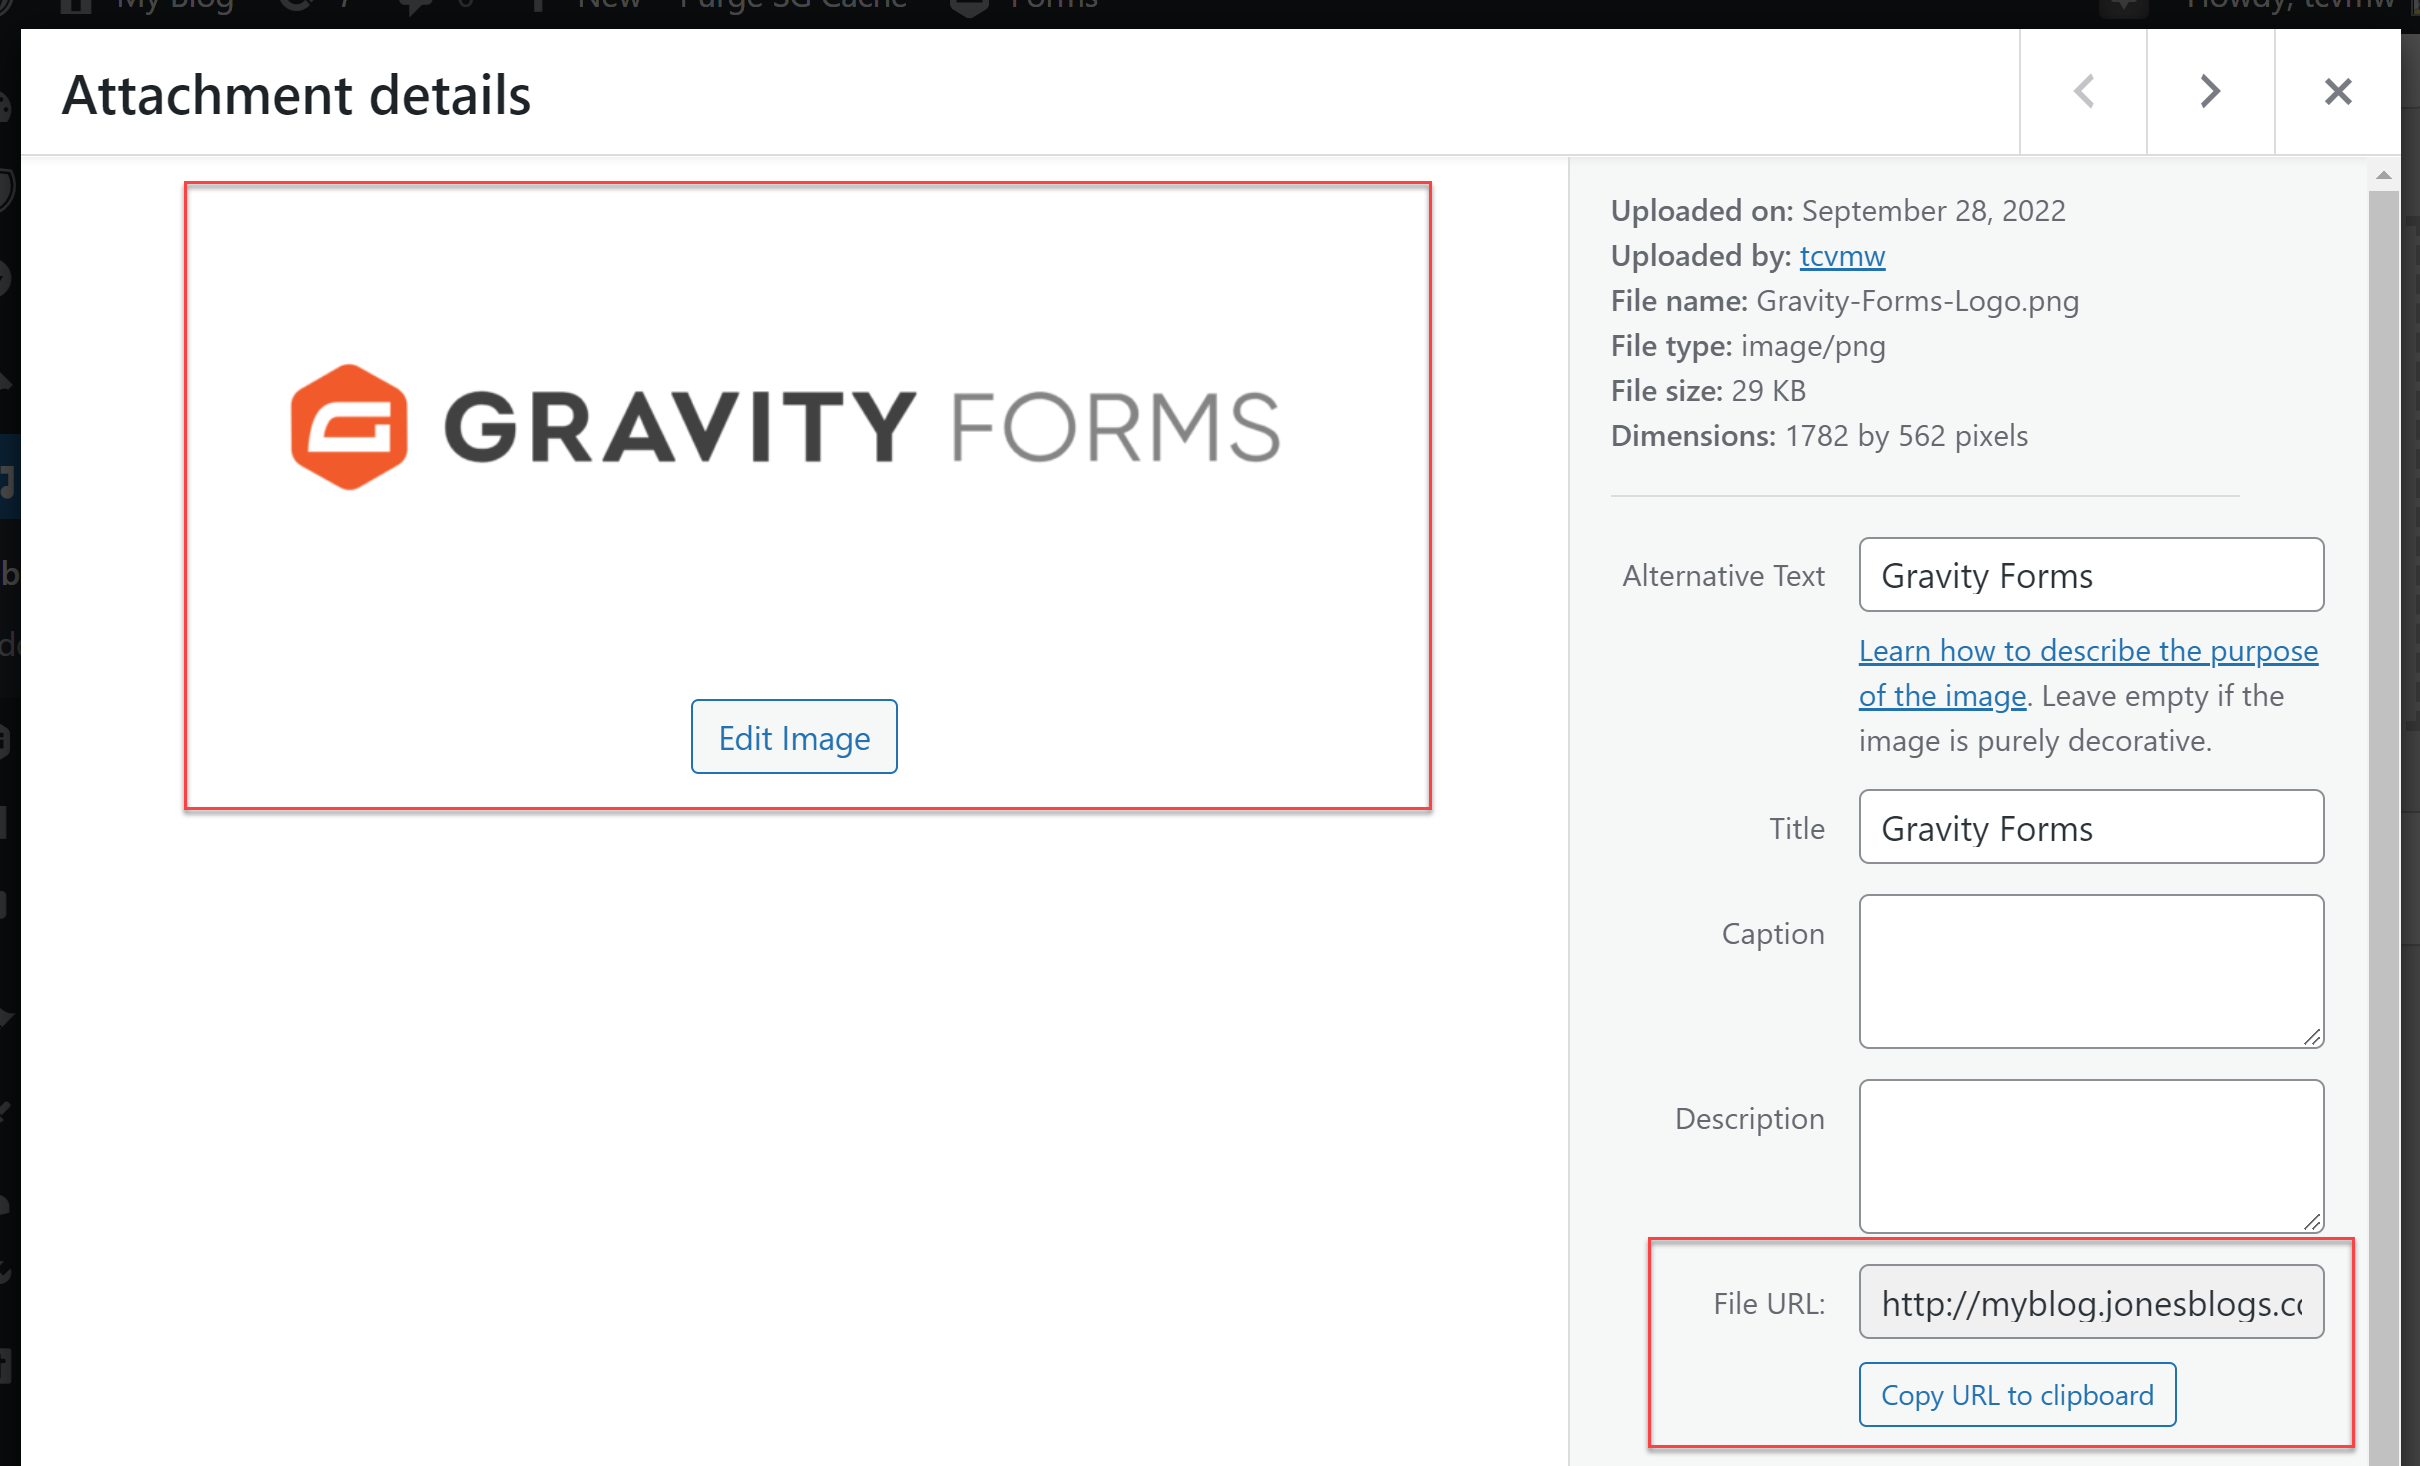
Switch over to your Media Library and copy the URL of the image you would like to embed.
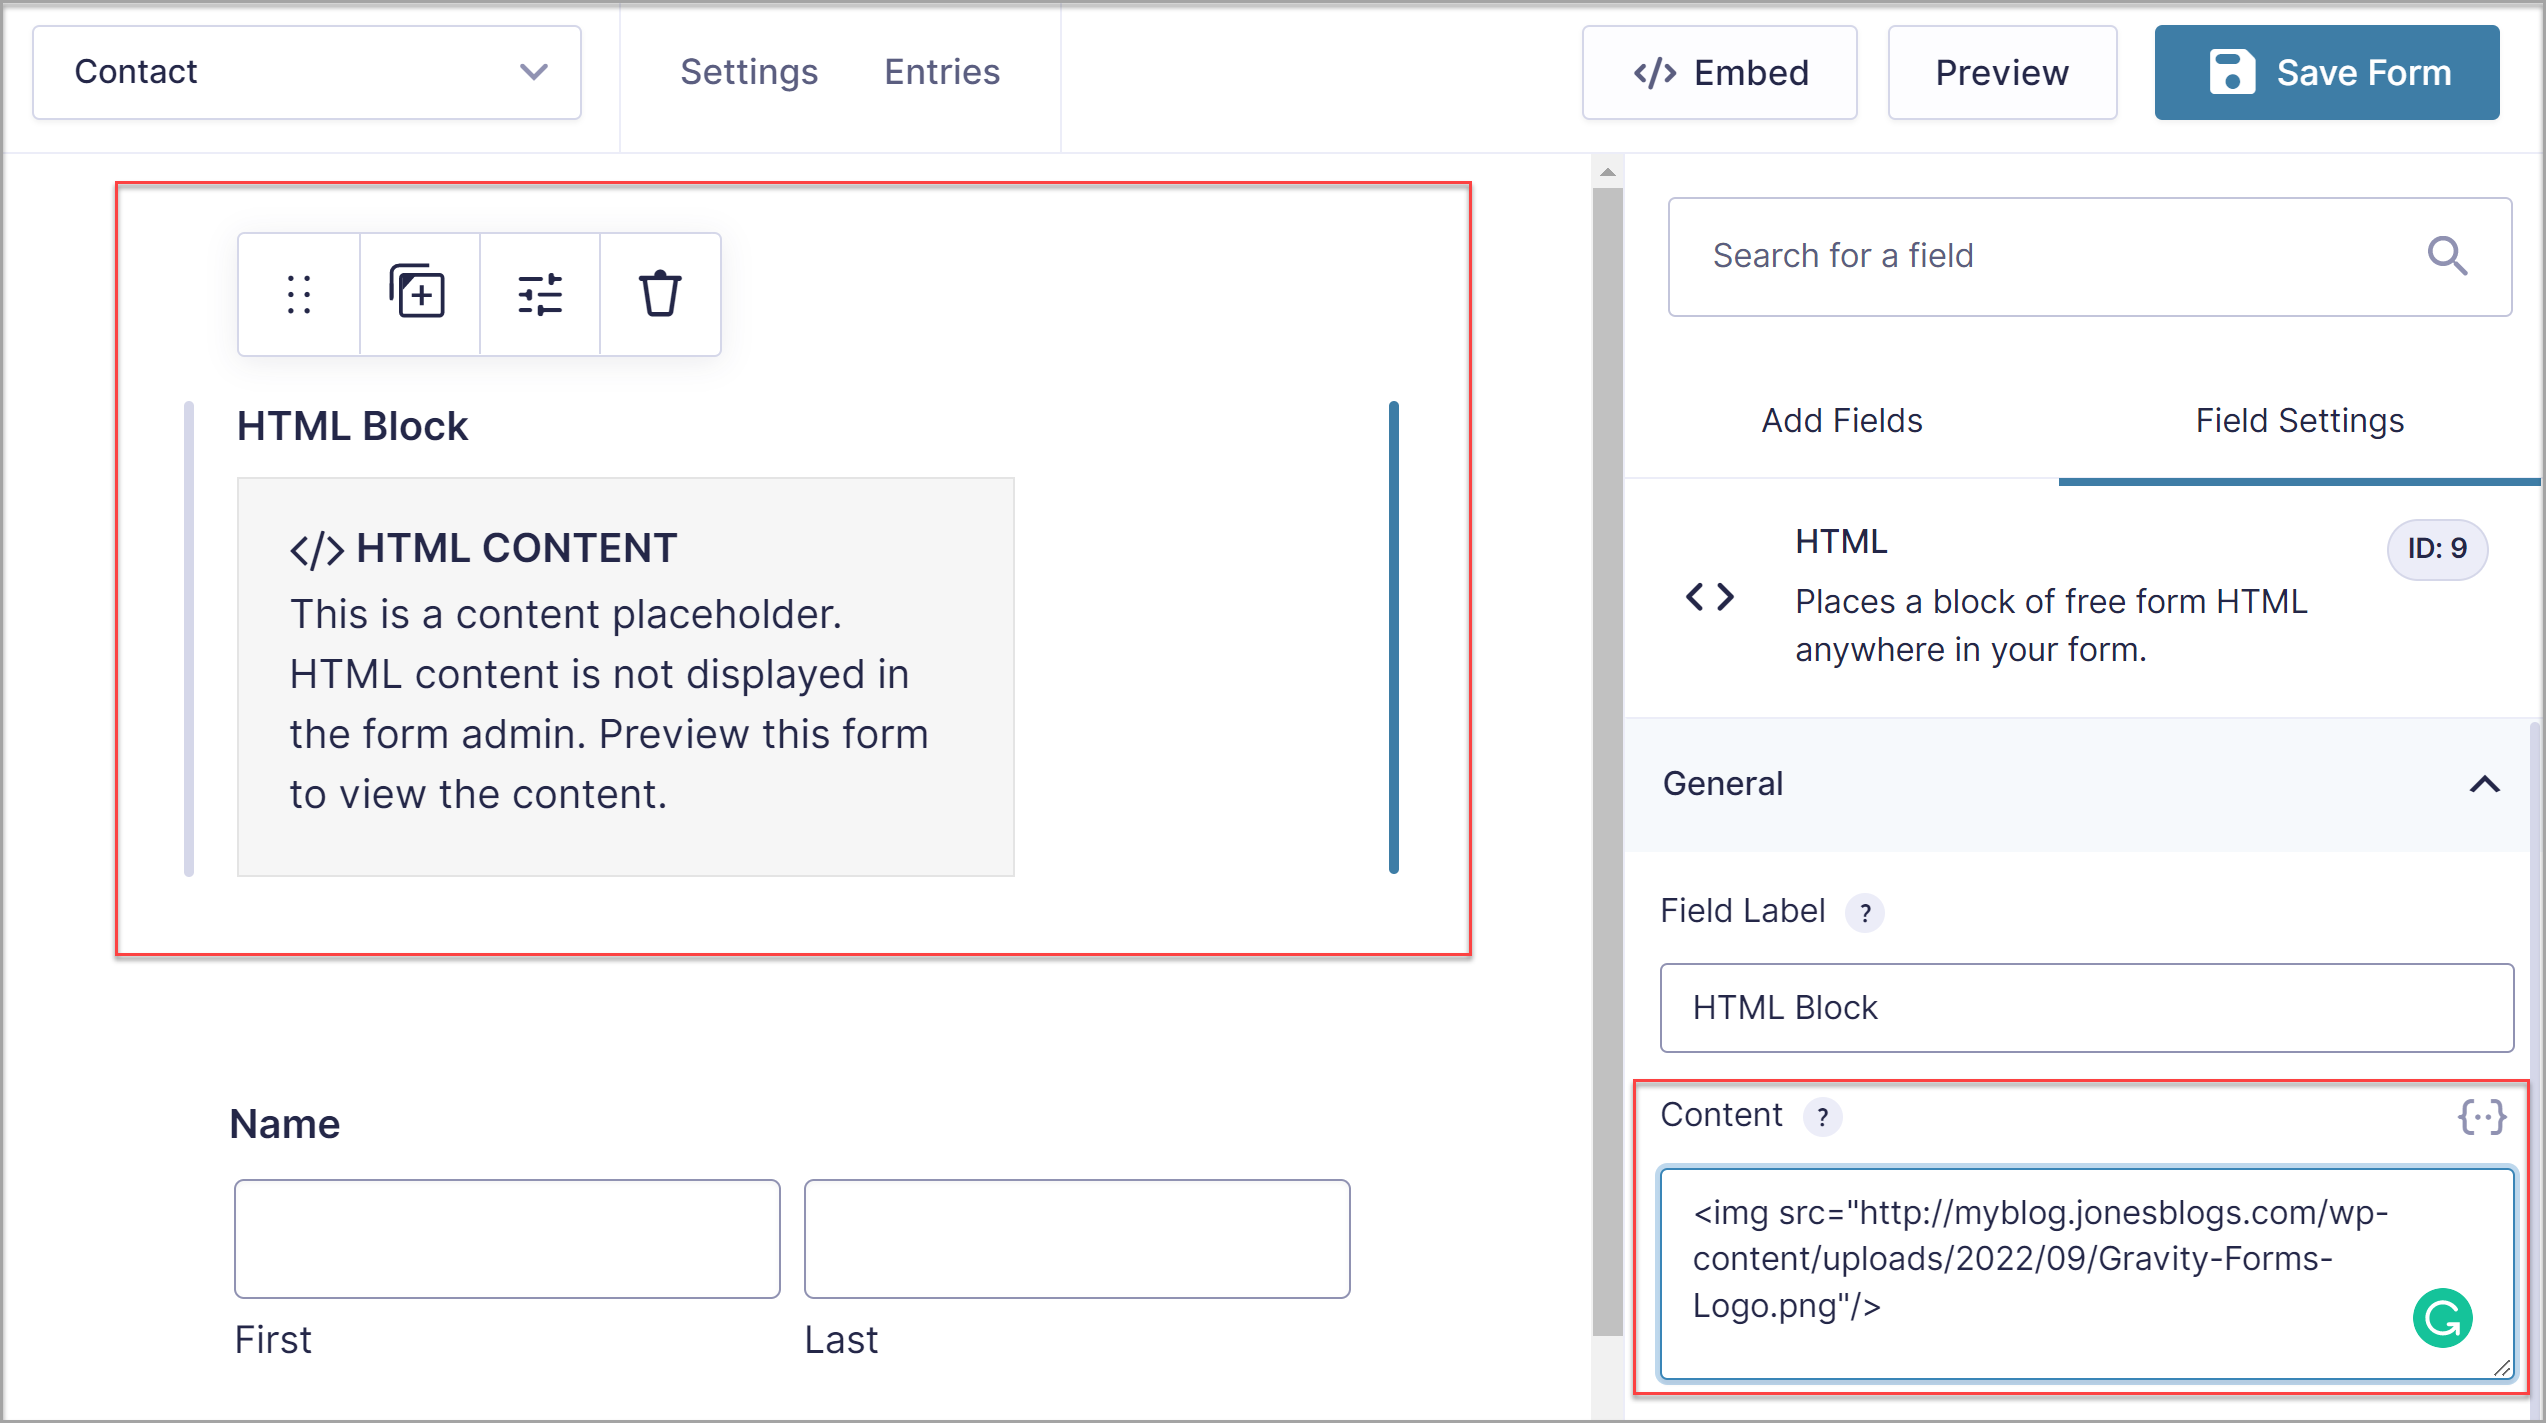
Then, in the HTML field, under Content, paste in the URL within these parameters:
<img src="Paste Image File URL Here"/>
Check out the image below to see this in action…
You will now need to save and preview the form to check that your image has been embedded into the form.
An HTML field can be added anywhere within a form, enabling you to add as many images as you want, wherever you deem appropriate. For more information on using the HTML field to add JavaScript or other HTML content to your forms, check out the Gravity Forms Docs.
Adding Images to Other Form Fields

As well as the HTML form field, images can also be added within other fields. This can be useful if you want your users to choose from a list of options, as you can display an image for each option helping people to easily make a decision.
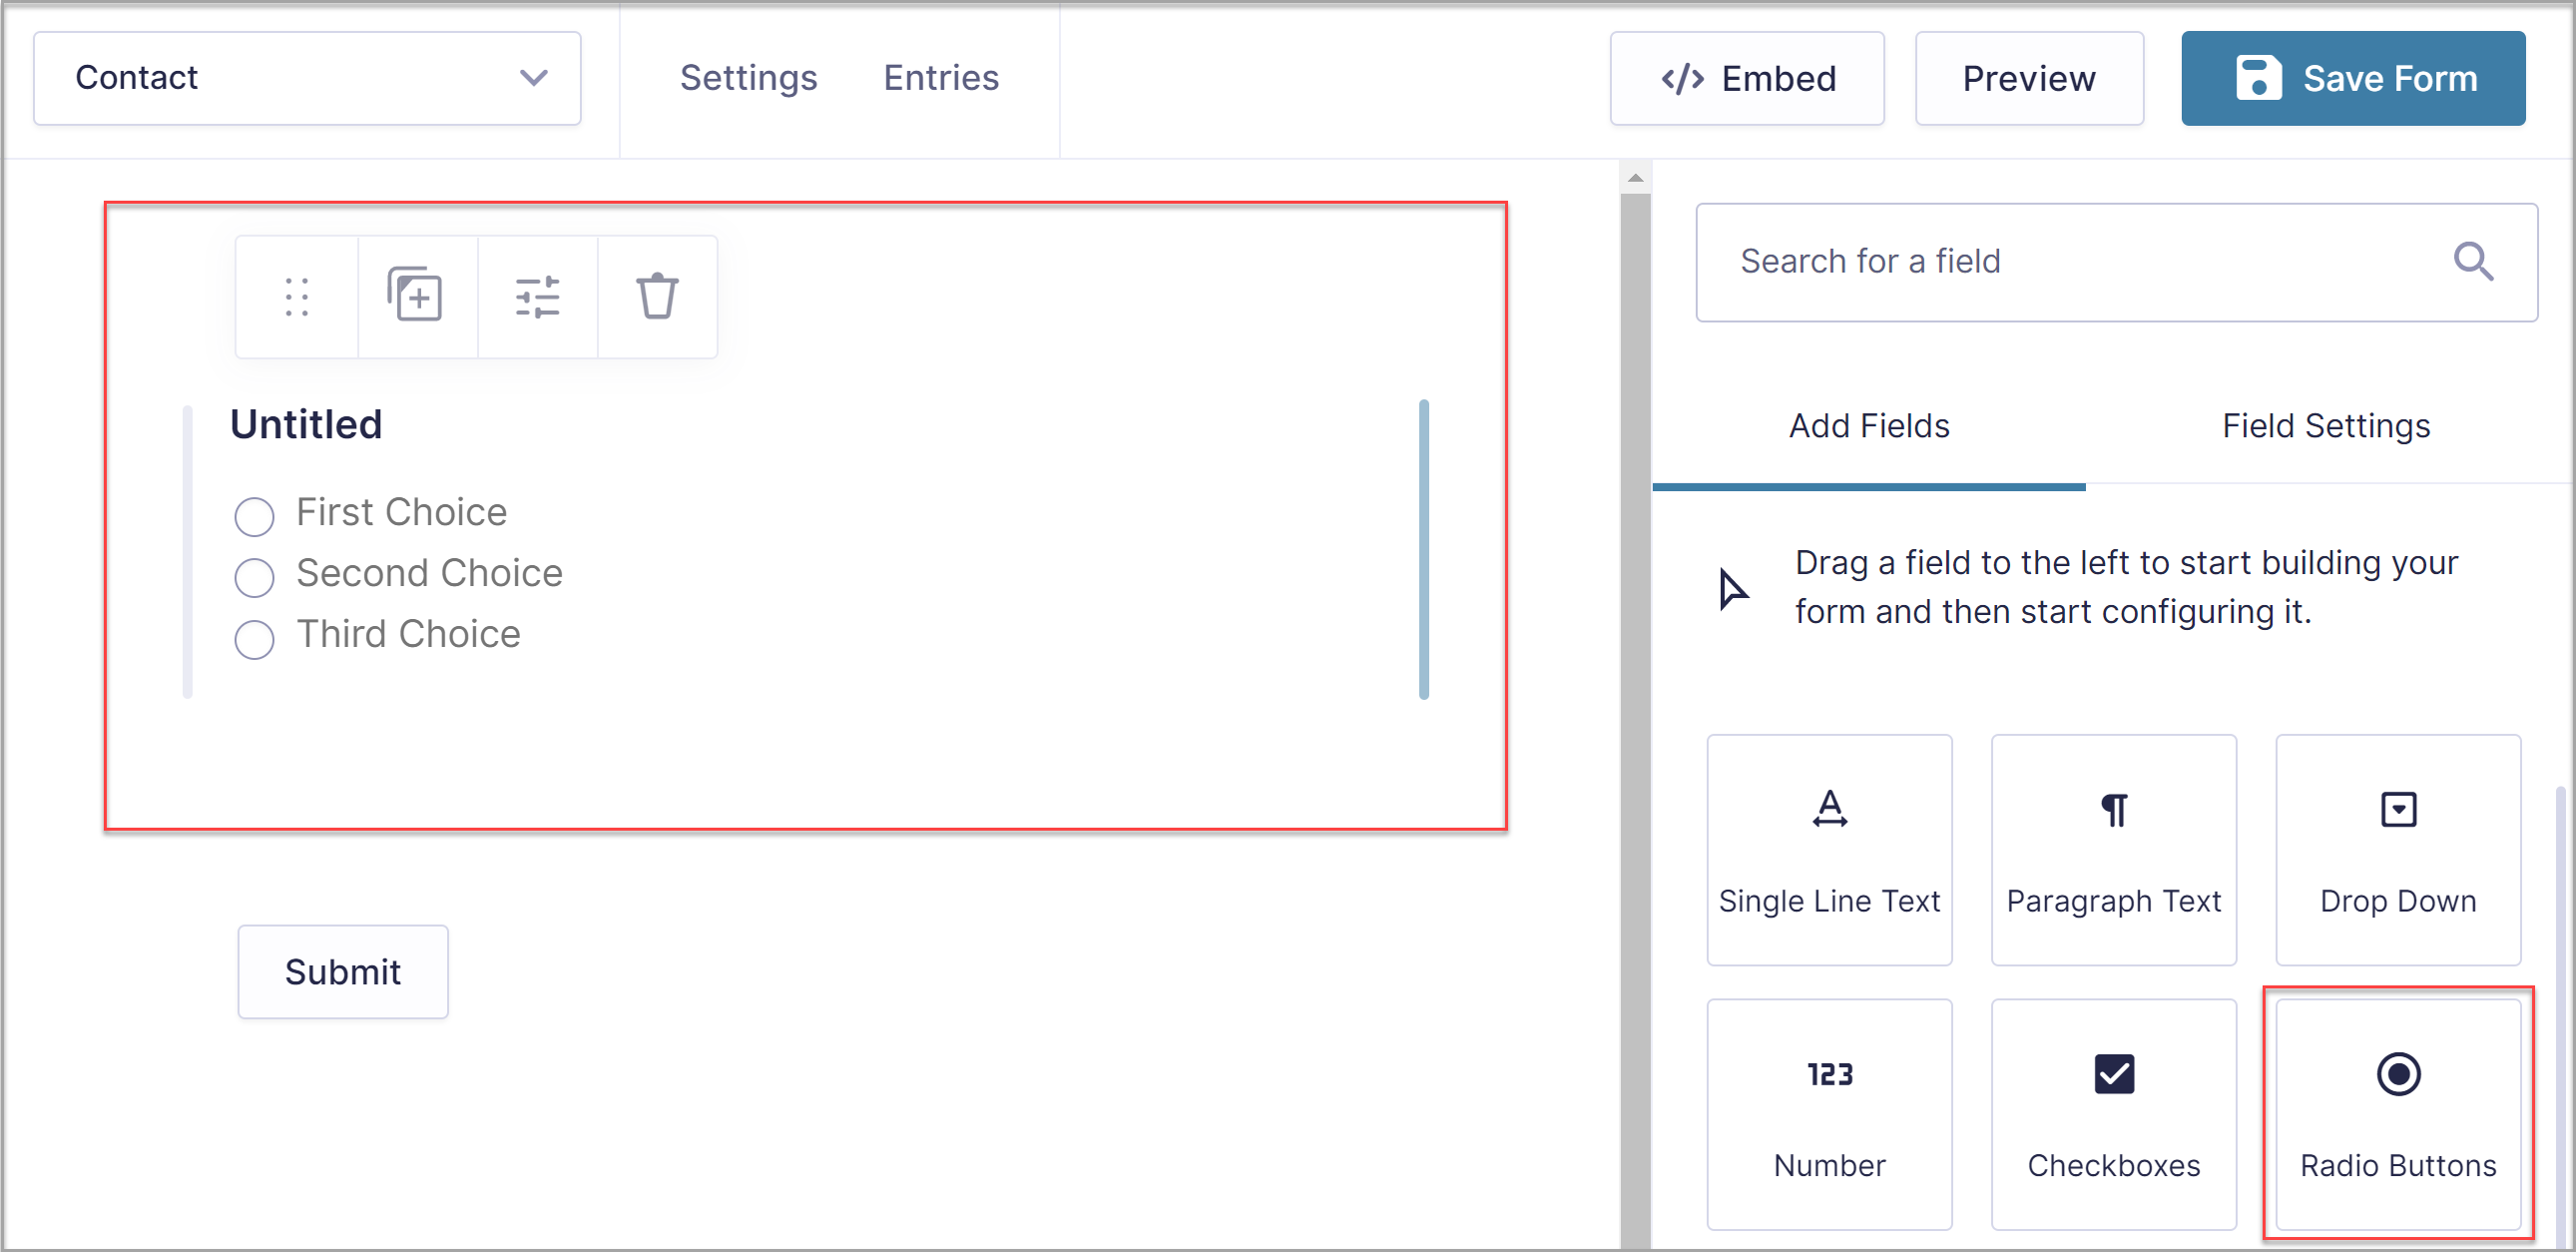
To set this up, firstly you will need to choose the appropriate field that you want to use to display your options. Here we have selected Radio Buttons…
Under Radio Button Field Settings > General > Choices > Edit Choices, you can edit the text for each radio button as well as add an image for each choice.
To add an image, firstly, under Options, click the Show Values checkbox – this will add a Value column to the Choices flyout. Here you will need to add appropriate and unique values for each radio button option. Make sure you use plain text, no special characters, as recommended – failure to configure these values could cause issues for features such as calculations, conditional logic, dynamic population, and validation.
Once you have configured the Value column, you will need to add the image URLs under Label. To do so, follow the same process as discussed previously – copy the URL of the image and enter the URL within these parameters into the choice Label:
<img src="Paste Image File URL Here"/>
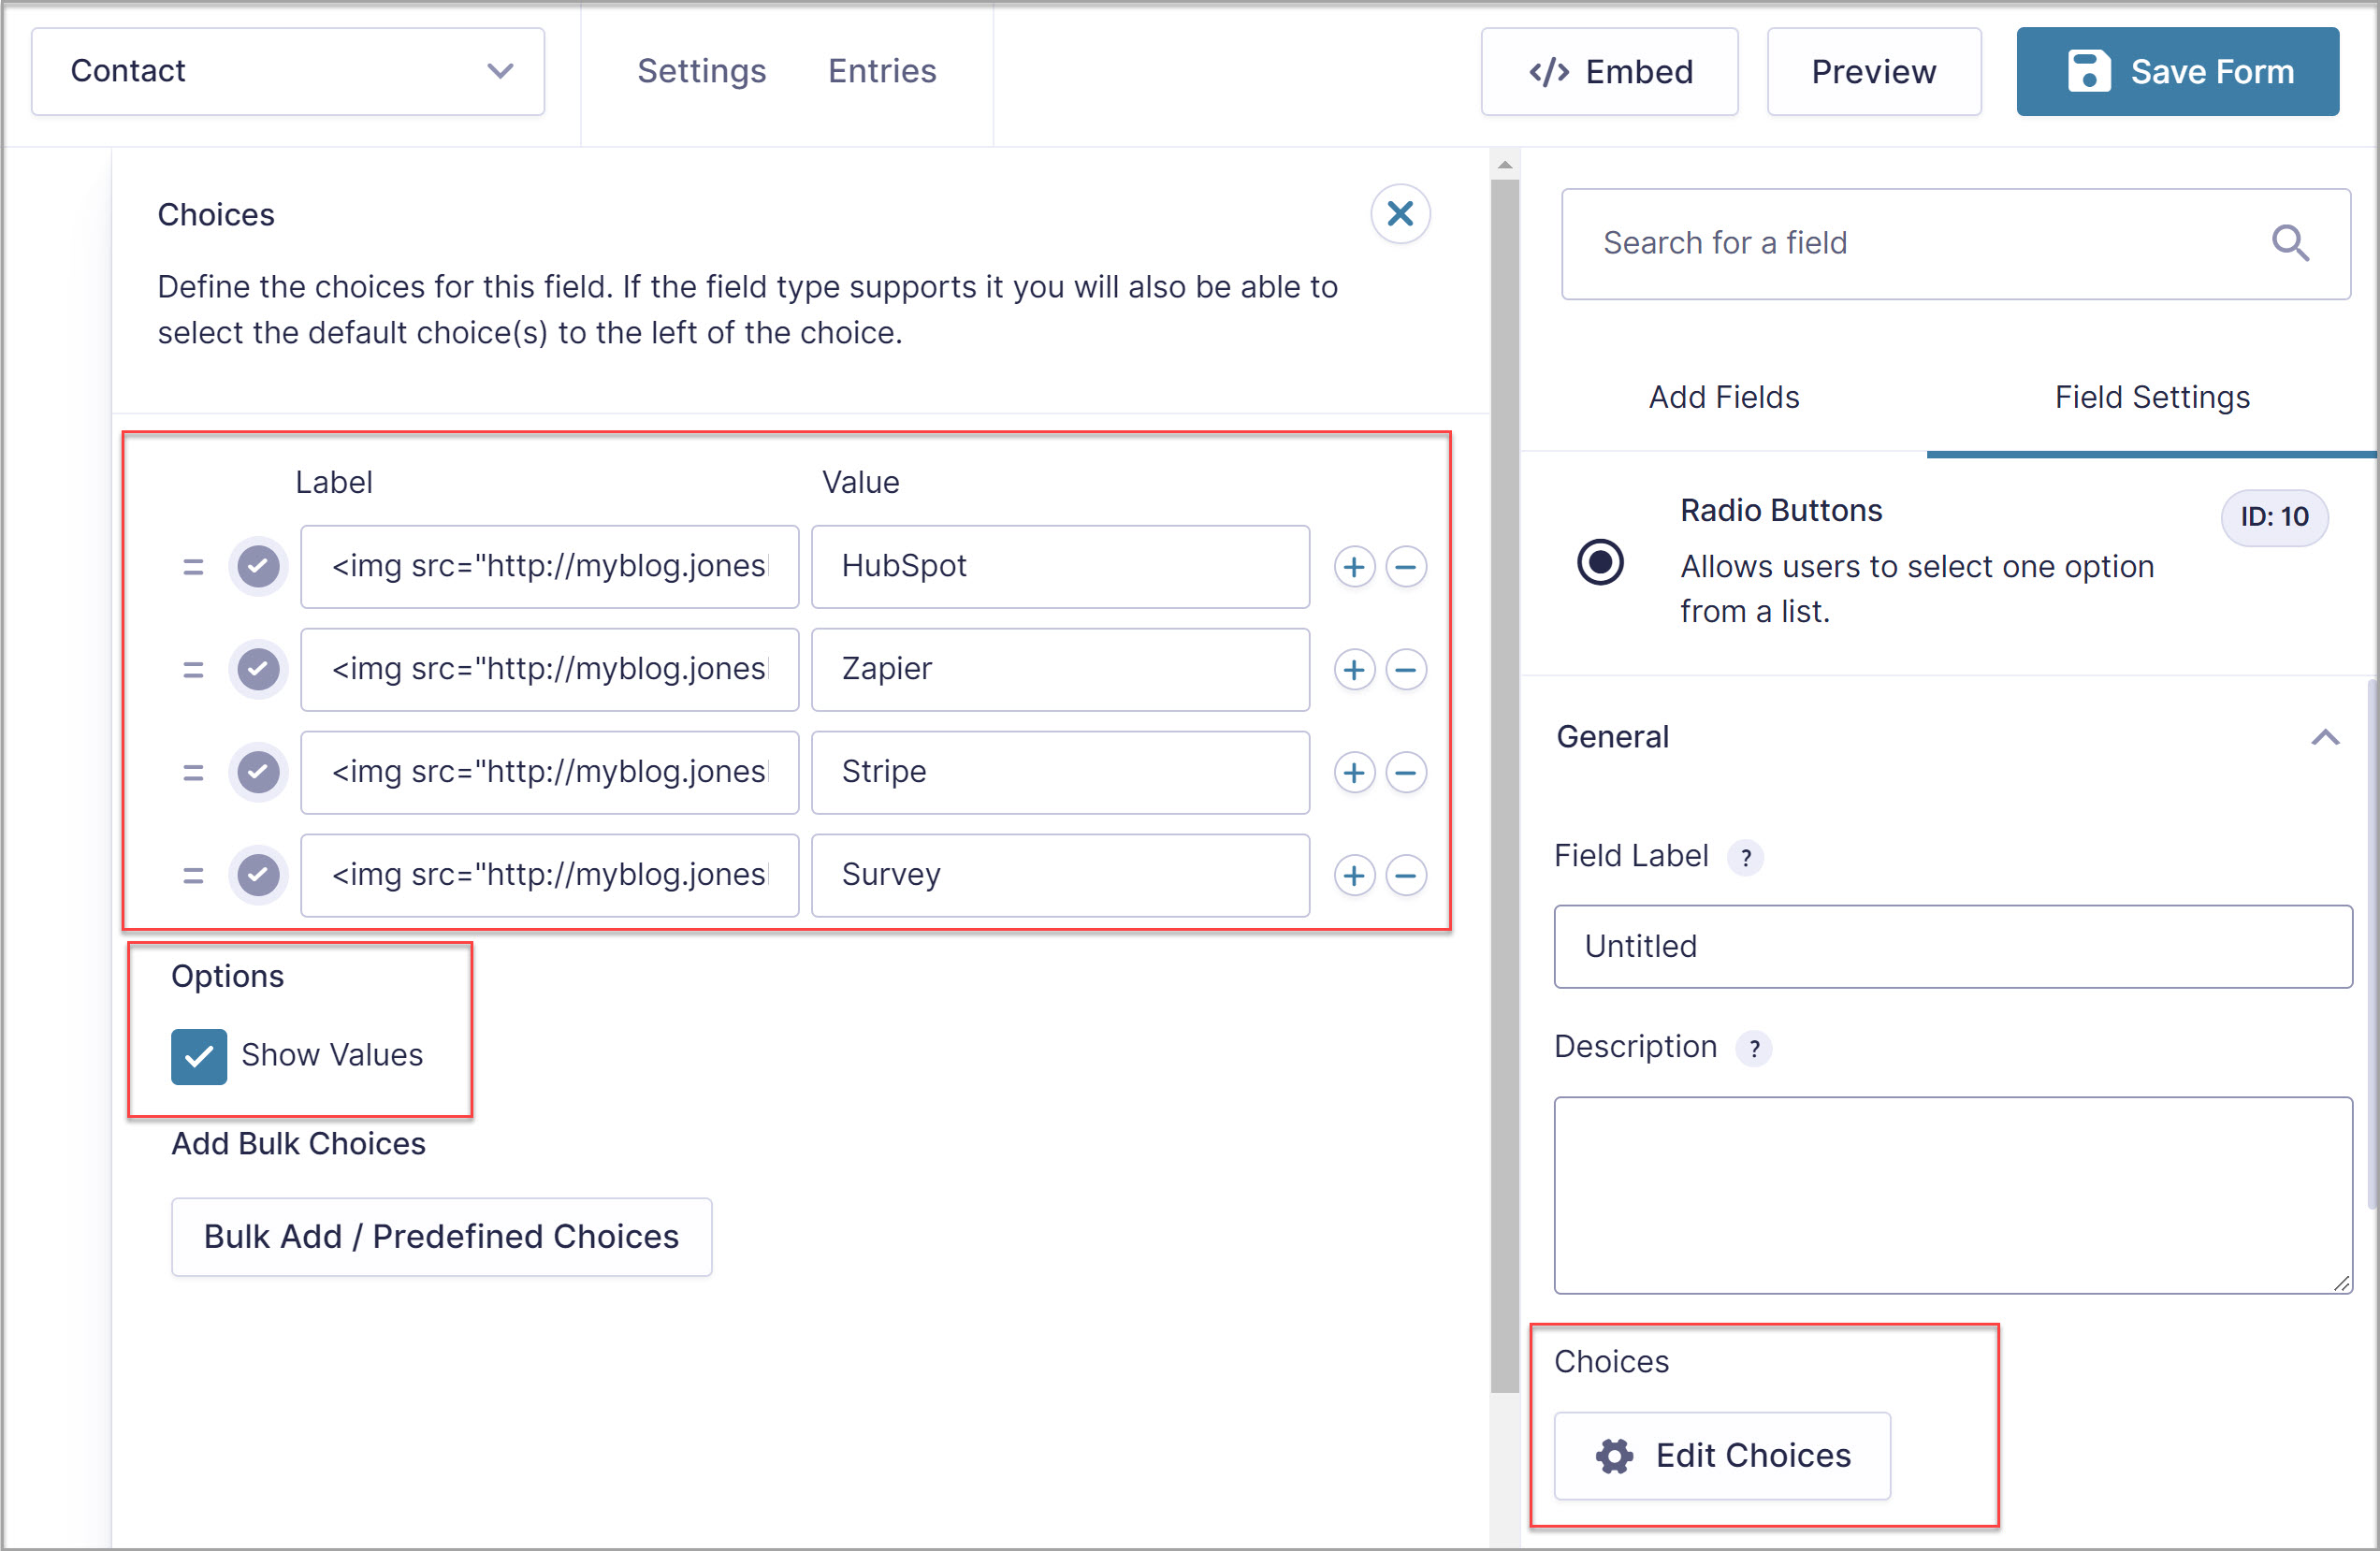
After you have entered an image for each choice, again save and preview the form.
If you would like the images to appear in two, or more, columns (see the image at the top of this section) then you will need to enter the relevant CSS Ready Class, which for two columns is gf_list_2col.
This should be entered in the Radio Buttons Field Settings > Appearance > Custom CSS Class.
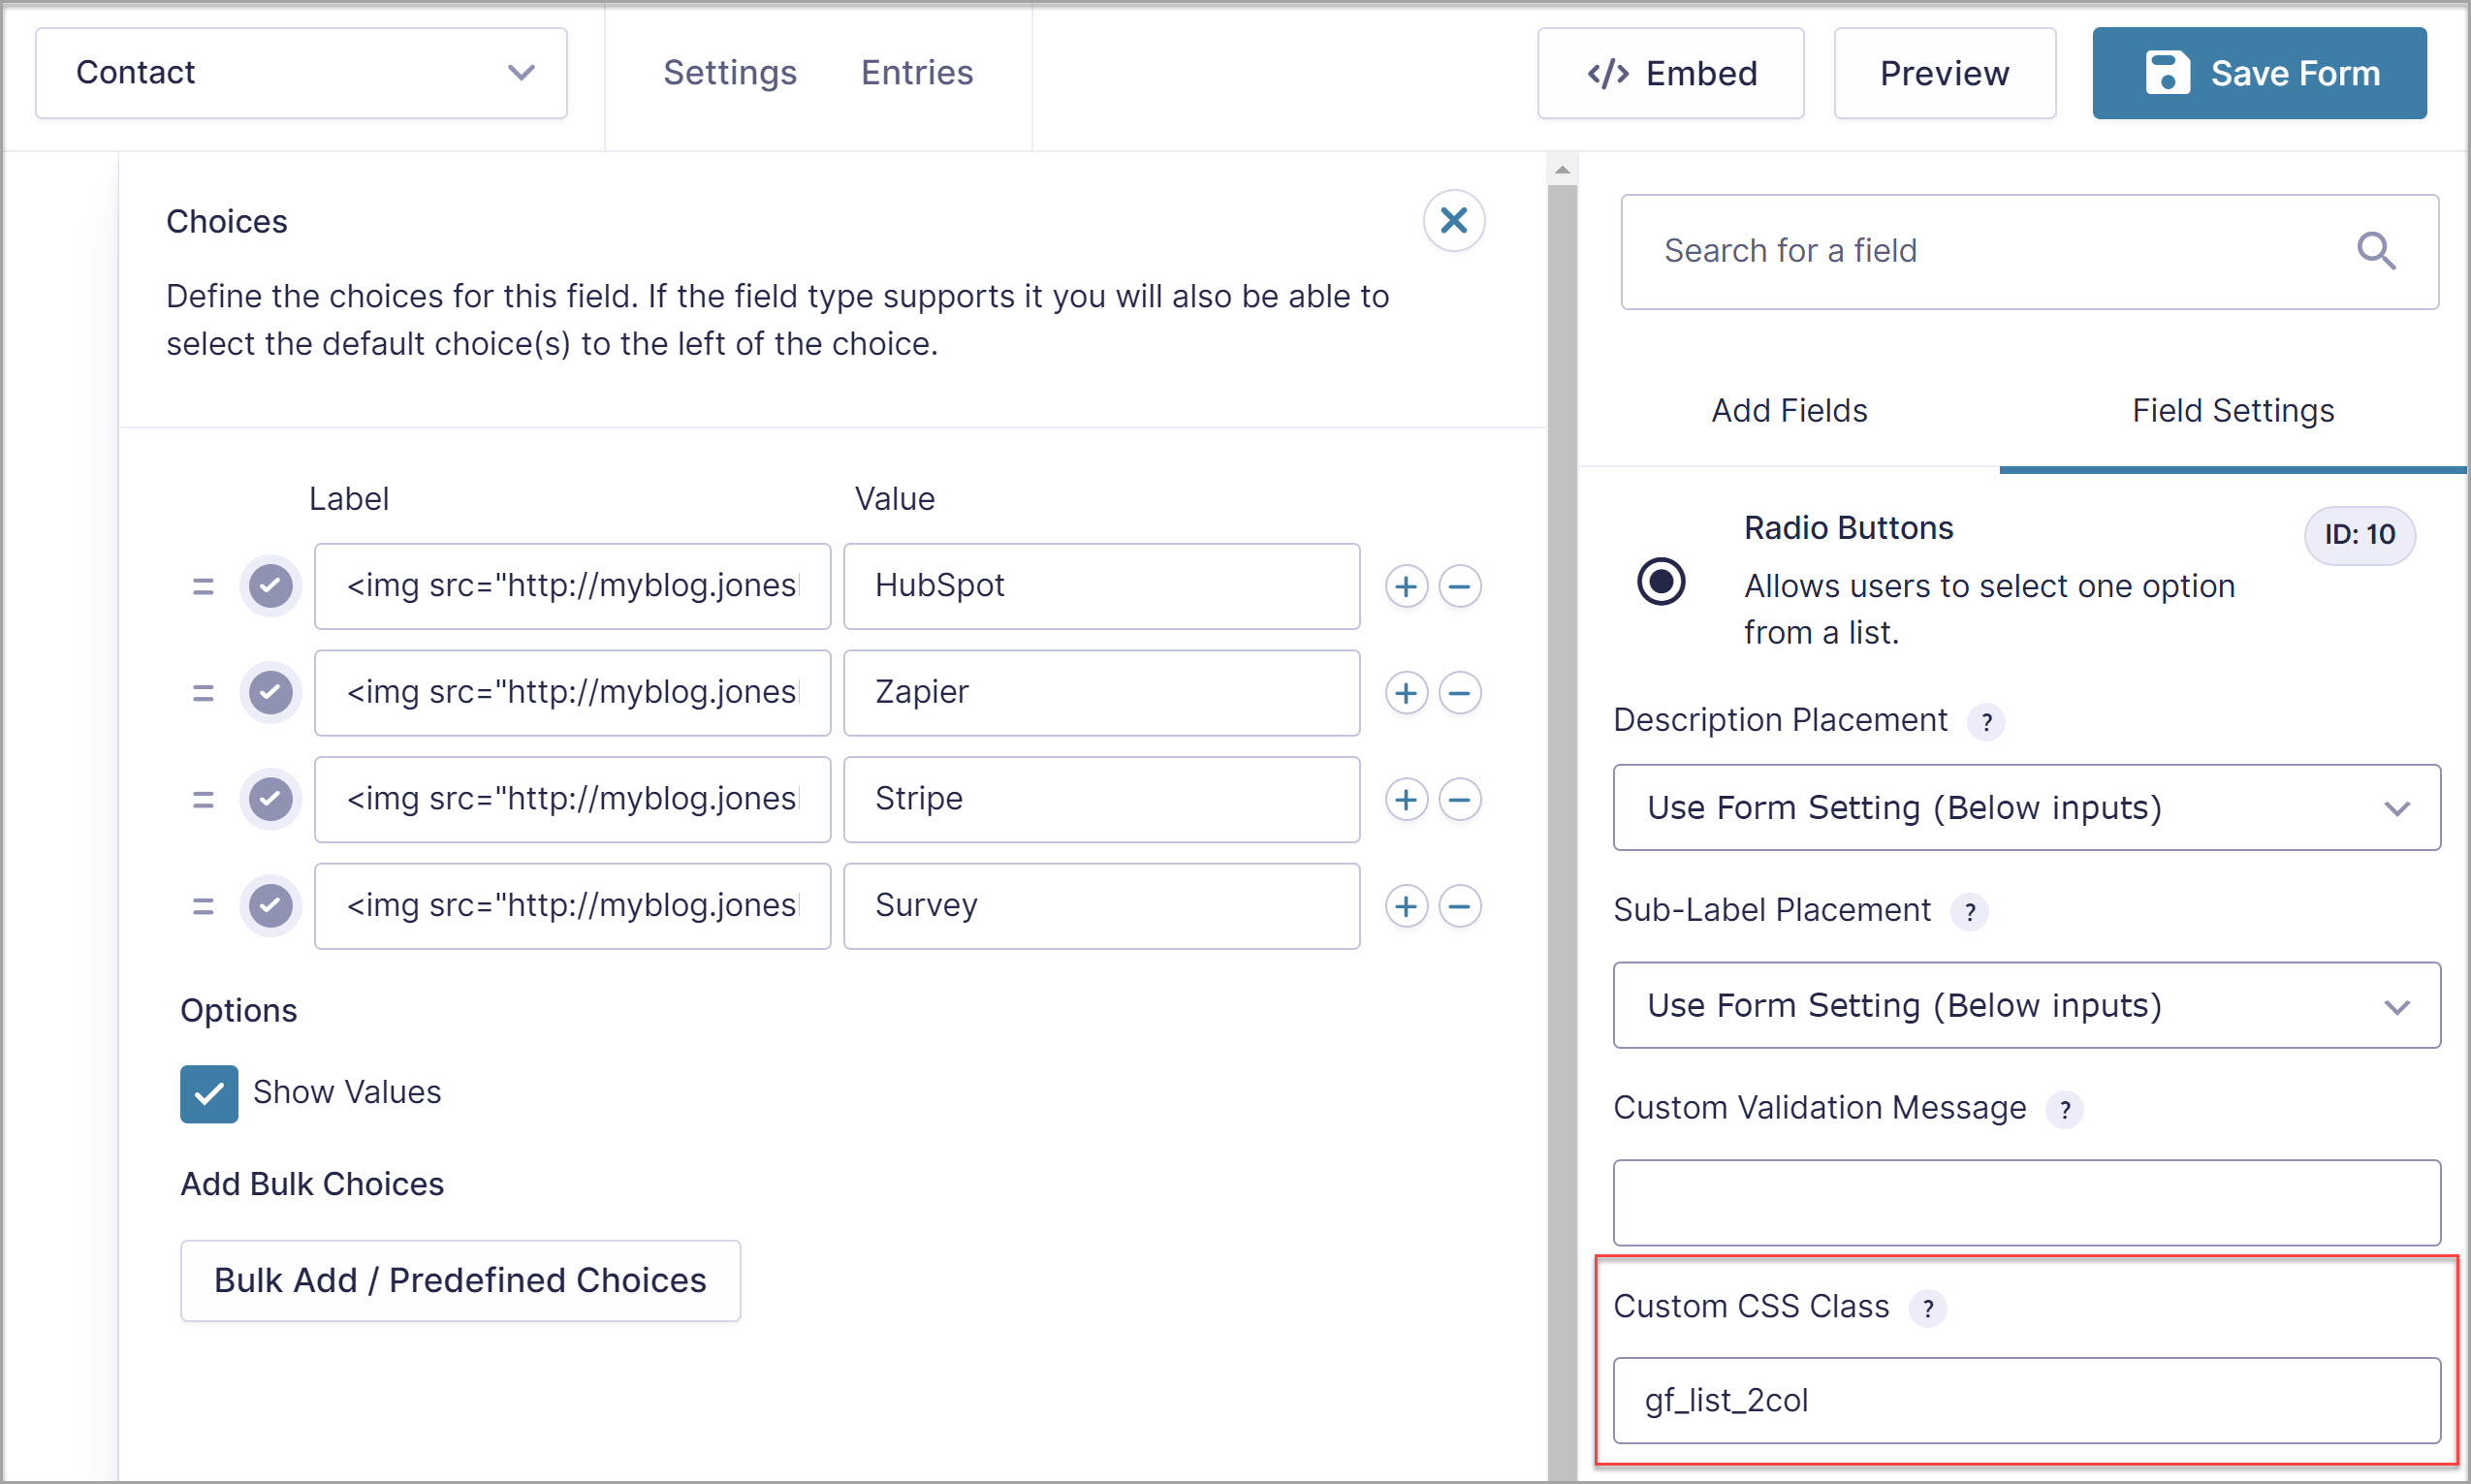
For more information on Ready Classes, check out this CSS Ready Classes Guide.
Once the form is live, the user just has to click on the relevant image to select a specific option. This is a great way to create user-friendly forms, encouraging your audience to complete and submit forms, and helping your website to achieve its goals.
Rather Use a Plugin?
If adding HTML markup to form fields isn’t for you, then don’t worry, there’s a third-party certified add-on that you can use instead. Gravity Forms Image Choices is a premium add-on brought to you by JetSloth, one of the Gravity Forms certified developers.

With this add-on, you can seamlessly embed images into Checkbox or Radio Button fields, as well as enable a lightbox feature to give users a better viewing experience. The add-on also supports Polls, Surveys, and Quiz fields, as well as Product and Option fields when Checkbox or Radio Buttons are selected.
Final Thoughts on How to Add Images to a Form
Displaying images within a form adds significantly to aesthetics and user experience, so it is well worth taking the time to add stylish and relevant images. As always with Gravity Forms, there are numerous options when it comes to embedding images into a form, so simply select the strategy that works best for you and your forms – let us know how you get on!
Not a Gravity Forms customer yet? Sign up for our free demo to check out just how easy it is to add an image to a form. You can also view our numerous form templates as well as create your own forms.

If you want to keep up-to-date with what’s happening on the blog sign up for the Gravity Forms newsletter!
